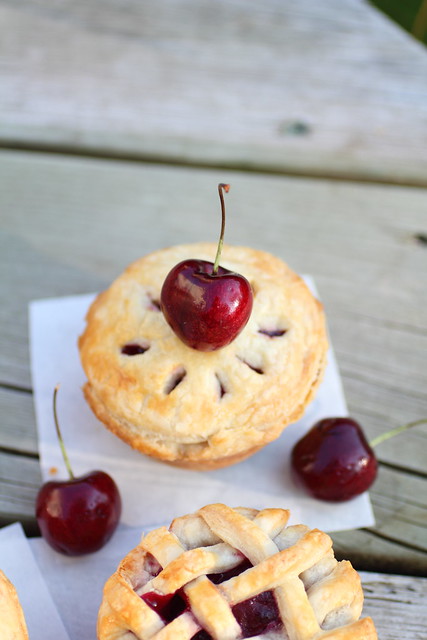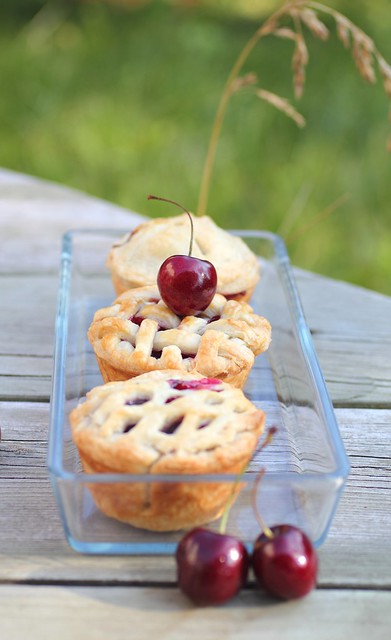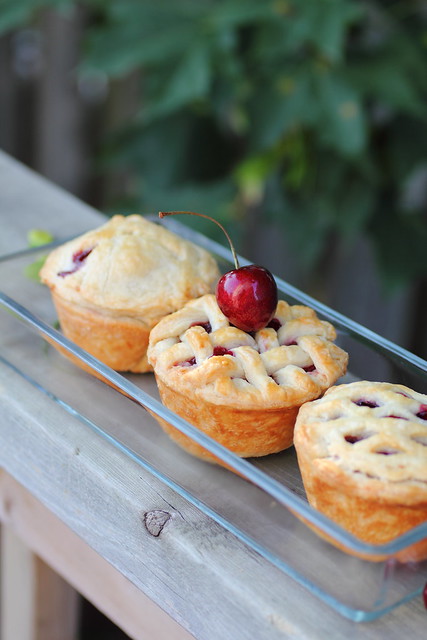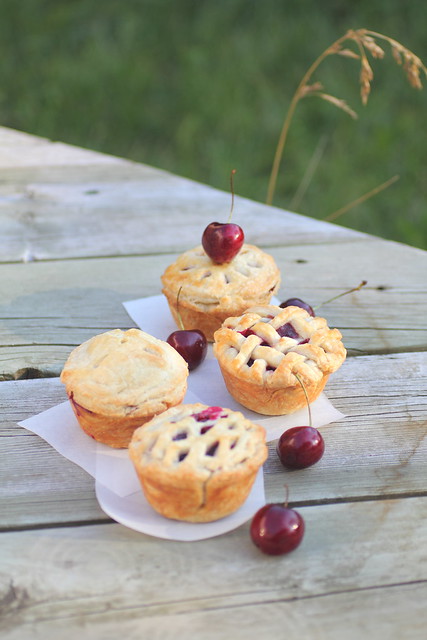
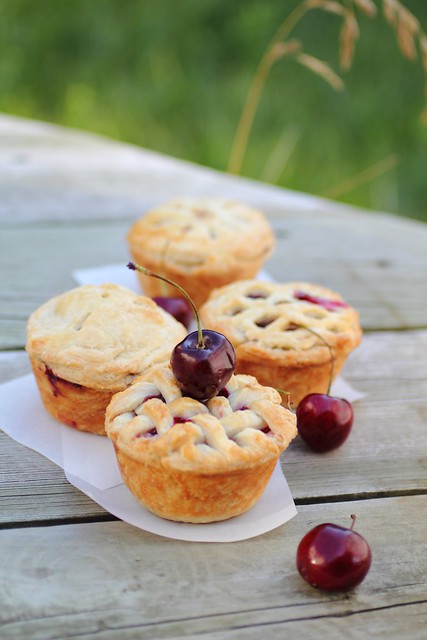
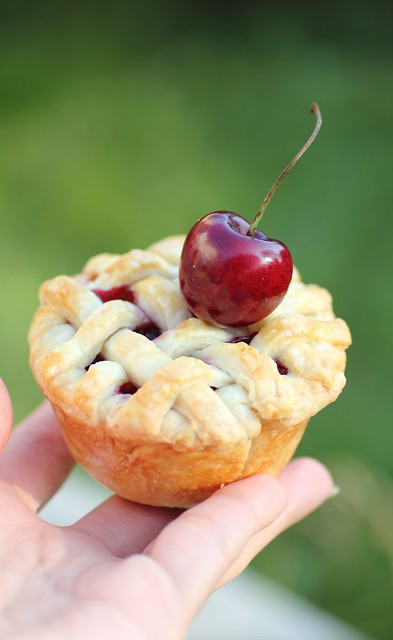
If pies are the new cupcake then these mini cherry pies can rival any cupcakes in the cuteness category and they're 100% home-made and so delicious!
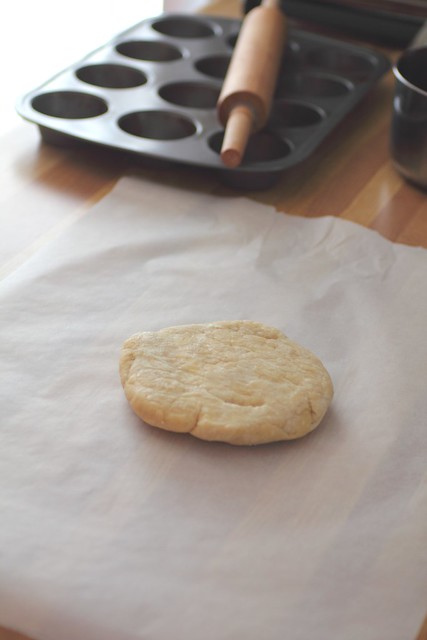
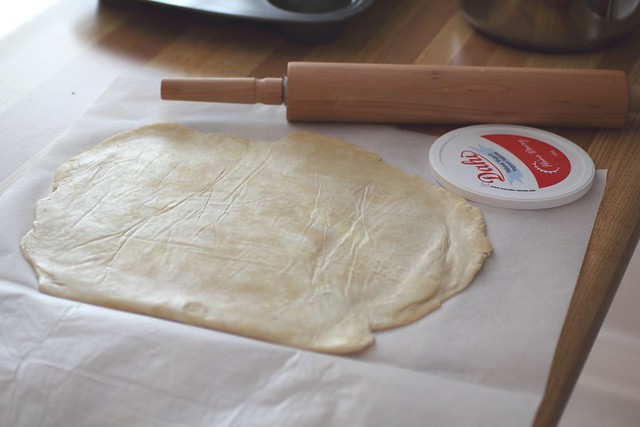
 Start with the Pate Brisee, I had leftover from the other day's apple marzipan galette, Pie dough is easily made ahead of time, frozen and left to thaw in the fridge overnight for convenient use.
Martha Stewart's recipe is one of my favourites, however I've altered it slightly below:
Ingredients
2 1/2 cups all-purpose flour
1 teaspoon salt
2 sticks (1 cup) unsalted butter, cold, cut into small cubes
1/4 cup ice water, plus more if needed
1 tsp lemon juice (mixed into the ice water)
Directions
In the bowl of a food processor, combine flour and salt; pulse to combine. Add butter, and pulse until mixture resembles coarse crumbs with some larger pieces remaining, about 10 seconds. (To mix by hand, combine dry ingredients in a large mixing bowl, then cut in butter with a pastry blender or use tips of fingers to rub the butter and flour together, working quickly as not to warm up the ingredients .)
With machine running, add (lemony) ice water through feed tube in a slow, steady stream, just until dough holds together without being wet or sticky. Do not process more than 30 seconds. Test by squeezing a small amount of dough together; if it is still too crumbly, add a bit more water, 1 tablespoon at a time.
Turn out dough onto a clean work surface. Shape into flattened disk. Wrap in plastic, and refrigerate at least 1 hour or overnight. The dough can be frozen for up to 1 month; thaw overnight in the refrigerator before using.
----
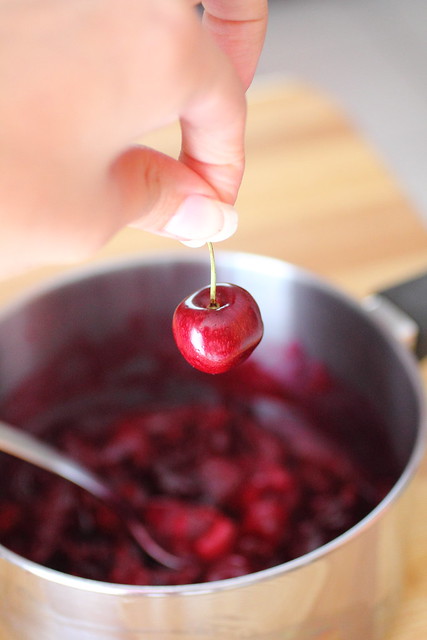
With the last of the season cherries I picked up the rest was easy, pitting was the most fun using the cool technique I learned recently and used on my cherry dumplings here.
I think this is probably one of the most useful and exciting tips I've ever learned because before this I would avoid cherries, using a parring knife to peel the flesh around the pit was not fun at all!
I double the recipe of pie dough above and make 2 flattened disks to refrigerate then I make pie filling using 2 bags of cherries as directed below:
Doubling the pie dough pastry should make about 12 mini (covered) pies with some cherry filling leftover.
OR you can make about 24 open face tart like pies (like here) with all the filling.
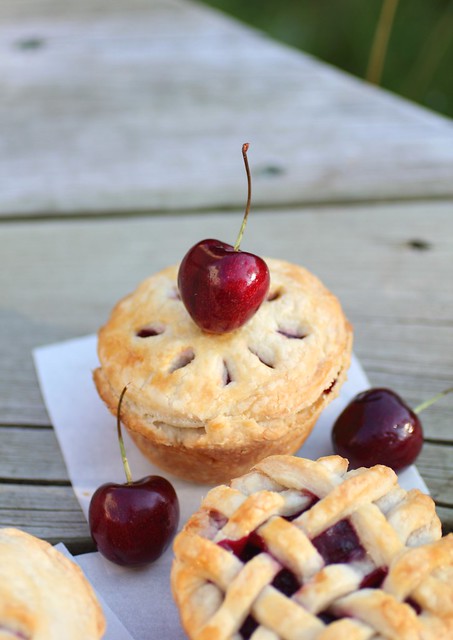
An alternate and easier design to do for covered pies is something like this
Cherry pie filling:
-2 bags of cherries (about 80 cherries, or 2 lbs of cherries)
Remove stems, wash, and using a paring knife cut an X in the bottom of each one.
Doing this assembly style is best. Wash, then begin cutting them and moving them into another bowl.
Once finished all, use a chopstick to push through the top of the cherry (where the stem was) to remove the seed/pit. Once pitted add them to a heavy bottomed saucepan.
Add:
- 1/2 cup sugar
- Juice of half a lemon
- 2 tbsp water
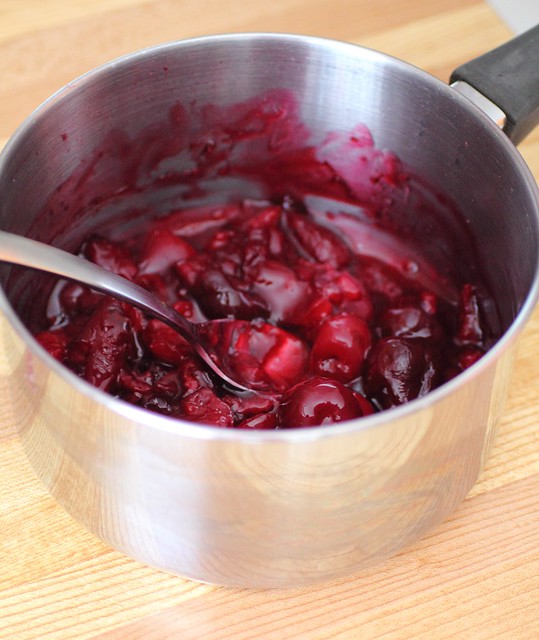
Bring to a boil and cook on medium low for about 15 minutes.
Mix together in a small bowl the following ingredients:
- 1 tsp cornstarch
- 1 tbsp ice water
Bring the cherry filling to a boil again and quickly mix in the cornstarch mixture.
Stir the cornstach mixture into the cherries and you'll see it thicken immediately. Remove from heat and place the filling in another bowl to cool. Place a sheet of plastic wrap on top of the cherries to avoid a seal forming on the top.
Allow to cool completely then refrigerate until ready to use.
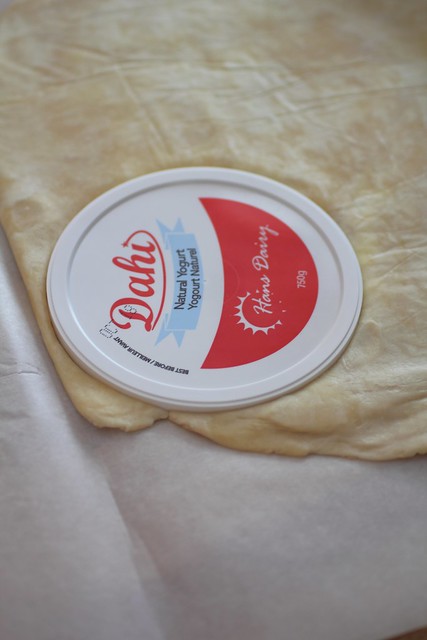
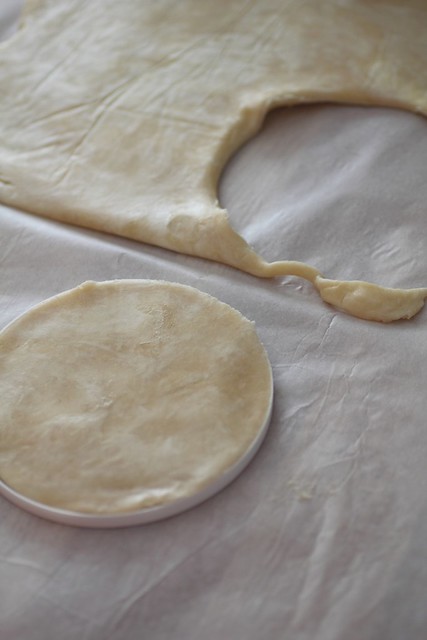
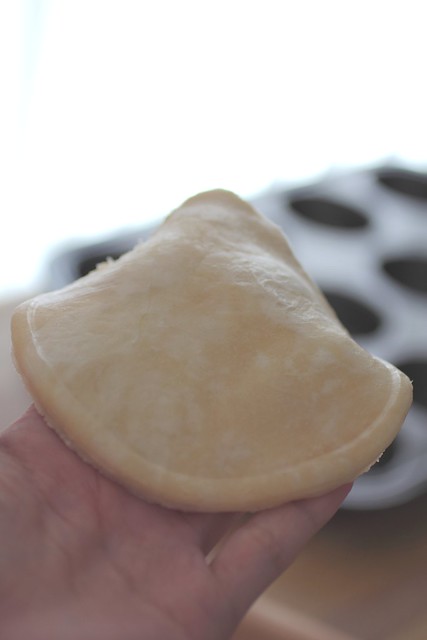
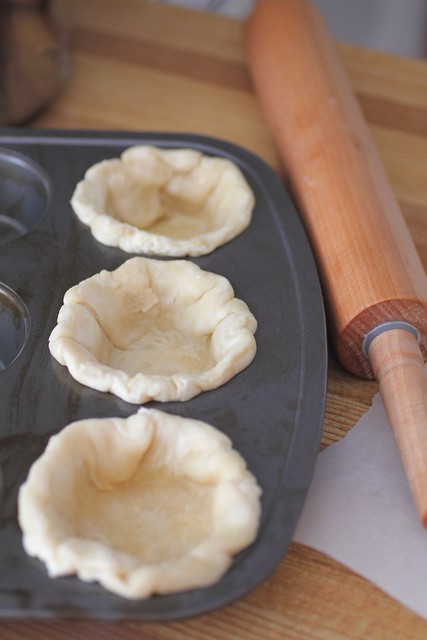
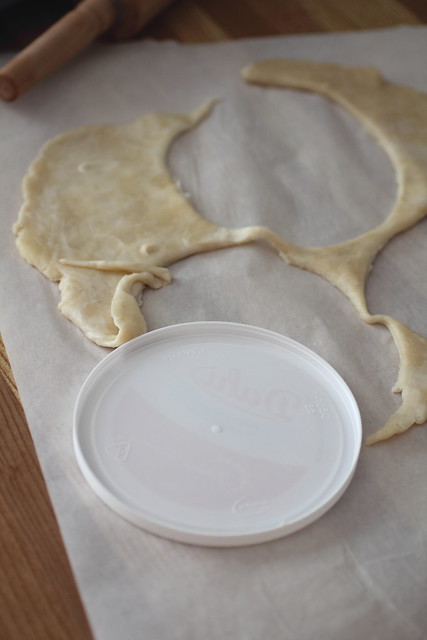
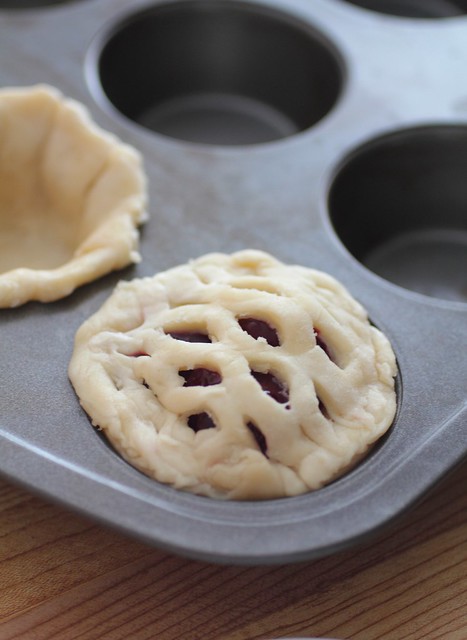
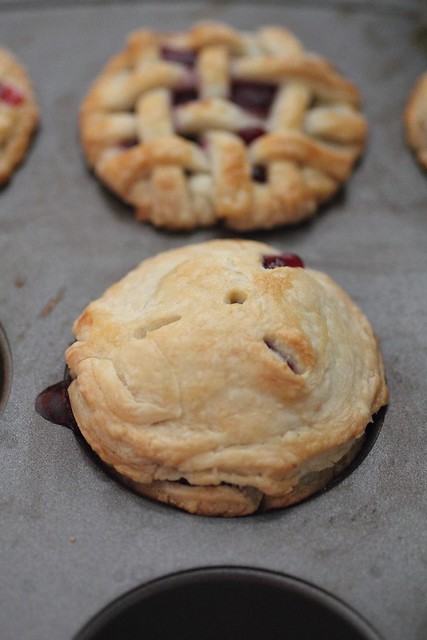
Ok so these little pies were made right in the cupcake pan.. no greasing or anything required. Just cut the dough and put it straight in.
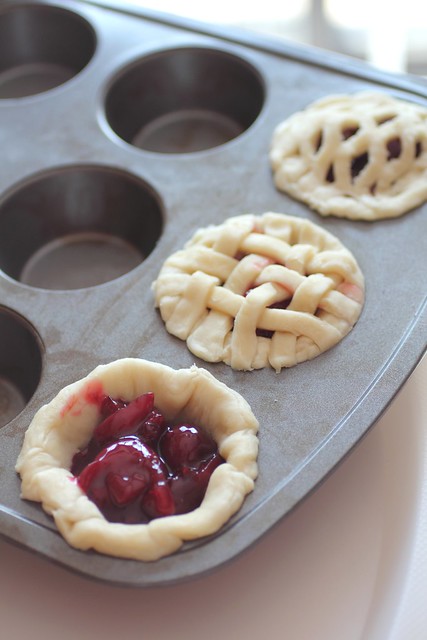
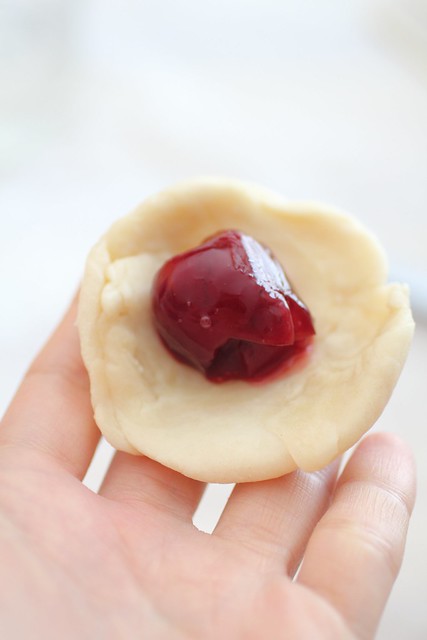
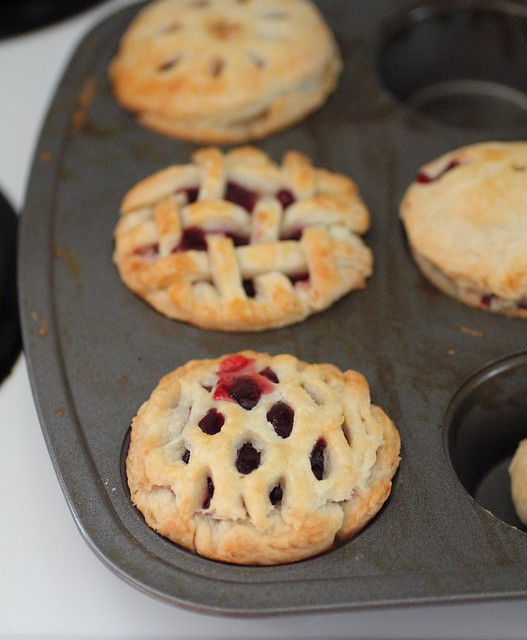
The filling should be cool of course and you can begin your assembly creating any type of design you like. Here I made three different designs ...
Use some eggwash to create a nice sheen on the little pies before baking..
I double the recipe of pie dough above and make 2 flattened disks to refrigerate then I make pie filling using 2 bags of cherries as directed below:
Doubling the pie dough pastry should make about 12 mini (covered) pies with some cherry filling leftover.
OR you can make about 24 open face tart like pies (like here) with all the filling.
An alternate and easier design to do for covered pies is something like this
Cherry pie filling:
-2 bags of cherries (about 80 cherries, or 2 lbs of cherries)
Remove stems, wash, and using a paring knife cut an X in the bottom of each one.
Doing this assembly style is best. Wash, then begin cutting them and moving them into another bowl.
Once finished all, use a chopstick to push through the top of the cherry (where the stem was) to remove the seed/pit. Once pitted add them to a heavy bottomed saucepan.
Add:
- 1/2 cup sugar
- Juice of half a lemon
- 2 tbsp water
Bring to a boil and cook on medium low for about 15 minutes.
Mix together in a small bowl the following ingredients:
- 1 tsp cornstarch
- 1 tbsp ice water
Bring the cherry filling to a boil again and quickly mix in the cornstarch mixture.
Stir the cornstach mixture into the cherries and you'll see it thicken immediately. Remove from heat and place the filling in another bowl to cool. Place a sheet of plastic wrap on top of the cherries to avoid a seal forming on the top.
Allow to cool completely then refrigerate until ready to use.
Ok so these little pies were made right in the cupcake pan.. no greasing or anything required. Just cut the dough and put it straight in.
The filling should be cool of course and you can begin your assembly creating any type of design you like. Here I made three different designs ...
Use some eggwash to create a nice sheen on the little pies before baking..
Bake between at 375 for 30 mins or so until the pastry is crispy and golden browned where it touches the pan.