Showing posts with label desserts. Show all posts

Wednesday, October 19, 2011

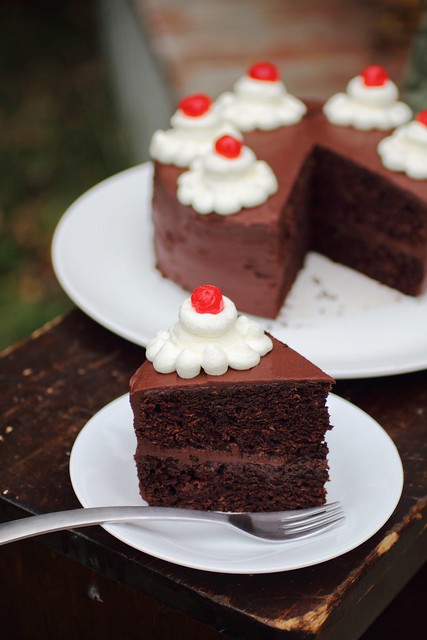
Root Beer float Cake


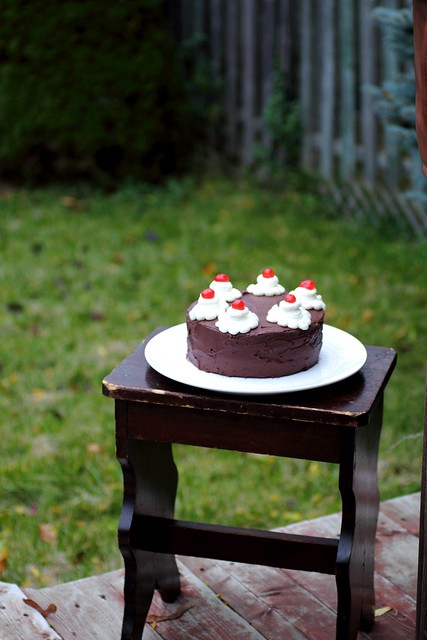
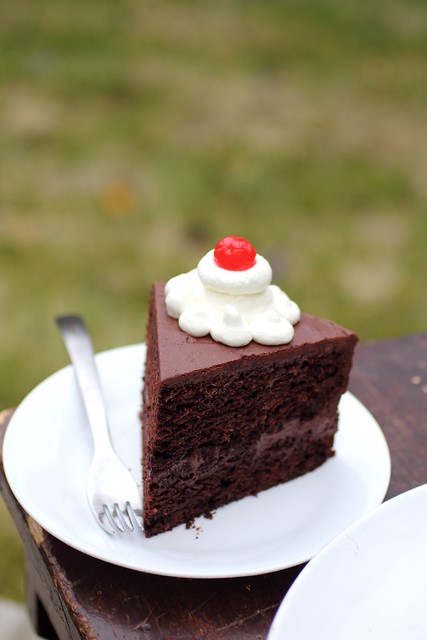
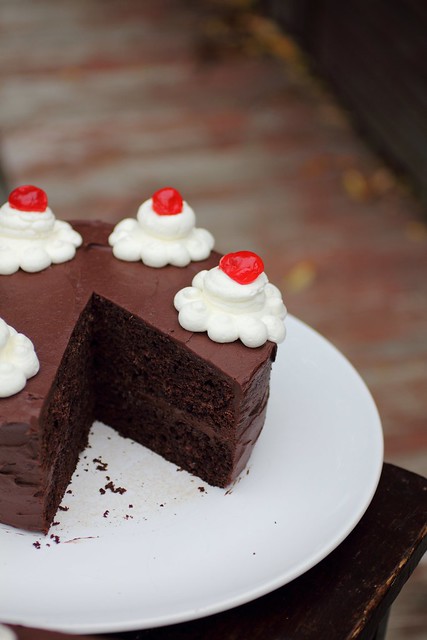
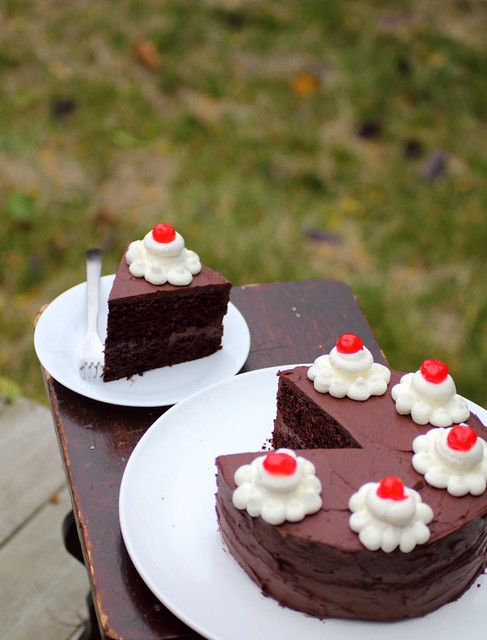
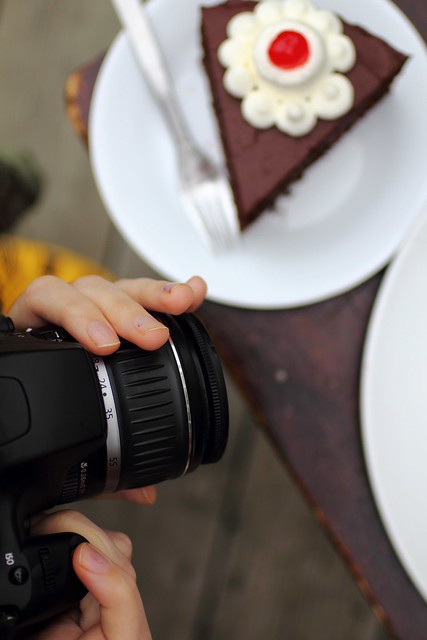
Here's a cake recipe I had bookmarked for over a year. Tracking down the IBC Root beer was a bit of a challenge but thanks to the Soda Pop Central in whitby Ontario, where I found the root beer brand and discovered a whole lot of other unique sodas and goodies!


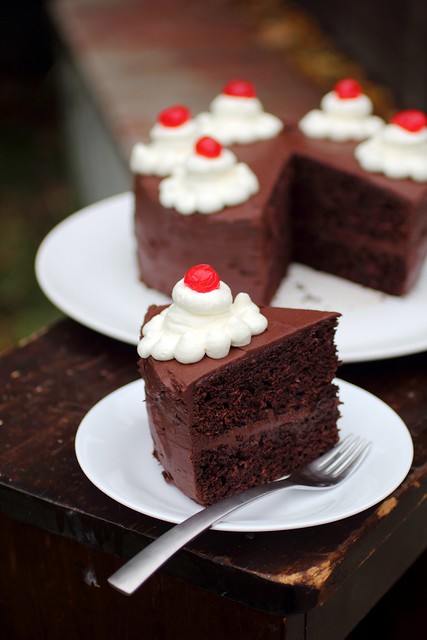
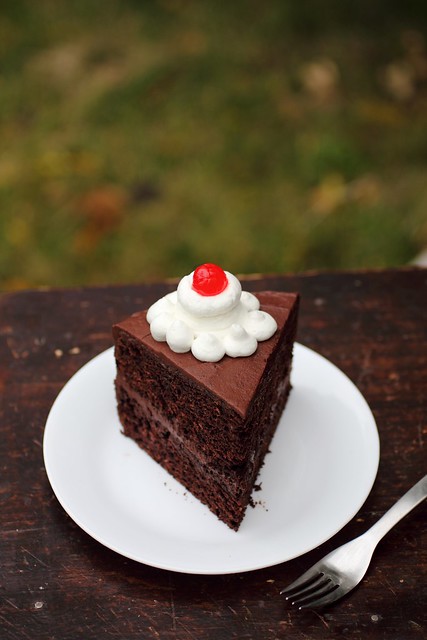
This cake is not only easy but it's super fudgy and chocolatey however to be very honest I did not taste any of the root beer. Everyone loved it though and I would make it again.

The only changes I did was soaking the cake in root beer too before frosting it to add more root beer-y flavour but the taste still didn't come through, the cake however was moist and tastes even better a few days after being left in the fridge to really meld together.


Root Beer Float Cake

From Baked, New Frontiers in Baking

2 cups root beer (don’t use diet)

1 cup dark unsweetened cocoa powder

1/2 cup unsalted butter, cut into 1/2 inch cubes

1 1/4 cup granulated sugar

1/2 cup dark brown sugar

2 cups all-purpose flour

1 1/4 teaspoons baking soda

1 teaspoon salt

2 large eggs

Preheat even to 325 degrees F. Spray the inside of a 10-inch Bundt pan (or 2 round cake pans) with nonstick cooking spray, or butter generously and dust with flour, knocking out the excess.

In a small saucepan, heat the root beer, cocoa powder and butter over medium heat until butter is melted. Add sugars and whisk until dissolved. Remove from heat and let cool.

In a large bowl, whisk together the flour, baking soda and salt.

In a small bowl whisk the eggs until just beaten. Then whisk into the cocoa mixture until combined. Gently fold the flour mixture into the cocoa mixture. The batter will be slightly lumpy. You can give it a quick whisk if you like, but don’t over beat the batter or it could cause the cake to be tough. Don’t worry, the batter is very loose.

Pour the batter into prepared pan and cook for 35-45 minutes (or 25-30 minutes for 2 cake pans), rotating the pan halfway through baking until a sharp knife inserted in the center comes out clean. Transfer to a wire rack to cool completely then loosen edges with a butter knife and turn out onto a cake plate.

Chocolate Root Beer Frosting

2 ounces 60% cocoa, melted

1 stick unsalted butter, softened

1 teaspoon salt (you may want to use less… maybe just 1/2 teaspoon)

1/4 cup root beer

2/3 cup unsweetened cocoa powder

2 1/2 cups powdered sugar

In the bowl of a stand mixer, or using an electric hand mixer, beat softened butter and cocoa powder. Once combined add the melted chocolate, salt, powdered sugar and root beer. Beat together until smooth. Spread on top of cooled cake. Slice and serve with vanilla ice cream.

Tuesday, August 16, 2011

My Mum's Orange Cake


My Mum's Orange Cake

Ingredients:
3 eggs
1 cup sugar
vanilla
rind of 1 orange
1/4 cup oil
3 tablespoons sour cream or yogurt
Whisk all the above together
Add to the wet ingredients:

2 cups flour
3 tsp baking powder
juice of one orange
Continue to whisk these last ingredients and then pour into
a greased and floured pan and bake in preheated 350 oven for 25-40 mins
depending on oven.

Thursday, July 21, 2011

Easy Custard


Custard

2 3/4 cups milk
7 large egg yolks (or more)
1/2 cup sugar
1/4 cup sifted corn starch
Vanilla
2 tbsp butter, chopped in cubes and at room temperature

Directions:

In a heavy bottom saucepan bring the milk to a simmer over medium heat.

Meanwhile in another heavy bottom saucepan whisk your egg yolks, sugar and corn starch together until you get a creamy yellow mixture.

When the milk simmers at the point just before boiling remove from heat, get your whisk ready and pour a bit into your egg mixture whisking to temper it..... now it's safe to add it all and whisk.

Set the pot back onto the heat (medium-medium low) and whisk until it thickens.

Have a bowl and a strainer ready (the strainer just for a smoother finish but mine had no lumps or anything) Once it thickens strain it into the bowl (scraping the strainer to get it all through)

Begin stirring in your butter cubes, little at a time until it's all incorporated, luscious, smooth and shiny.

Cover with a cling wrap to avoid a film in the top of your custard and let it cool, then you can set it in the fridge.

Here it's served with slices of banana and in the last shot a dollop of honey whipped cream (leftover from the beehive cupcakes)

Monday, January 17, 2011

3 X the chocolate!


Three decadent chocolate treats.

Recipe for cookie here I've added frozen Milk dud chocolates (chocolate coated caramel balls for those who are not familiar) and chopped pecans this time.

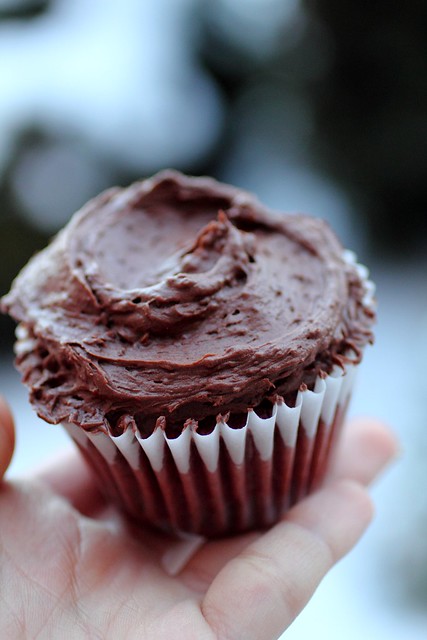
The Cupcakes is a red velvet recipe using beet juice and a bit of food colouring. I made up a bit of buttermilk using yogurt and beet juice. One tiny bottle of food colouring went in as well.
The frosting is a chocolate sour cream frosting, which is probably my favourite new thing!


Chocolate Sour Cream Frosting (for 12-15 cupcakes)
  • 170g bittersweet chocolate, finely chopped
  • 4 1/2 tablespoon (64g) unsalted butter, at room temperature
  • 1 1/2 cups confectioners’ sugar, sifted
  • 3 tbsp. unsweetened cocoa powder
  • Pinch of salt
  • 1/2 cup plus 1 tbsp. sour cream

Method:
  1. Melt the chocolate in a heat-proof bowl set over a pot of simmering water. Set aside to cool until just barely warm. (I melted my chocolate in the microwave, stir every 30s to avoid burning the chocolate!)
  2. In the bowl of a stand mixer fitted with the paddle attachment, beat butter on medium-high speed until pale.
  3. Gradually mix in the confectioners’ sugar, cocoa powder and salt, beat until light and fluffy.
  4. Beat in the melted and cooled chocolate and then the sour cream.
  5. Continue beating until the mixture is smooth and well blended.
  6. Frost cupcakes immediately.

Thanks to Kwanster blog for the frosting recipe and Pinch My salt for the original red velvet cupcake recipe


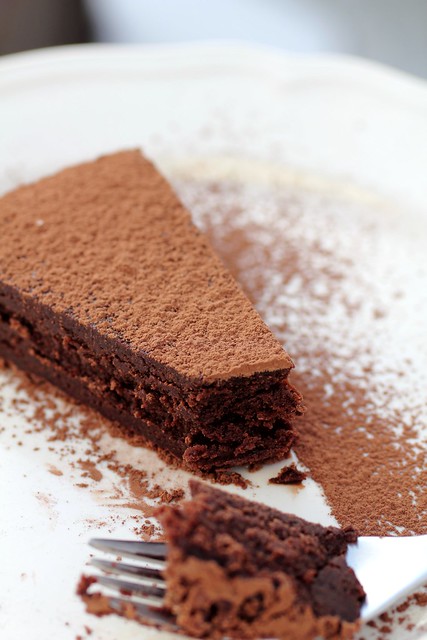
Chocolate Nemesis Tort


Ingredients:
1 cup butter
5 eggs
1 cup 1 tsp sugar
340 grams chocolate pieces - 70%
less than 1/2 cup of water. (less than half)

OR:

340gms chocolate pieces or choc broken up – 70% dark couverture
225gm unsalted butter
5eggs
210gm caster sugar
This is how you make it and don’t worry if any of it sounds odd or unfamiliar, it will work out.

- Preheat the oven to 250 degrees c (yes it seems very low)
- Butter and line a inch cake tin with baking paper (if you are using a spring form cake tin, wrap some foil around the cake tin so as to prevent any water leaking in)

- Melt the chocolate and butter in a double boiler or a bowl which is set over some boiling water, but don’t over heat and don’t allow the bowl to touch the hot water and remove from heat as soon as the chocolate is almost all melted. (I've added 2 tbsp of cocoa powder to the mixture)
- Then stir off the heat until its all melted (a good quality chocolate will melt easily and quickly as I learned on the Lindt petit gateaux course)
- Beat the eggs and 2/3 cup of the sugar with an electric mixer until the volume expands to roughly 4 times

- Heat the remaining 1/3 cup of sugar with less than 1/2 cup of water until dissolved and allow it to boil for about 1 -2 minutes (it will be a light syrup)
- Pour this syrup into the chocolate and butter mixture and allow to cool a little bit

- Pour the chocolate into the egg mixture and mix through until all combined and then pour into the baking tin

- Put a folded tea towel into the bottom of a deep sided oven dish and place the cake on this (top tip which prevents the cake from slipping)

- Pour hot water in to the pan so that it comes 3/4 of the way up the sides of the pan (I used mainly boiling water but also added tap water to bring the temp down from boiling to hot)

- Bake for 50 minutes until set and allow the cake to cool in the oven for 3 hours in the pan of water before removing and turning out.

Dust with cocoa powder


Courtesy of Drizzle and Dip with some of my own alterations.

Enjoy!

Wednesday, October 27, 2010

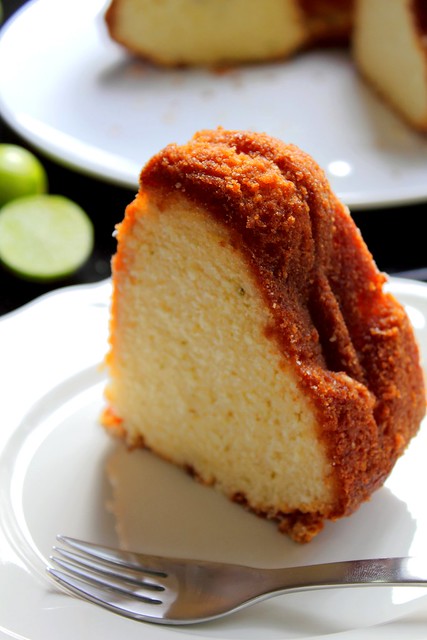
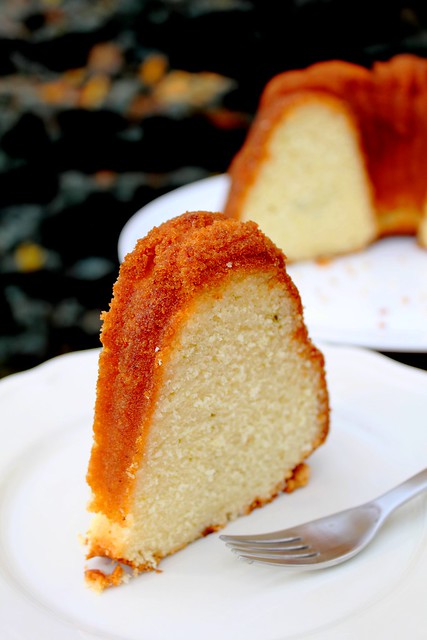
Key Lime Bundt Cake


I'm all about seasonal freshness and local food, if I see vine tomatoes but the sign says product of usa or mexico and I'd much rather go for the hothouse tomatoes grown locally.

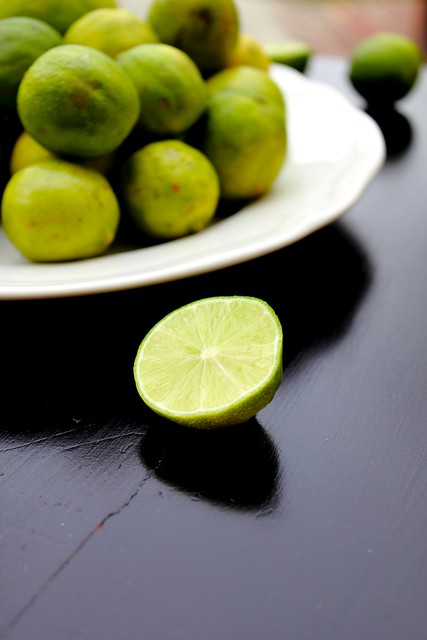
I'm also a bargain hunter so today I saw key limes, tons of them on the clearance rack, two little sacks choved onto a tray and wrapped up with plastic and a sign that says 1.49. I figured I'd give them a try since they looked pretty ok and I've been eyeing them over the summer but their price is usually close to $4.


The key lime always confused me, I've never tasted them before and I hear they are used for pie - the fameous key lime pie - but I don't have much of a sweet tooth and pie isn't my thing really, especially a citrus pie with meringue .. not my thing at all (please don't kill me lol)

When I was younger in pakistan my mother used to give us a lime type of fruit that was very sweet, and delicious but this isn't the same thing at all. I've not yet located any of those in the west yet, but my search over those sugary limes is not over yet!

Wiki says key limes are loomi amani, which is a dry lime that is brown in color used in arabic food, to flavour stews and rice, and all sorts of dishes, very popular in southern iraqi cuisine, as well as all over the gulf and parts of the middle east as well as persia where it's called leemo. Being of middle eastern backround I can work with this.

If I can dry the rest of these babies successfully (unlike the baby cherry peppers I hung from my window which resulted in a scary moldy interior -ewe! ) then all should be well and I'll have a huge stock of some dry lime for my cooking.

Not a fan of the pie as I said so a cake sounded just right. I LOVE CAKES! Especially plain sort of cakes.


Here's a good time to use the kitchen aid mixer or a hand mixer because you'll have to trust me on this, after zesting and squeezing the juice out of all those little limes the last thing I wanted to do was use a whisk.

Took me a bit to figure out what the breadcrumbs were for, I've debated whether to use panko or ordinary ones and it's a good thing I didn't season my homemade breadcrumbs with salt, pepper or anything like that because I was thinking of it last week.

Upon some searching online I found a blog which mentioned not to use panko, and instead a fine regular sort of breadcrumb so I went for that instead and seems it is a trick used for bundt pans to prevent sticking I guess. Learning something new everyday!

Moving on to the recipe. I've zested close to 10 key limes even though the recipe calls for three, why not I say - go big or go home - and their juice made EXACTLY 1/2 cup for the syrup. Yay!

Upon tasting the batter I found it to be just right, tasted like a green fruit loop to be honest, so I'm glad I went for more zest.

Next time I'll use coconut milk instead of regular, and see how that turns out!
My cake baked for exactly 1 hour, so keep an eye on it, Also I've placed another tray under the bundt to prevent any browning because my oven is hotter than the norm.

Recipe for Key Lime Bundt Cake

Best made the day before. Helpful to have one of those microplane graters for lime zest. I think I use a bit more zest than the recipe calls for. Enjoy!

Fine dry bread crumbs & softened butter (for coating pan)
3 cups sifted all-purpose flour
2 tsps baking powder
1/2 tsp salt
8 oz unsalted butter, at room temp.
2 cups sugar
4 extra large or jumbo eggs (I often use 5 large eggs)
1 cup milk
Finely grated zest of 3 limes, preferably key limes

Glaze:
1/2 cup fresh key lime juice or 1/4 cup each lime & lemon juice
3/4 cup sugar

Oven 350 degrees
Butter 10 inch tube pan (I use my Bundt pan) and sprinkle w/ bread crumbs (coat - use a lot of butter)

Sift together flour, baking powder, salt and set aside.
Beat butter till soft, gradually add sugar, beat 'till light & fluffy. Beat in eggs one at a time, scraping down bowl after each addition.
On lowest speed, alternately add dry ingredients & milk, scraping bowl as nec. and beating just to mix each addition.
Stir in lime zest by hand.
Pour half the batter on one side of pan, half in other. Level top by briskly rotating pan back and forth.

Bake until cake tester comes out clean, about 1 1/4 hours. Let cool slightly on wire rack - 10-15 mins.

Stir lime juice and sugar together just to mix.

Place cake rack on tube pan and invert and place rack over foil. Using pastry brush, brush glaze all over warm cake until completely absorbed. Brush on any glaze that drips onto foil.

Let cake cool completely & transfer to cake platter. Let stand loosely covered for several hours or preferably over night. When ready, outside of cake will be completely dry.

Thanks to MMRuth, a chowhound member for this recipe. It is a delicious cake and I'll be making it again and again!!!