Showing posts with label dark chocolate. Show all posts

Wednesday, August 10, 2011

From frozen cream puffs..

Those leftover cream puff shells frozen beautifully from June's Strawberry Party ... so I made some more pastry cream and whipped this impressive dessert up in no time!

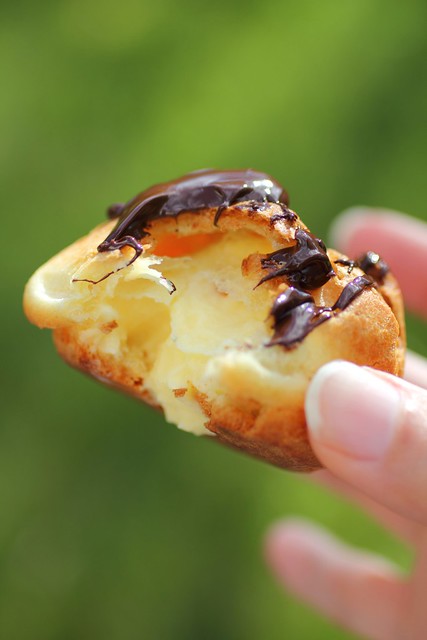
Luscious Pastry Cream

Enough to fill about 20 cream puffs.

2 cups milk
6 large egg yolks
1/2 cup sugar
1/3 cup sifted corn starch
3 1/2 tbsp butter, chopped in cubes and at room temperature

Directions:

In a heavy bottom saucepan bring the milk to a simmer over medium heat.

Meanwhile in another heavy bottom saucepan whisk your egg yolks, sugar and corn starch together until you get a creamy yellow mixture.

When the milk simmers at the point just before boiling remove from heat, get your whisk ready and pour a bit into your egg mixture whisking to temper it..... now it's safe to add it all and whisk.

Set the pot back onto the heat (medium-medium low) and whisk until it thickens.

Have a bowl and a strainer ready (the strainer just for a smoother finish but mine had no lumps or anything) Once it thickens strain it into the bowl (scraping the strainer to get it all through)

Wait 5 mins then begin stirring in your butter cubes, little at a time until it's all incorporated, luscious, smooth and shiny.

Cover with a cling wrap to avoid a film in the top of your custard and let it cool, then you can set it in the fridge. Or put it in a pastry bag and set it in another container in the fridge to avoid the extra step when ready to fill.

TO Prepare pre-made frozen shells:
Remove your shells from the freezer the night before and set in the fridge. When ready to use lay them out on a baking sheet and bake at 200 F for 8 10 mins or so until they are solid when tapped on with your fingers, they should be dry but not browned any more than they were when baked.

Let these cool well before stuffing.

To stuff: Poke a small hole in the bottom with a paring knife and then put the pastry bag tip inside and slowly fill.

Drizzle chocolate or make a ganache glaze, recipe here.

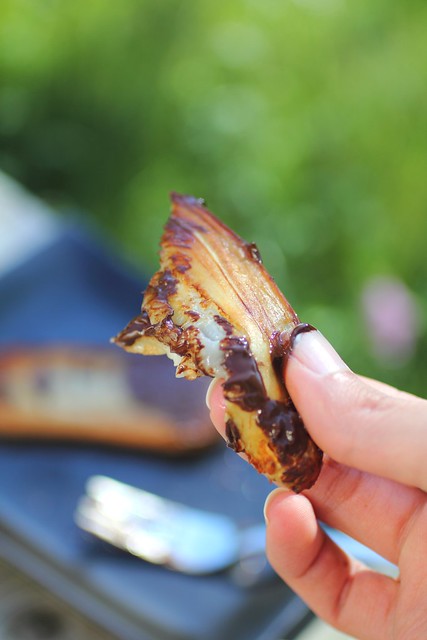
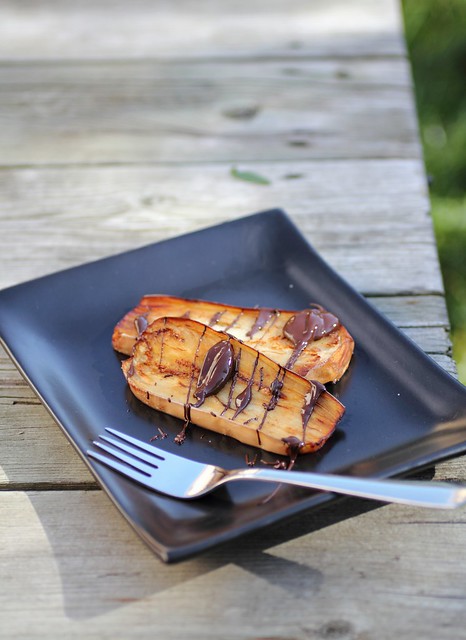
Dark Chocolate Drizzled Salted Fried Eggplant


Here's a fun twist for dessert!

Salted fried eggplant drizzled with dark chocolate.

Ok when I first saw David Rocco making this on his Italian cooking show "Dolce Vita" I had to rewind it to make sure I heard him correctly.

Eggplant and what??? CHOCOLATE!! That just sounded weird but as I watched I thought to myself that it's a simple enough recipe so even if I didn't like it there would be little waste, could just try a bit and then if it wasn't for me the rest of the fried eggplant could go into a pita with tomatoes.

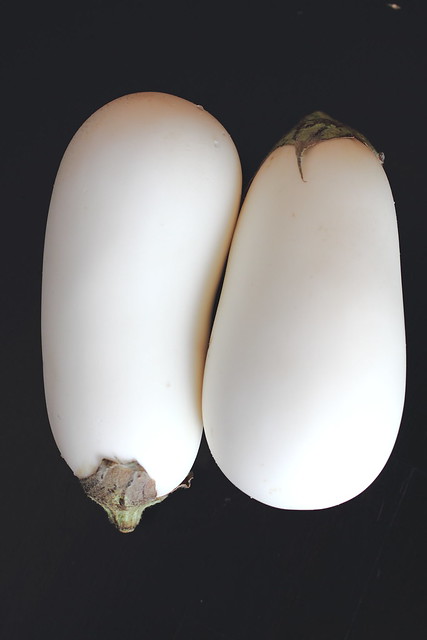
Instead of the regular eggplant I used a white eggplant because it was on hand and has a much more delicate and sweet flavour, no harsh bitterness that goes along with the regular eggplants so it seemed perfect for the recipe.


Eggplant gets fried in shallow oil, no salting ahead of time for these, and then they get sprinkled with a bit of salt once they come out of the hot oil and drizzled with melted dark chocolate.

It's that easy!


Monday, January 17, 2011

3 X the chocolate!


Three decadent chocolate treats.

Recipe for cookie here I've added frozen Milk dud chocolates (chocolate coated caramel balls for those who are not familiar) and chopped pecans this time.

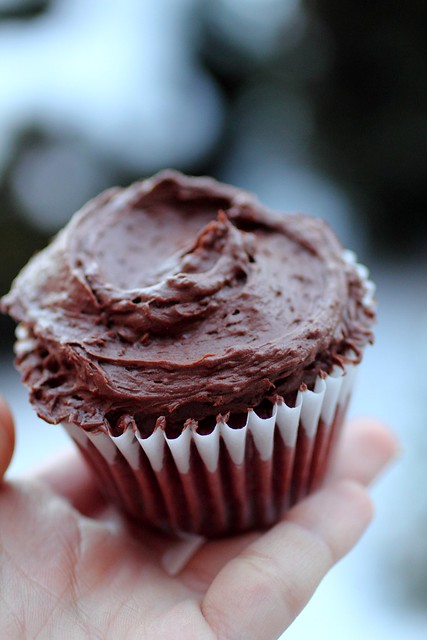
The Cupcakes is a red velvet recipe using beet juice and a bit of food colouring. I made up a bit of buttermilk using yogurt and beet juice. One tiny bottle of food colouring went in as well.
The frosting is a chocolate sour cream frosting, which is probably my favourite new thing!


Chocolate Sour Cream Frosting (for 12-15 cupcakes)
  • 170g bittersweet chocolate, finely chopped
  • 4 1/2 tablespoon (64g) unsalted butter, at room temperature
  • 1 1/2 cups confectioners’ sugar, sifted
  • 3 tbsp. unsweetened cocoa powder
  • Pinch of salt
  • 1/2 cup plus 1 tbsp. sour cream

Method:
  1. Melt the chocolate in a heat-proof bowl set over a pot of simmering water. Set aside to cool until just barely warm. (I melted my chocolate in the microwave, stir every 30s to avoid burning the chocolate!)
  2. In the bowl of a stand mixer fitted with the paddle attachment, beat butter on medium-high speed until pale.
  3. Gradually mix in the confectioners’ sugar, cocoa powder and salt, beat until light and fluffy.
  4. Beat in the melted and cooled chocolate and then the sour cream.
  5. Continue beating until the mixture is smooth and well blended.
  6. Frost cupcakes immediately.

Thanks to Kwanster blog for the frosting recipe and Pinch My salt for the original red velvet cupcake recipe


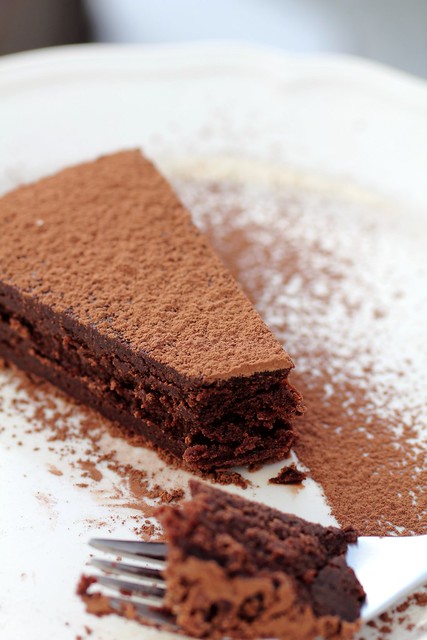
Chocolate Nemesis Tort


Ingredients:
1 cup butter
5 eggs
1 cup 1 tsp sugar
340 grams chocolate pieces - 70%
less than 1/2 cup of water. (less than half)

OR:

340gms chocolate pieces or choc broken up – 70% dark couverture
225gm unsalted butter
5eggs
210gm caster sugar
This is how you make it and don’t worry if any of it sounds odd or unfamiliar, it will work out.

- Preheat the oven to 250 degrees c (yes it seems very low)
- Butter and line a inch cake tin with baking paper (if you are using a spring form cake tin, wrap some foil around the cake tin so as to prevent any water leaking in)

- Melt the chocolate and butter in a double boiler or a bowl which is set over some boiling water, but don’t over heat and don’t allow the bowl to touch the hot water and remove from heat as soon as the chocolate is almost all melted. (I've added 2 tbsp of cocoa powder to the mixture)
- Then stir off the heat until its all melted (a good quality chocolate will melt easily and quickly as I learned on the Lindt petit gateaux course)
- Beat the eggs and 2/3 cup of the sugar with an electric mixer until the volume expands to roughly 4 times

- Heat the remaining 1/3 cup of sugar with less than 1/2 cup of water until dissolved and allow it to boil for about 1 -2 minutes (it will be a light syrup)
- Pour this syrup into the chocolate and butter mixture and allow to cool a little bit

- Pour the chocolate into the egg mixture and mix through until all combined and then pour into the baking tin

- Put a folded tea towel into the bottom of a deep sided oven dish and place the cake on this (top tip which prevents the cake from slipping)

- Pour hot water in to the pan so that it comes 3/4 of the way up the sides of the pan (I used mainly boiling water but also added tap water to bring the temp down from boiling to hot)

- Bake for 50 minutes until set and allow the cake to cool in the oven for 3 hours in the pan of water before removing and turning out.

Dust with cocoa powder


Courtesy of Drizzle and Dip with some of my own alterations.

Enjoy!

Saturday, October 23, 2010

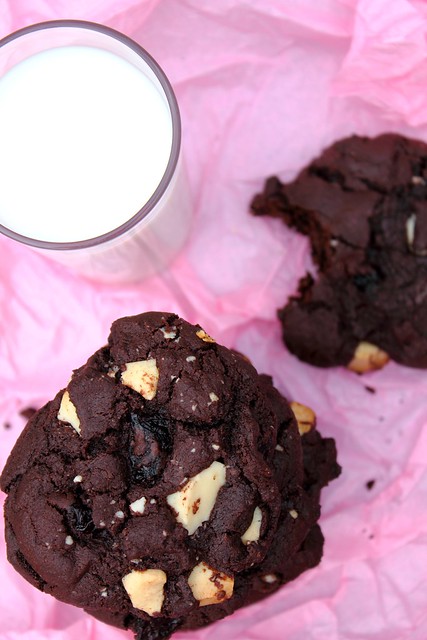
- THE - BEST chocolate cookie

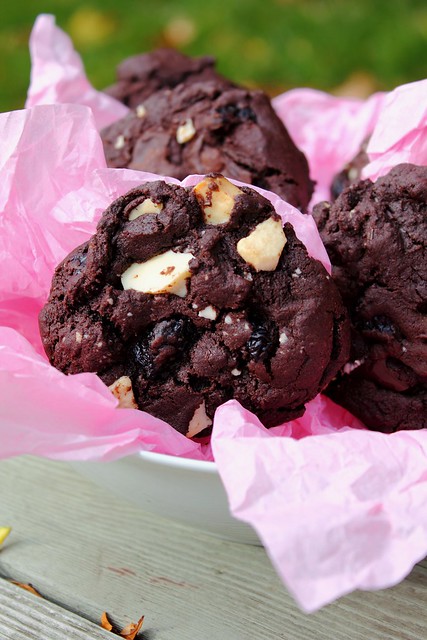
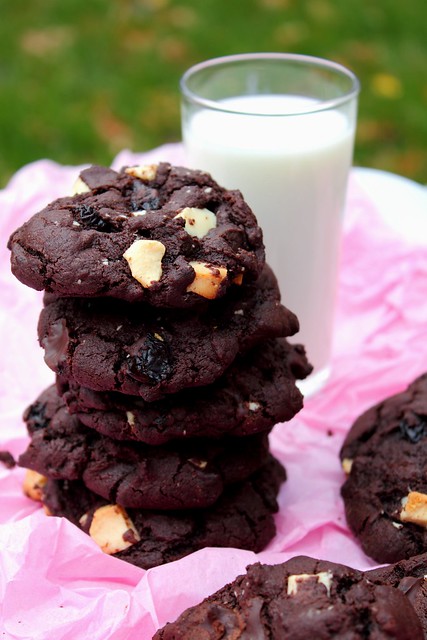
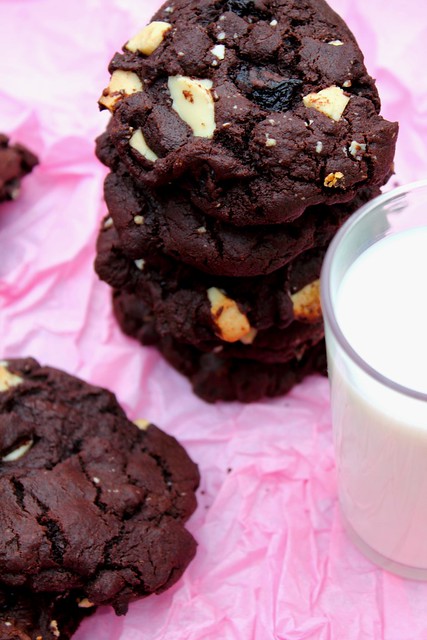
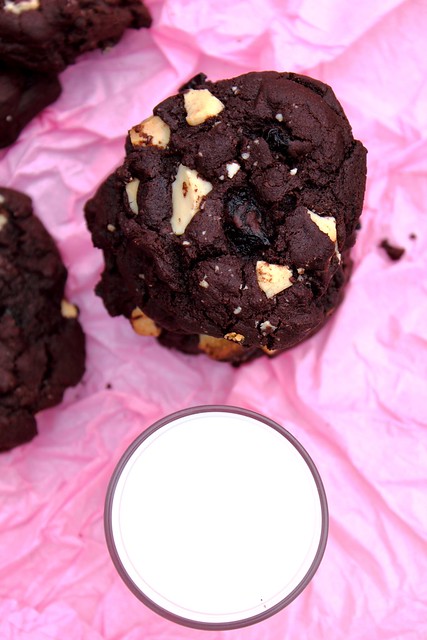
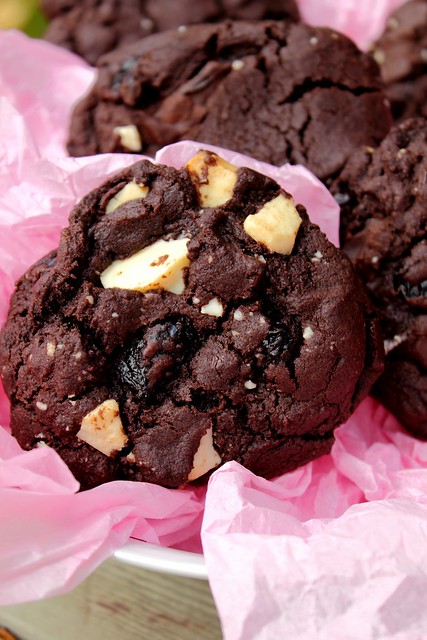
Cherry Chocolate Chunk Cookie

THE best chocolate base cookie, chewy, moist, chocolaty, brownie like, semi soft and so delicious!
I've added both white and dark chocolate chunks and 1/2 cup halved dried cherries, the recipe yields 12 larger cookies for me.
Try adding spices for a chocolate mexican cookie or cranberries, nuts, candy .. the possibilities are endless.

INGREDIENTS

1 cup all-purpose flour, sifted
1/2 cup cocoa powder, sifted
1/2 tsp baking soda
1/4 tsp baking powder
1/4 tsp salt
1/2 cup unsalted butter, at room temperature
1/2 cup sugar
1/2 cup light brown sugar
1 large egg, at room temperature
1 tsp vanilla extract
6 oz white chocolate, chopped into chunks

DIRECTIONS

In medium bowl, combine flour, cocoa, baking soda, baking powder and salt; set aside. In stand mixer with paddle, mix butter and sugars on low speed for 30 seconds. Beat until fluffy on medium-high, about 2 minutes. Turn to low, add vanilla and egg, mixing until combined. Slowly add dry ingredients until combined. Stop machine and fold in white chocolate by hand.

Line 12-by 18-inch baking sheets with parchment paper. Drop heaping tablespoons of dough 2 inches apart on trays and lightly flatten. Bake on middle rack of 350F oven until puffy and cracked, 10 to 12 minutes. If pans won't fit side by side on middle rack, use top and middle, switching trays halfway through baking time, quickly, to maintain oven temperature.

Cool completely before storing in airtight container for up to 3 days.

Makes 30 cookies

Source


Saturday, October 16, 2010

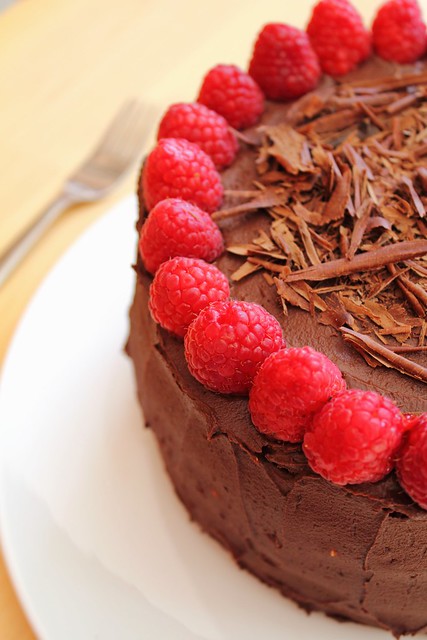
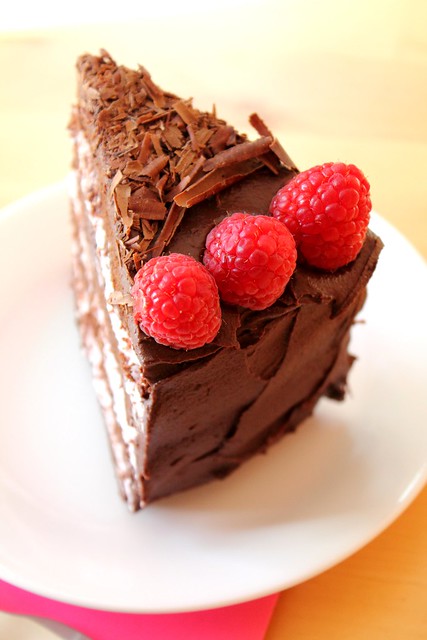
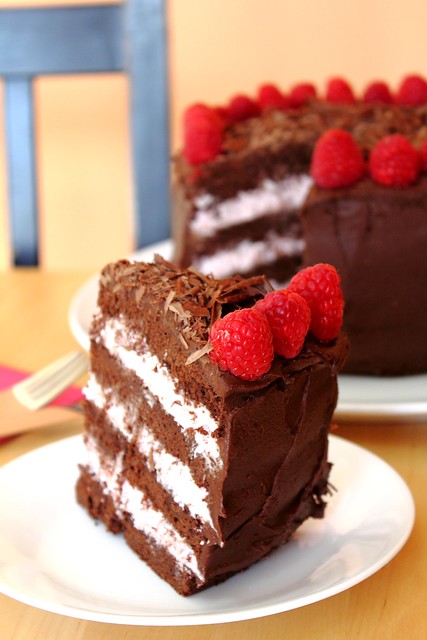
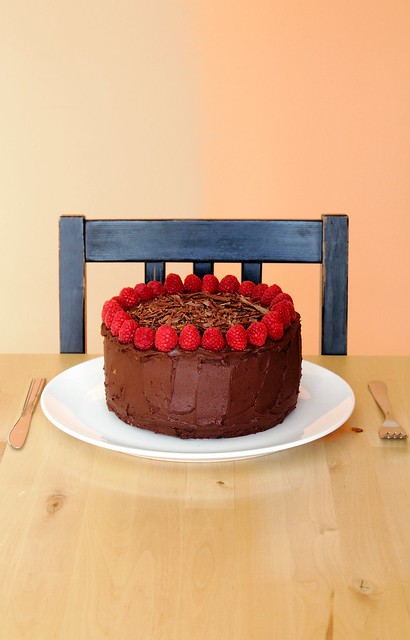
Raspberry dark chocolate cake!


I rarely go all out and make a cake, that's more my sisters department as she's an excellent baker but today I've had some help, for the most part and this cake was practically instant.

The cake part is a recipe for black forest sponge cake, recipe here The last time I've used this recipe was for a black forest cake and it was really delicious, light and spongy, like a bakery style cake.

The filling is pink, you may not be able to see that much in the picture but right now, about 24 hours since I've made it the color has darkened in the fridge. It's basically a whipped cream with homemade sweetened raspberry puree that I defrosted from last years raspberry picking trip.

When the cream comes to the soft peak stage the defrosted fruit puree is added in and then it's whipped up, the site here explains adding fruit purees to whipping cream, I was very worried about this stage because my buttercream split last time I mixed it with whipping cream so the thought of adding anything liquid to whipping cream terrified by but it went very well.

Finally it was frosted with a frozen ganache I had in the freezer as well for about 4 months now, I left it in the fridge overnight then let it come to room temperature and beat it with the paddle attachment while slowly adding some heavy cream to make it softer and more buttercream like (because ganache can be very stiff and hard)

A thin crumb coating went on first, then I let it sit an hour in the fridge and then the final layer was applied with the decorative raspberries and chocolate curls.

Super super easy cake, the dark chocolate raspberry combination is classic, do give it a try!