Showing posts with label appetizer. Show all posts

Sunday, December 9, 2012

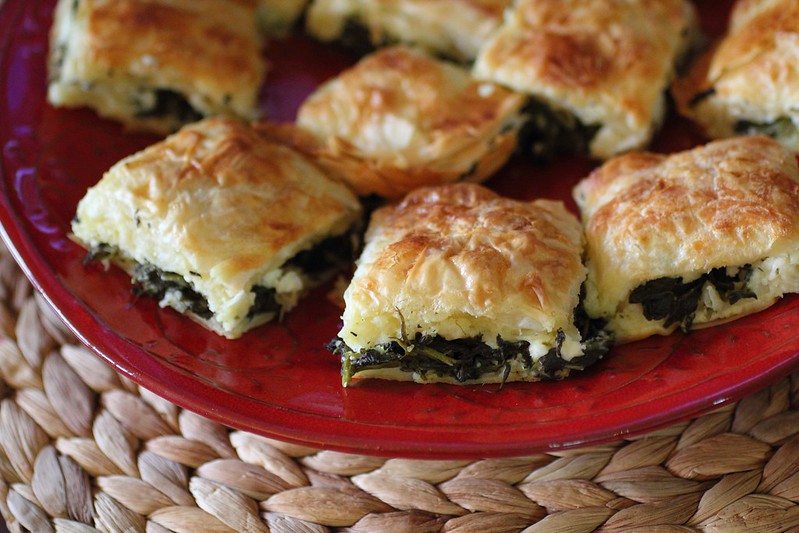
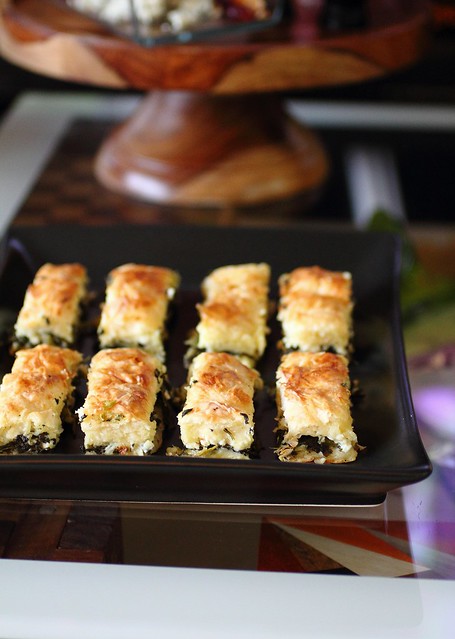
Turkish Borek Appetizer (using Cookin' Greens)


I want to express my excitement for this product that I recently discovered, it's called Cookin Greens and it's basically all those good healthy greens that you should be eating but might be too intimidated to try, or maybe like me you're just too inconvenienced by the process of buying those large bunches of wet leaves from the supermarket and then having to shove them in the fridge somewhere and wash/chop/blanch whenever you have a moment in your busy life!

Who has time for all that? I'm sure those are some of the reasons that people are less encouraged to buy them regularly!  .... so you can imagine my excitement when I saw this bag of frozen greens on tv, I mean flash frozen greens which are at the convenience of your fingertips, just open the bag and throw it into soups, pasta dishes, casseroles, blanch, steam, make dip, whatever you fancy but you can at least sleep at night knowing that you've had your GREENS! Those greens that we keep hearing about as cancer fighting and probably the healthiest of all the vegetables.

I will be buying these, for sure! They are available at the organic frozen freezer in Metro, and Loblaws Superstore as well as other stores, check their site www.cookingreens.com for more details.   I think it's totally worth it because you're getting the healthy and fresh greens which you sometimes can't even get in the regular produce department.
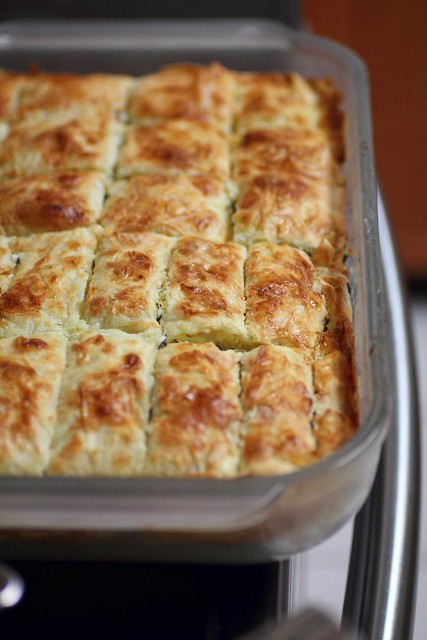
I wanted to make something that is fun for parties so a Turkish borek was perfect, we make it regularly in our household and it's a hit with guests because it's crispy, delicate, fancy and vegetarian too but healthy all at the same time!  Normally we make it with spinach but adding the greens will just bump up the nutrition.  You can do it with just greens or greens and feta cheese.

Turkish Borek Appetizer  (using Cookin' Greens Designer mix instead of plain spinach)

Filling:


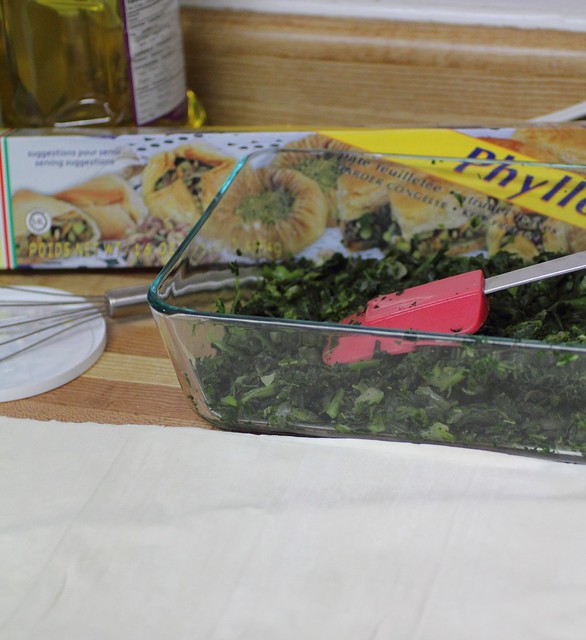
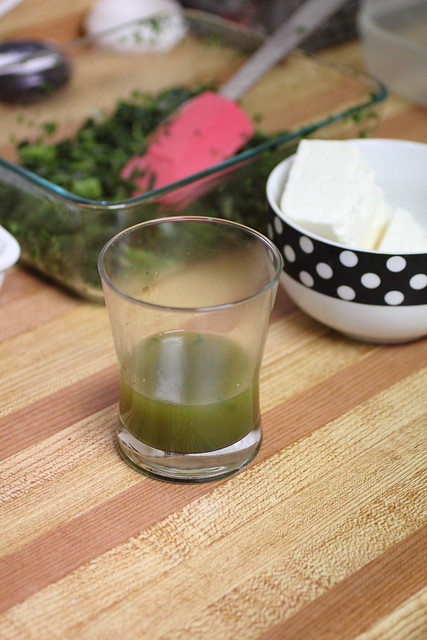
- 1 pack Cookin' Greens designer mix (it containers spinach, rapini, collards, onion, yellow wax beans)  I dumped it all into a shallow pan and picked out the wax beans then threw them back into the freezer for another use.

Blanch greens: Place in a pot with 1/2 cup water, pinch of salt and 2 cloves of garlic whole, steam for 5-10 minutes.  Strain the greens from the water really well and place into shallow pan.

Use the water for soup or just add some salt and drink it! It's healthy :)


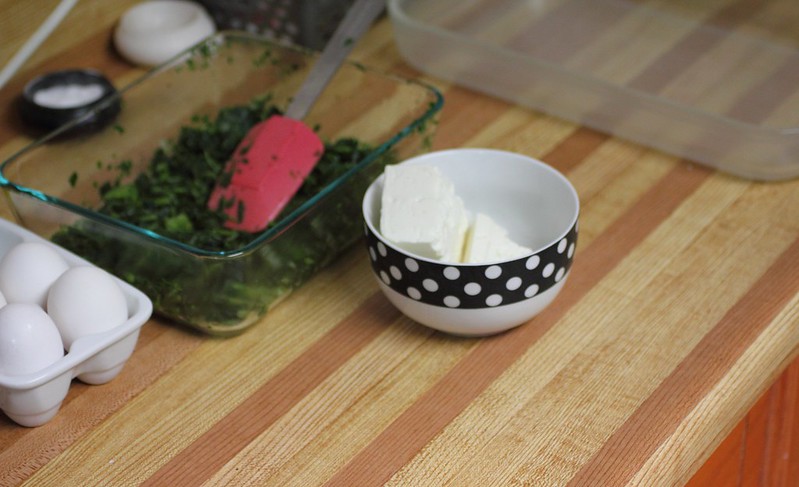
- 1 cup feta cheese
- 1-2 tbsp lemon juice (optional)

Shell:
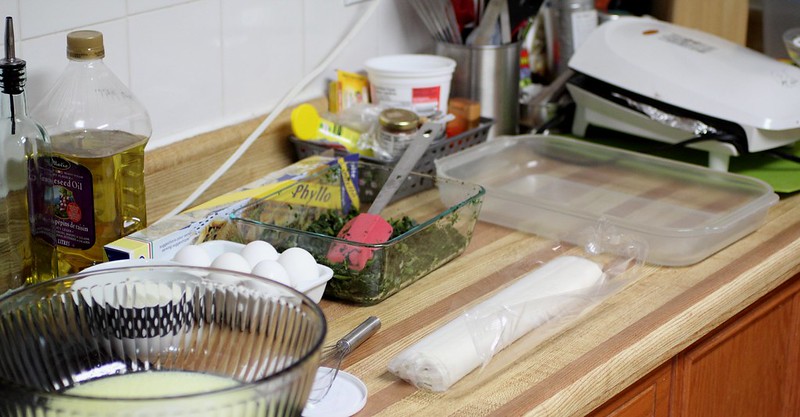
- 1 package phyllo from freezer, thawed overnight in fridge.

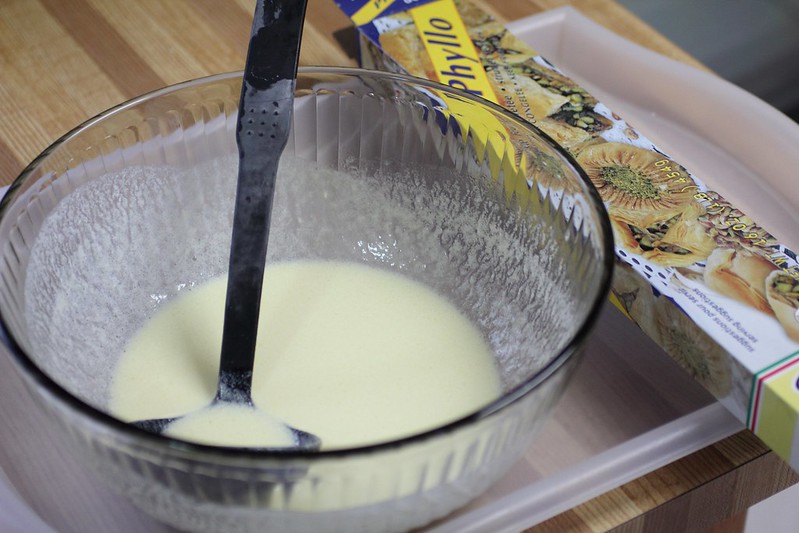
Batter, mix in a bowl:

- 1 cup milk
- 1 cup yogurt
- 1/2 cup olive oil (or melted butter) You can use another oil if you'd like.

- 2 eggs

Pinch of salt


Preheat oven to 350 F

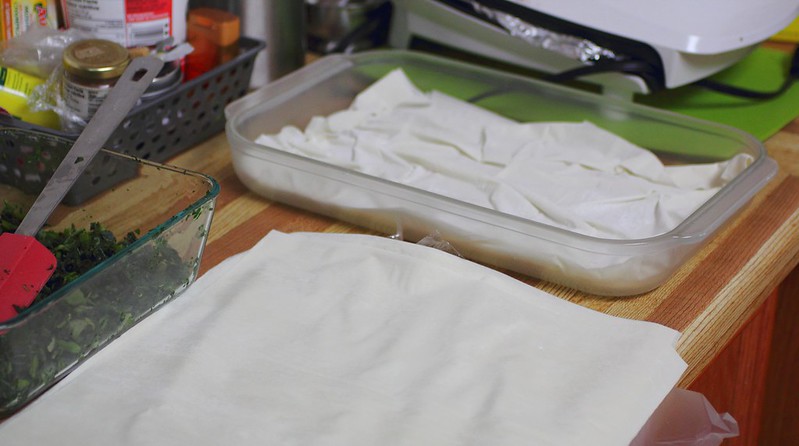
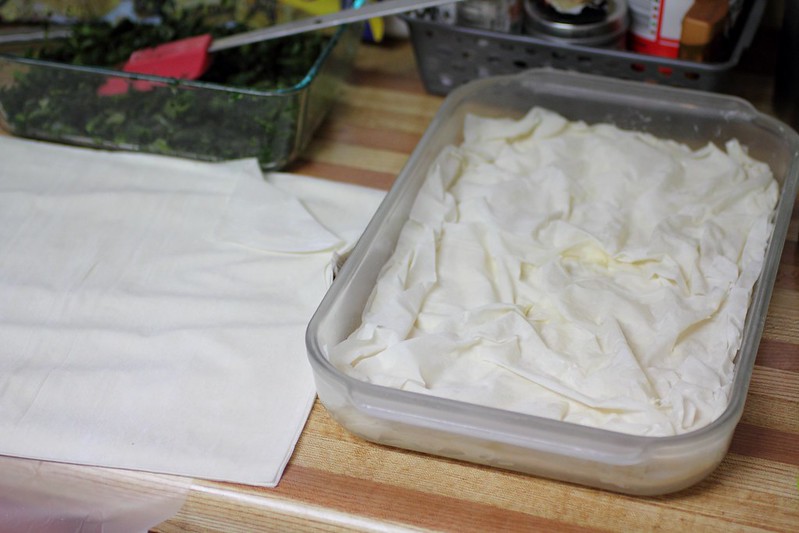
Open phyllo package, lay the pieces flat.
Take 2 layers and place in pan, if the pieces are larger than the pan it's ok, crinkle them up a bit to make it fit.

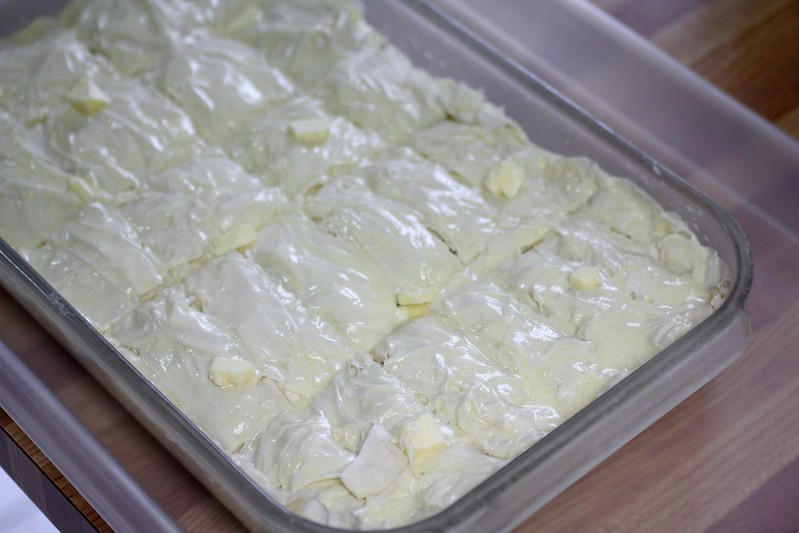
Add a ladle or so of batter and spread over the phyllo layer, using hand make sure to cover all areas so the phyllo isn't dry.

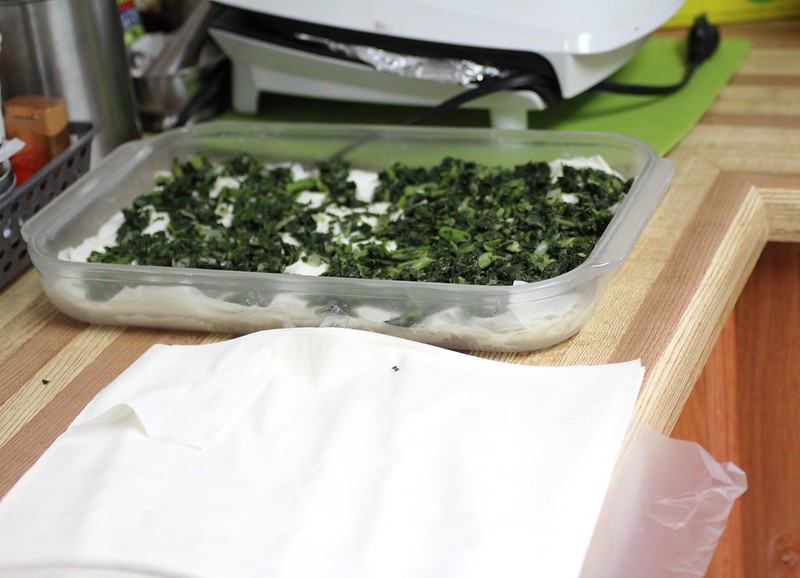
Do another 2 layers, then batter, then another 2 and batter and another 2 then you would have achieved 8 layers.  No batter on the top here.

Add the greens, spread out.
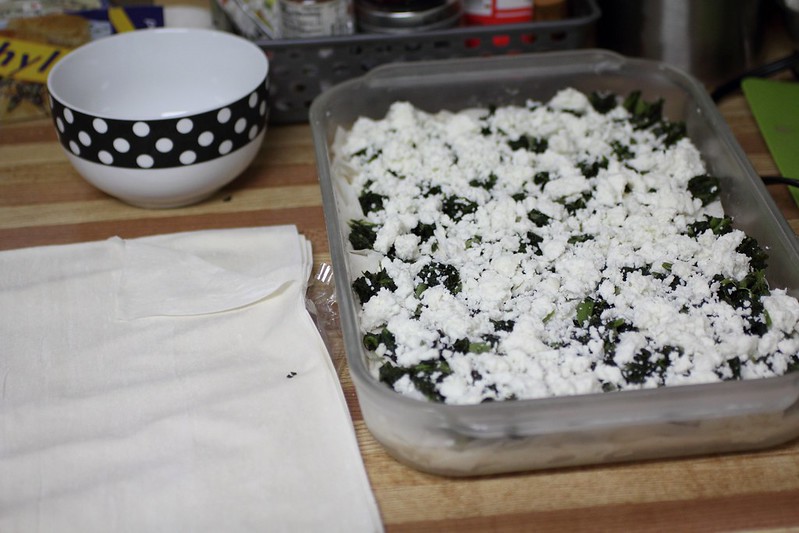
Grate the feta with a large grater over top, sprinkle with lemon juice and begin with another 8 layeres, two at a time adding batter over top each 2 layers.  If you want them more crispy use less batter, you could have 2 ladle fulls leftover like me.

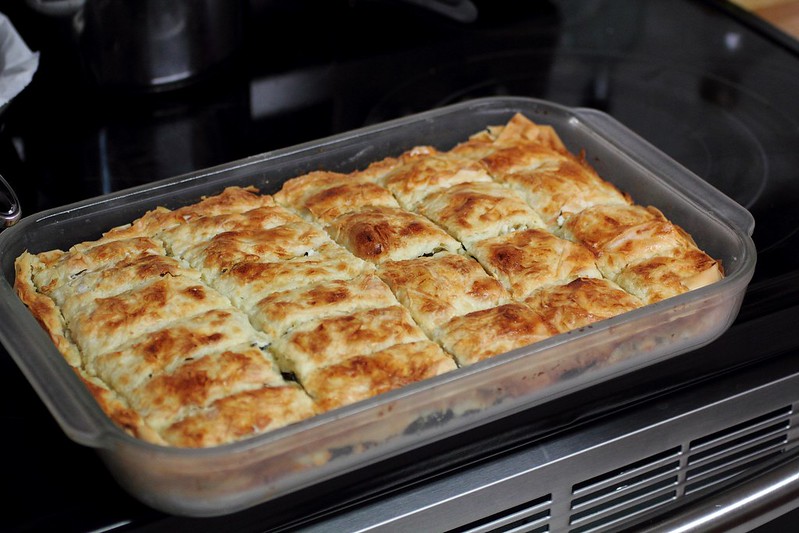
Score almost all the way through into long finger shapes or into squares, if making appetizers do them smaller.

Bake, and check in 35 minutes. Broil on top if needed for a golden layer (it boils in seconds so stay close to the oven)


Recipe adapted from this lovely video by Turkish Mother and Daughter duo cooking in the kitchen.

Enjoy!! :)
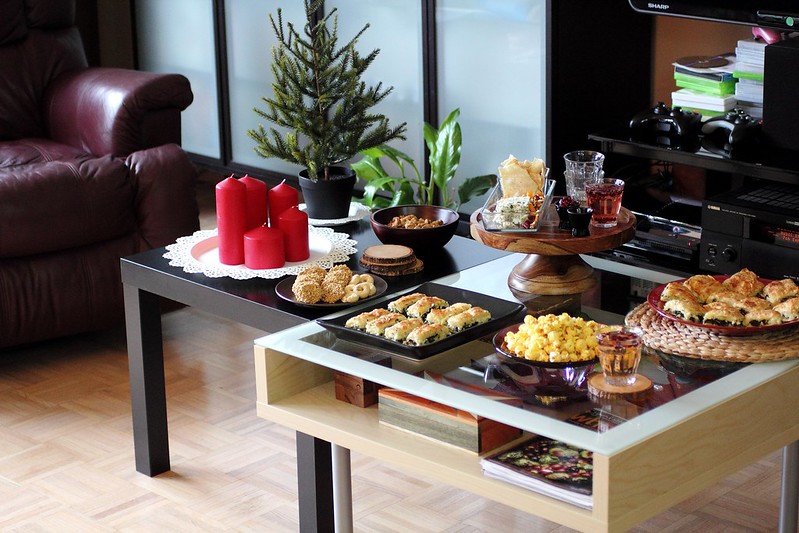
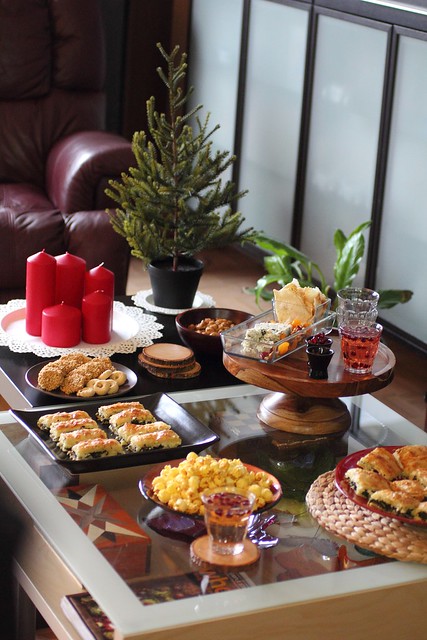
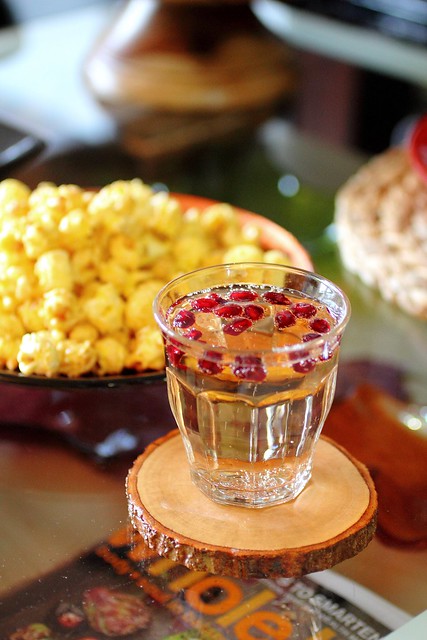
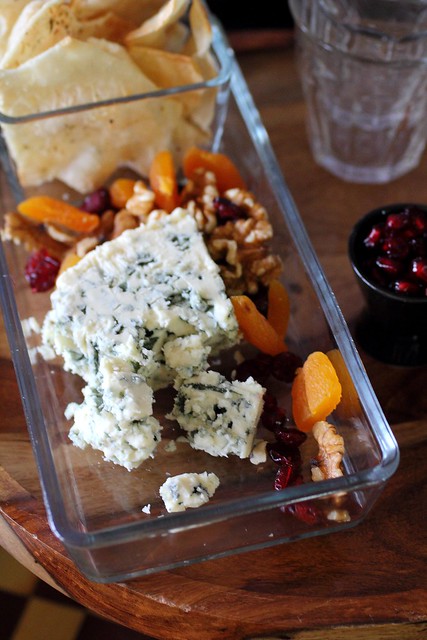
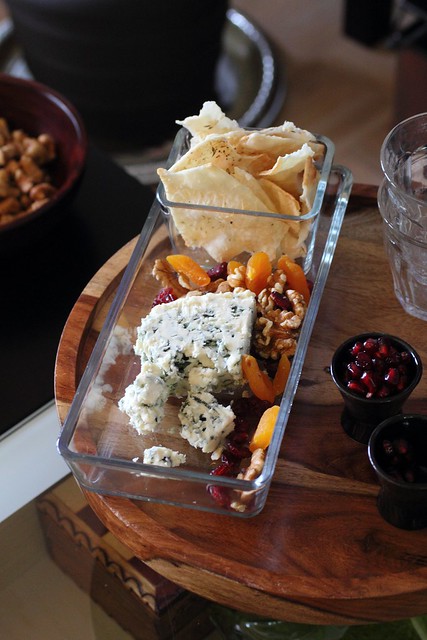
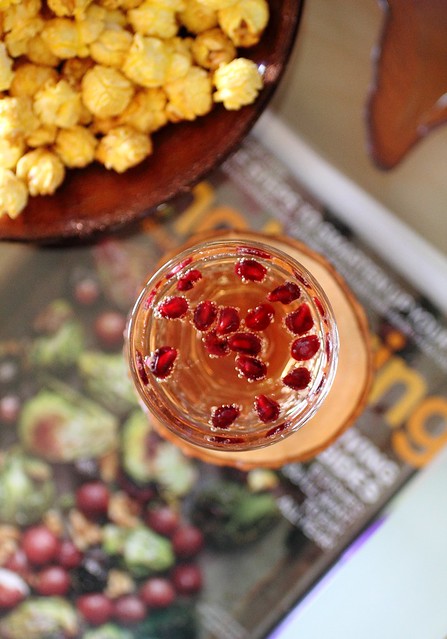
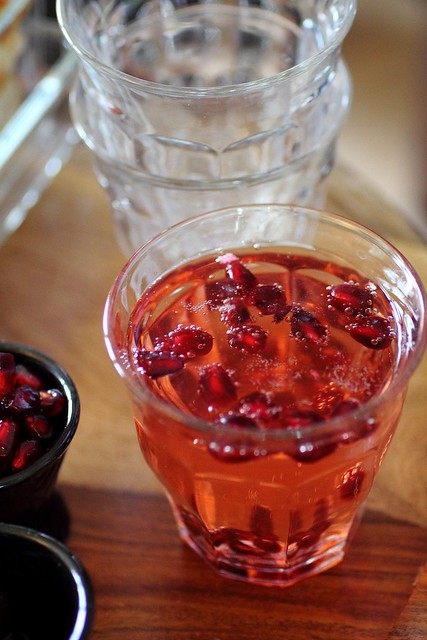
.. And there is no excuse when it comes to entertaining... I threw together this little party grazing station in seconds!!   Thanks to the mounds of stuff I collect from my favourite places like IKEA/ Chapters/Indigo and HomeSense as well as some small treats I had laying around (dry nuts/cookies, kettle corn)  it all came together.


Tuesday, December 4, 2012

My Middle Eastern twist on the Cheese Ball


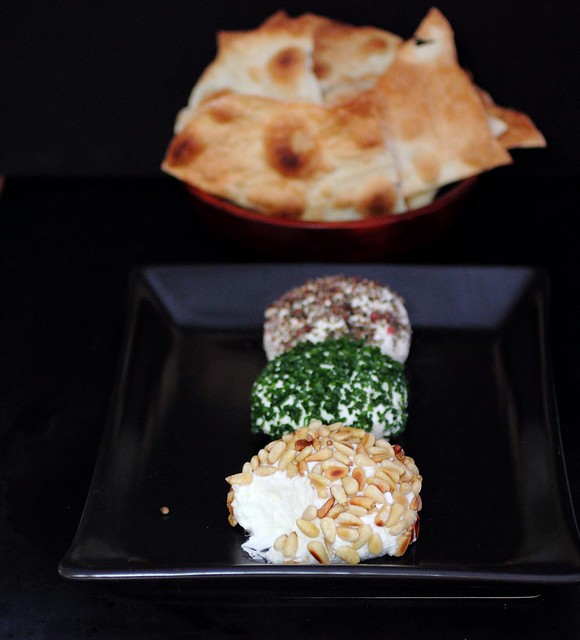
This is my take on the cheese ball (the famous creamy soft appetizer served with some kind of crispy chip/bread at parties)
Here I've added my middle eastern touch, and served them with homemade lavash (it's really quite simple to make, you will be surprised!)

We'll start with the cheese ball(s)
I used soft savoury cheeses, no cream cheese here.

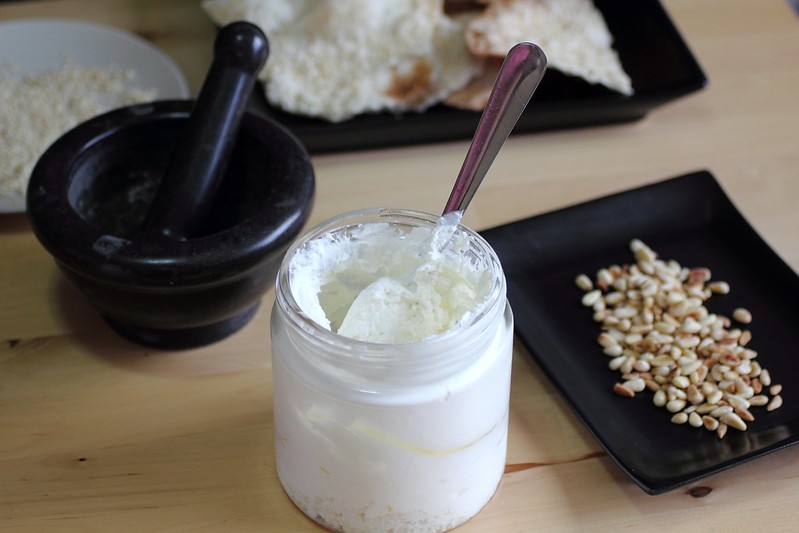
I start with Lebneh, it is a middle eastern soft creamy "cheese" made from yogurt, basically it's a strained yogurt, it's like the greek yogurt and it's the base used in dips or just served as a breakfast food drizzled with olive oil (you've probably seen it on my blog before!)

I made my lebneh because it's super easy, check out the basic instructions here  on my flickr.  Salt is added during the process so it's already seasoned.
Even after it's done sometimes lebneh can release some water as it sits so before making the cheese ball I strain some again by placing the desired amount into a bowl lined with a clean sheet of paper towel (a sturdy paper towel brand is better so that it doesn't fall apart)  This should just make it extra firm. 

The second cheese I used is goat cheese and the third variety is sheep's feta, both these were whisked together until creamy (feta is a bit crumbly so it requires a bit of whisking into the goat cheese to yield a smooth consistency)

I'd say the ratio is 50 % lebneh to 30%  goat cheese and 2% feta. 

For flavourings you can add whatever you like into the cheese or leave it plain!  I grated a small clove of garlic and zested a lemon (just a bit!)   No need to add salt and all these cheeses have enough salt. 

Blend, mixing well (you can set it in the fridge overnight!) 

Now I roll out 3  pieces of cling wrap and 3 big dollops of this creamy cheese mixture in the centre of each piece, divide in thirds so they end up equal.
Bringing the sides of the cling wrap together and twisting at the base, I tried to shape the cheese into a ball as best as possible then set them all on a flat plate and into the freezer for 20 minutes or so (this will make it easier to work with)


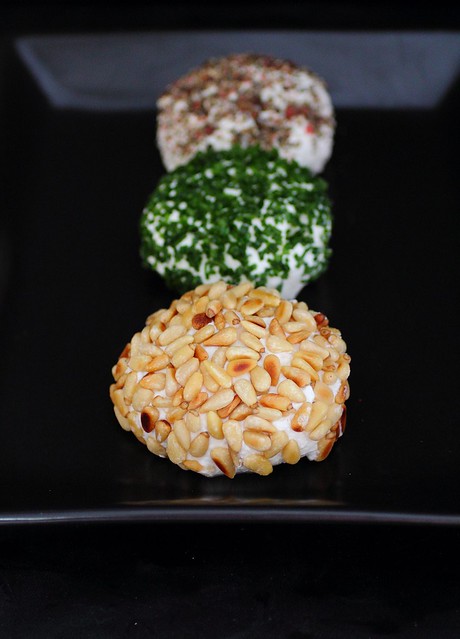
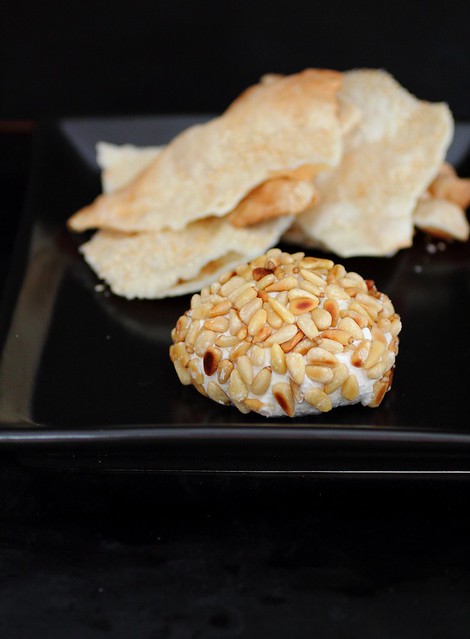
For the first cheese ball I rolled it in toasted pine nuts (toast the day before if you'll be too busy the day of your party!)  Toast in a dry pan on medium low until golden and move them around so they don't burn. 
Set aside to cool.

When I was ready to roll I  removed the balls and simply rolled the top and sides because this cheese is  pretty soft so I upwrapped the top and held the bottom with the cling wrap and just dunked top facing down into the pine nuts and then covered the sides by rolling gently. 
I set it gently on a plate and pulled out the cling wrap from under. 

The same technique worked for the chives (chopped finely) and the last one is covered in a light dusting of coloured pepper corns that were crushed in the mortar and pestle. Using coloured peppercorns is better that straight black ones because the green/pink peppercorns are more mild (I don't even think they're actual peppercorns but more like in the berry family or something)   I love black pepper but this one might be too intense for some people so you could switch this for anything else that you prefer. 

LAVASH:

The lavash is of 3 or 4 varieties but the dough is all the same.  It begins with the awesome recipe from my favourite bread book, Peter Reinhart's "The Bread Baker's Apprentice"  (I travelled around the world clutching this book and preferred to leave behind clothing just so that I'd be able to carry this book back with me! It is that fantastic!)

Check out the recipe here in case you do not have the book, but I highly recommend getting it.

I made the dough, proofed it overnight (yeah yeah, a little longer that I should have but anyway.. ) then divided it into 3 equal sized balls.

I rolled out and baked one at a time.  Rolling out each piece really thin, drizzled and wiped it with a bit of water and sprinkled the first with toasted sesame seeds, the second I did half with toasted cumin seeds and sea salt and the other half with toasted corriander seeds and sea salt. 
The last one I grated a bit of aged parm cheese (the real stuff) 

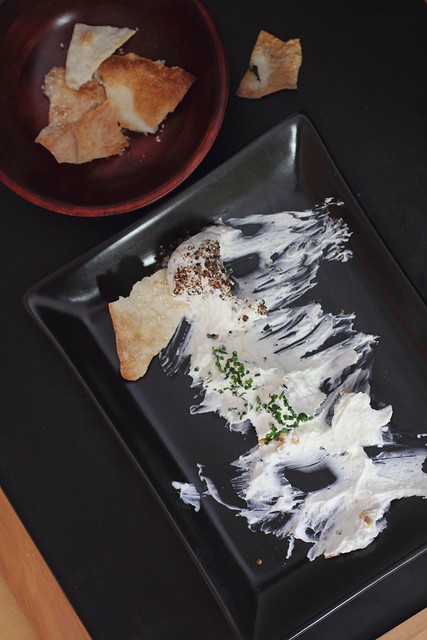
Bake, break 'em up into bite sized pieces and start dipping!!

Enjoy your party!


Sunday, October 24, 2010

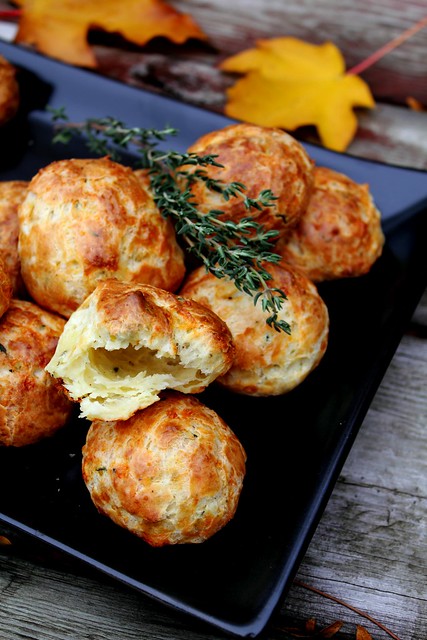
Cheddar Thyme Gougères


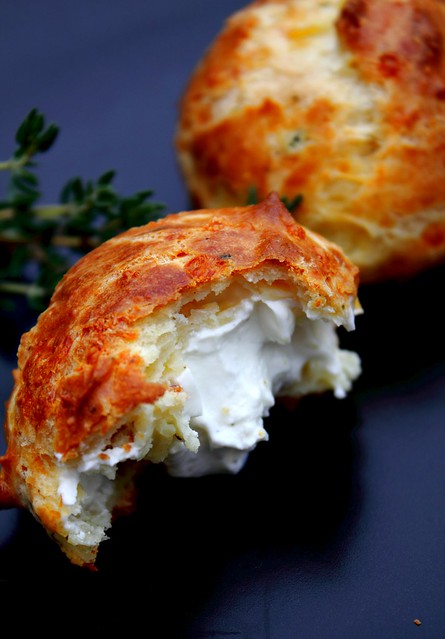
These are Cheddar-Thyme Gougères with creamy goat cheese filling!! A little time consuming but really great Hors d'oeuvres

Basic Recipe
Makes about 4 dozens
Ingredients:
  • 1 cup whole milk
  • 4 tbsp unsalted butter, divided
  • 1 cup all-purpose flour
  • 1 tsp salt
  • ¼ tsp freshly ground black pepper
  • 4 large eggs
  • 1 cup grated Cheese (of your choice)

    2-4 sprigs of thyme, with leaves removed and chopped roughly. (about 1 tsp of the final product)
Preparation:
Position a rack in the top third of the oven, and heat the oven to 425 F. Line a large baking sheet (or two) with parchment paper or a silicone mat.
Heat the milk and 4 tbsp butter in a medium saucepan over medium-high heat, stirring occasionally to keep the bottom from burning. When the mixture is simmering and the butter is melted, remove from the heat and add the flour, salt, and pepper all at once. Stir well with a wooden spoon to combine. Return the pan to medium heat and stir hard for 1 to 2 minutes, until the mixture thickens further and becomes stiff.
Transfer the mixture into a bowl of the stand mixer fitted with the paddle attachment. Mix the dough on medium speed for a minute to cool the dough slightly. Break the eggs into a liquid measuring cup or a bowl, lightly whisk with a fork. Add the eggs gradually, in 4-5 additions beating well after each portion has been added to incorporate it into the dough. Remove the bowl from the mixer base.
Chop the thyme finely and add to the cheese mixture and blend it in at the end with a wooden spoon. They were not overly salty but you can add a little salt to the mortar and pestle with the thyme to crush it, or on the cutting board to scrap and chop so aromatics are released.
Transfer the mixture to a pastry bag with a large plain tip. The mixture will still be warm.
Pipe the mixture onto the prepared baking sheets in mounds about 1 inch in diameter, leaving a couple of inches between them. Smooth out any points with a wet finger.
Unbaked gougères can be frozen on the baking sheets. Once the dough is completely frozen, transfer the piped shapes into freezer bags. They can be kept in the freezer for up to a week.
Put one baking sheet into another to isolate the pastry bottoms from strong heat and slide the baking sheet into the oven. Bake for about 12 minutes, until the gougères are well puffed. Reduce the oven temperature to 375F and continue baking until golden brown, 10 to12 minutes more. Let them cool slightly on the baking sheet.
If baking the previously frozen pastries, there’s no need to completely defrost them before baking; just let the frozen gougères sit on the baking sheet on a counter while the oven is preheating.

Thanks to Source for recipe


For the filling I added some lemon zest and black pepper to some goat cheese whisking it with a bit of sour cream, yogurt or creme fraiche for a smooth filling.