Showing posts with label pizza. Show all posts

Tuesday, September 5, 2017

Cottage Cooking: Lunch Recipes


Two super easy cottage lunch or snack recipes

2 bags of raw shrimp (peeled or unpeeled)

Garlic butter - Lemon and Zest (see other recipe for details) 

Ketchup
Avocado
Cilantro 

Jalapeno pepper 

2 bags of shrimp, I use raw peeled and simply peel them but unpeeled and already cooked works too.
Marina Del Rey is my favourite brand of Argentinian sustainable seafood, it's about ten dollars a bag but worth it.


You can transport your shrimp frozen and thaw over night in your fridge at the cottage.
When ready to use I removed the shells and dried the shrimp well with a paper towel.

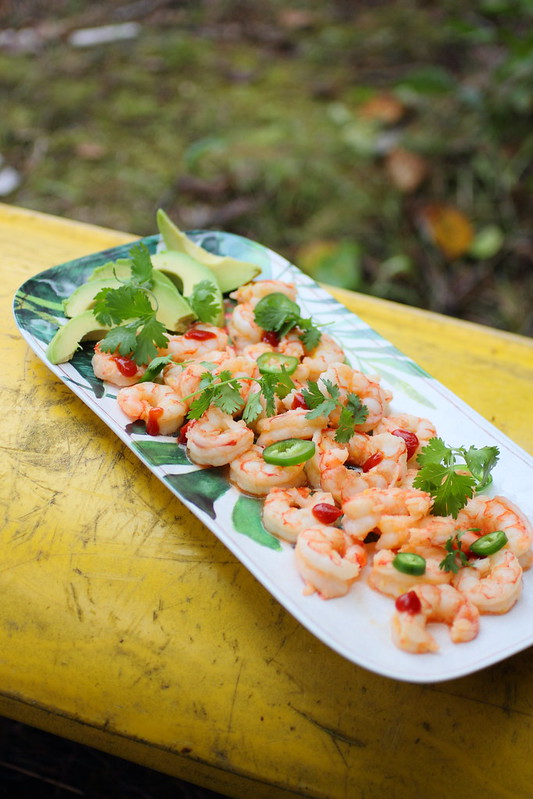
Heat a small bit of oil in a big flat bottom pot. Add the shrimp and let them cook and turn pink, flip to the other size. This takes a couple of minutes and during which throw in a lump of garlic butter. Swirl to coat the shrimp.. then add your lemon juice and swirl, it'll create kind of a nice saucey coating. Season with salt (The butter in my garlic butter was salted so I omitted this step)

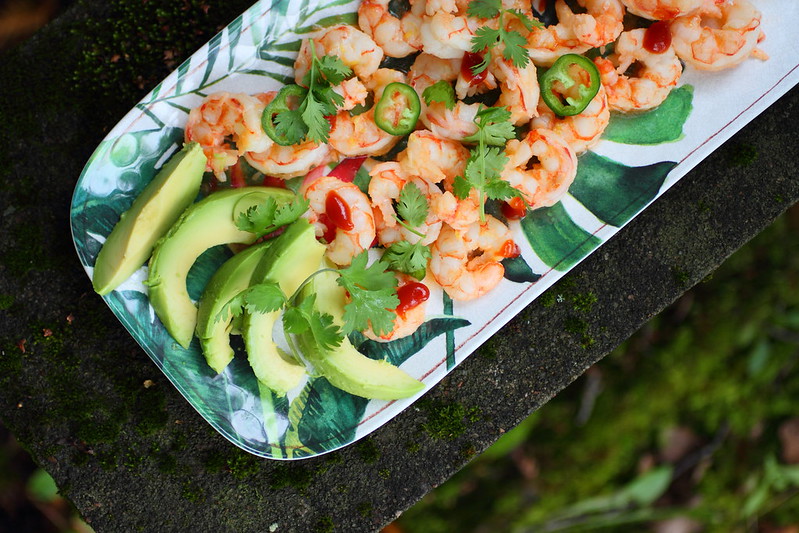
 Remove from pan and plate. Drizzle with some ketchup (for a more gourmet version mix ketchup with horseradish and worstershire sauce)

Garnish with cilantro, avocado slices and jalapeno pepper slices.

Serve!


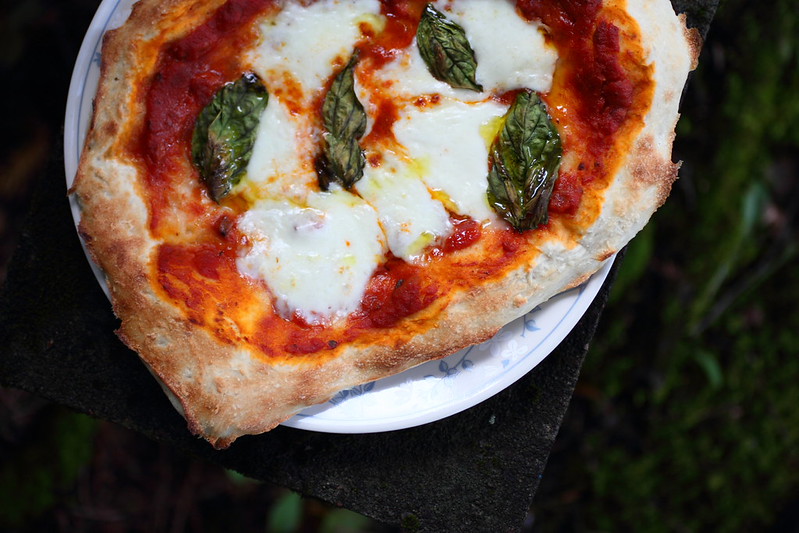
For yummy cottage pizza simply take the following ingredients along

- Homemade or storebought pizza dough - for my homemade dough refer to Recipe 
Simply knead the dough and instead of going into a rise stage throw it into a zip lock and take it with you. I did it the morning or but you can do it the night before too.  Transport and place in fridge at cottage, when ready to use just remove from fridge a couple of hours earlier to let it rise. Bring some flour along to shape.

- Pizza sauce (a gourmet jarred pasta sauce works great for this) or simply a jar of pasata (strained tomato)
- Fresh mozarella de buffala
Fresh basil


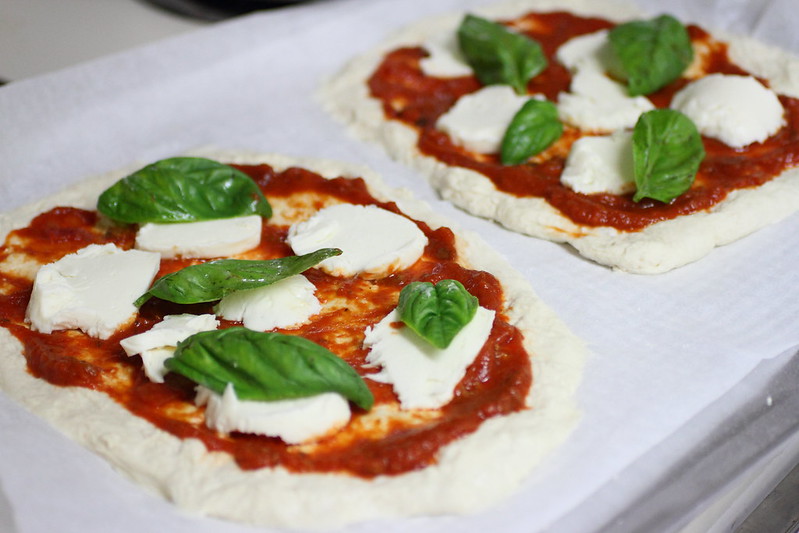
Shape your dough onto parchment lining a foil tray, I picked up a tray from the dollar store in town after checking out the size of the oven at the cottage we stayed at.

Spread the sauce and add the pieces of fresh mozarella and basil leaves. Bake until bubbly and dough is done.

Drizzle with olive oil and serve.

Delicious! 


Wednesday, June 25, 2014

The Simple Things in life...


Last week tried my first pizza on the grill and it left me wondering why I haven't done this earlier! There are a couple of tips to keep in mind so I'm going to share my experience and feel free to share any tips if you've done grilled pizza.

I start with homemade dough as usual. It's easy! 

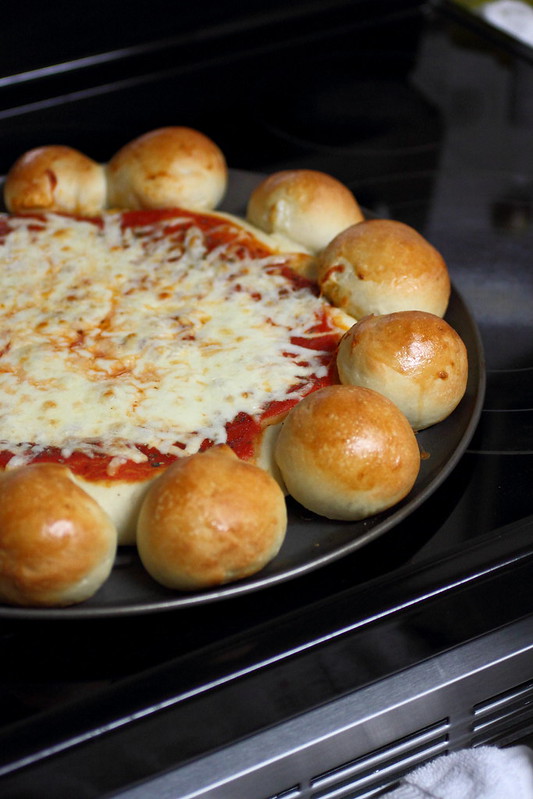
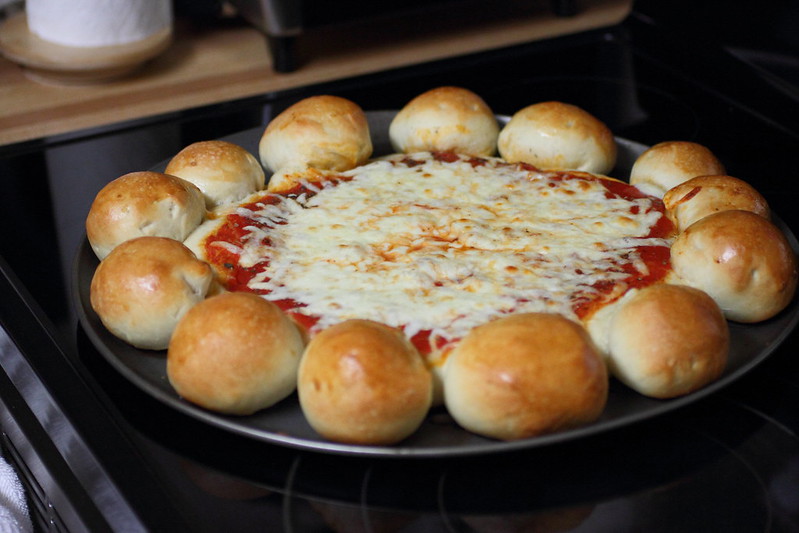
I've shared a recipe on my post about Pizza Buns earlier on the blog, here 

After the first rising divide the dough into smaller balls and set aside to rise. 

Start up the grill and the trick is to try to maintain a consistent medium heat heat.  My BBQ has a cast iron grill so I oil/season it so the dough doesn't stick. 

Flatten out the dough and roll rather thin using a rolling pin between two sheets of parchment.  You can do a couple and stack them between the parchment and then just take them outside on a tray. 

The process goes very quickly so have your toppings all chopping up and ready to go on a tray next to your bbq. Remember don't load up on toppings and nothing too watery, keeping it simple is the best way to go because it cooks super quick. 
If you're using mushrooms, fry them up in advance in a frying pan on high heat in some oil and season with salt. That way they're ready to go without releasing water all over the top of the pizza or staying raw.

The part of the dough that you placed on the grill (bottom) is going to end up being the top of the pizza (where you spread the sauce) so you really just want it to get light grill marks and dry out. Just a minute or so. 

Now using tons flip over the dough to the other side and at this point working quickly you can spread some sauce on it and add the cheese and a couple of toppings.  Instead of sauce you can do slices of fresh summer tomatoes. 

I keep the temperature on the left side of the grill a little lower so I can slide the pizza over and finish cooking them with the lid down, this helps to melt the cheese and get things going without burning the bottom. 

Once the cheese is all melty and toppings warmed through remove the pizza and serve. 

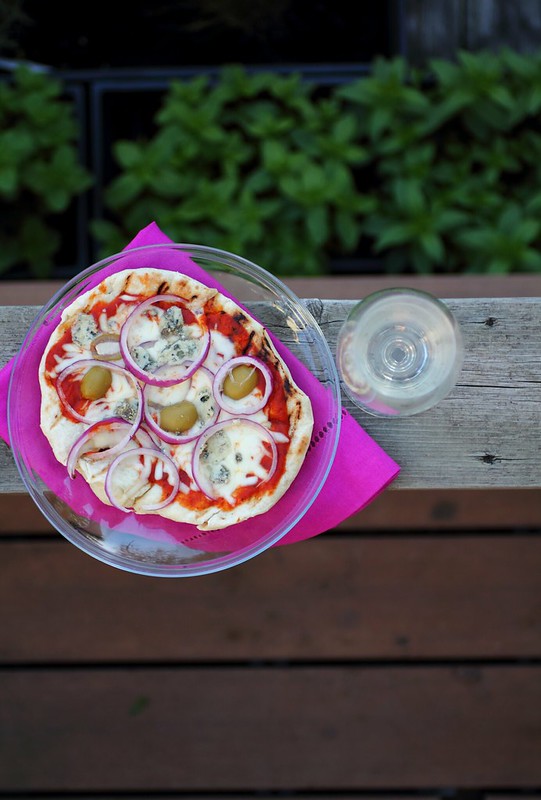
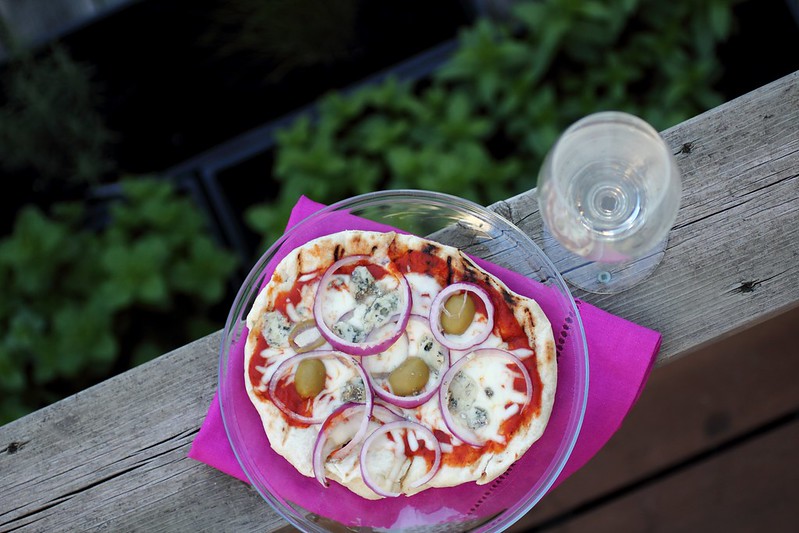
I did red onion, blue cheese and blue cheese stuffed olives on my pizza 


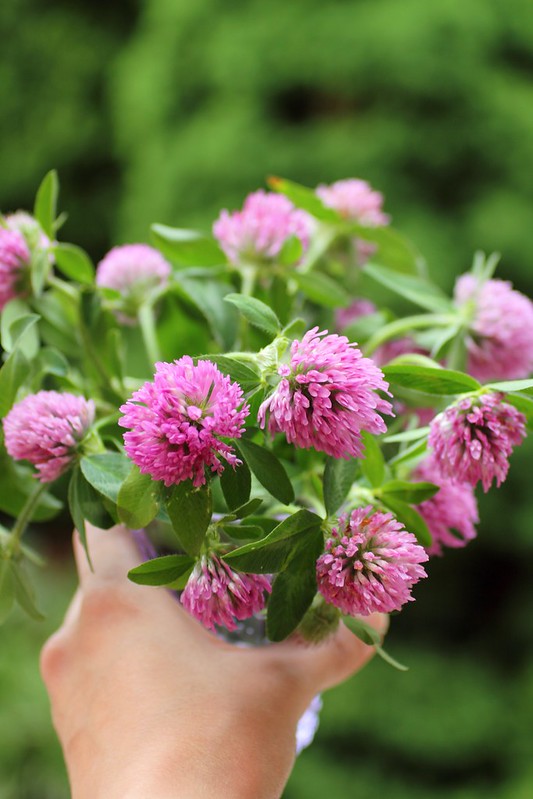
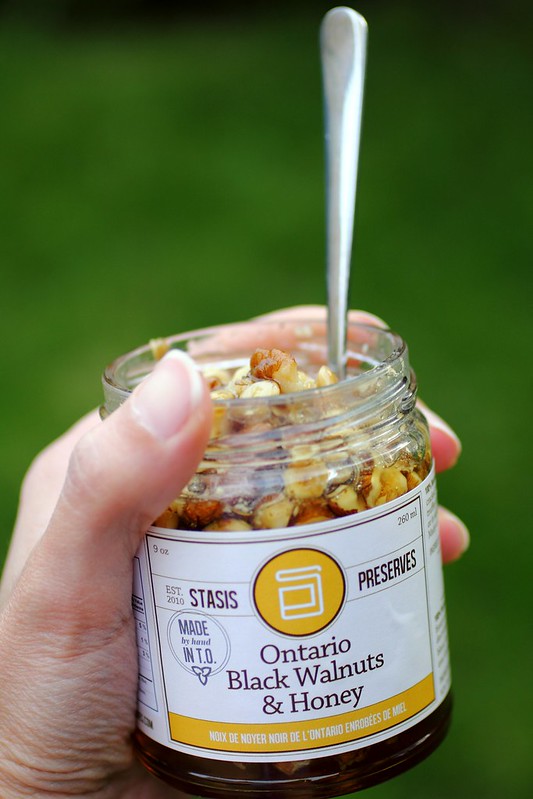
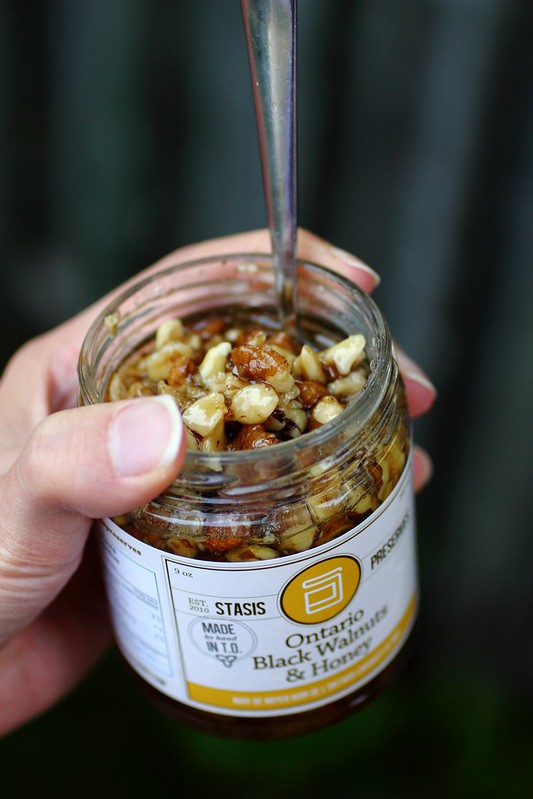
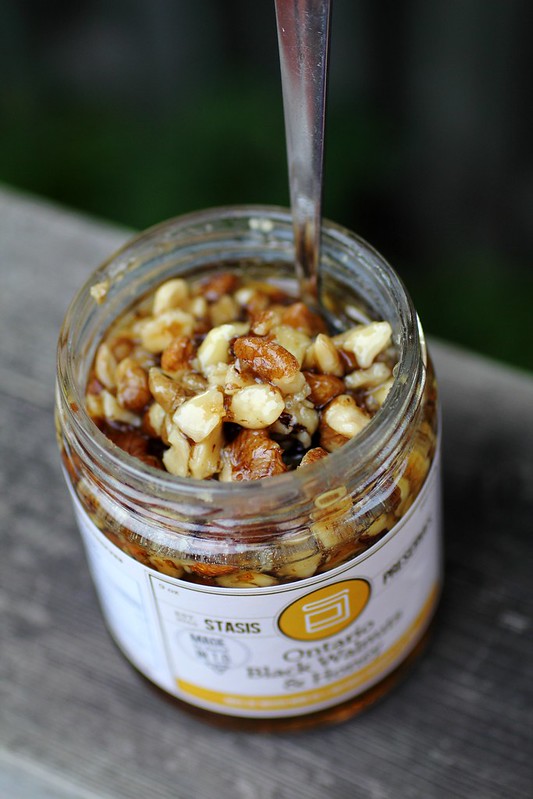
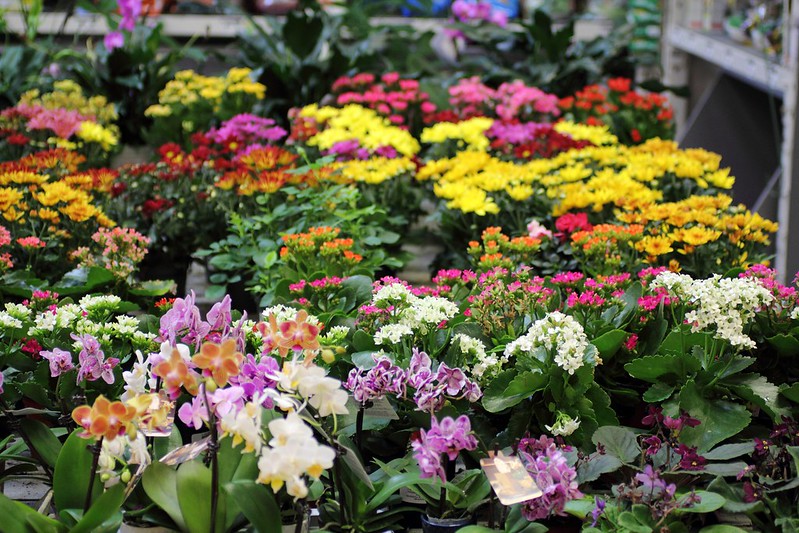
A couple of my fave things lately have been, clove blossoms, they make fabulous cheap and cheerful flower arrangements, and this delicious Ontario black walnut honey from Country Cheese Company
The honey pairs perfectly with those fresh grassy medium or soft cheeses like the spring time favourite Dutch Graskaas or Gouda, although I tried it with blue cheese and really enjoyed it!

Thursday, May 3, 2012

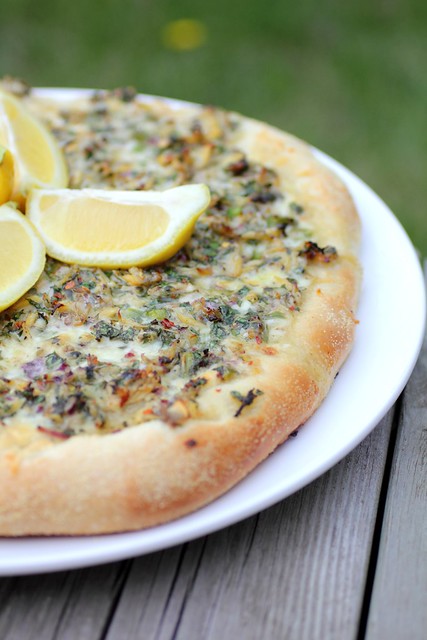
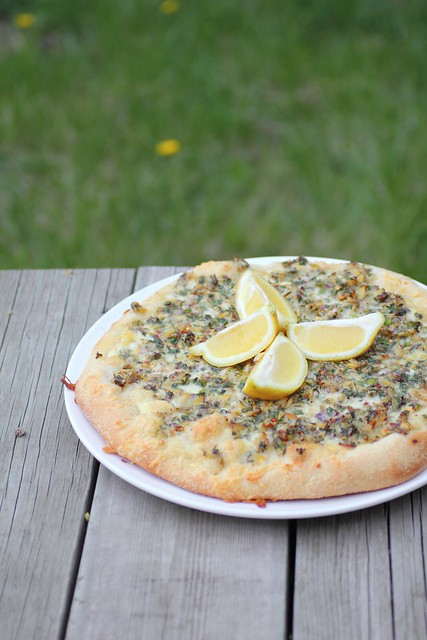
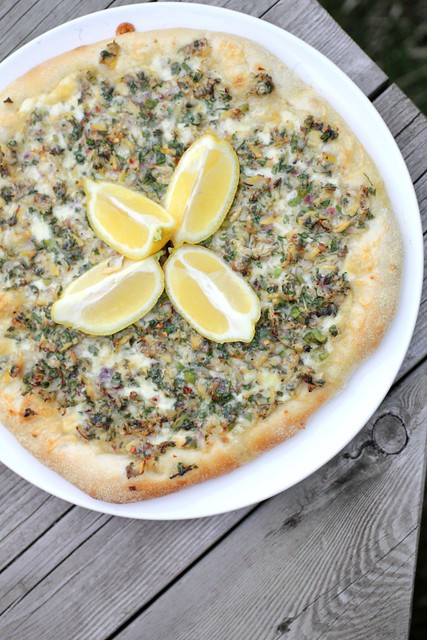
Clam Pizza (something different!)


Clam pizza:

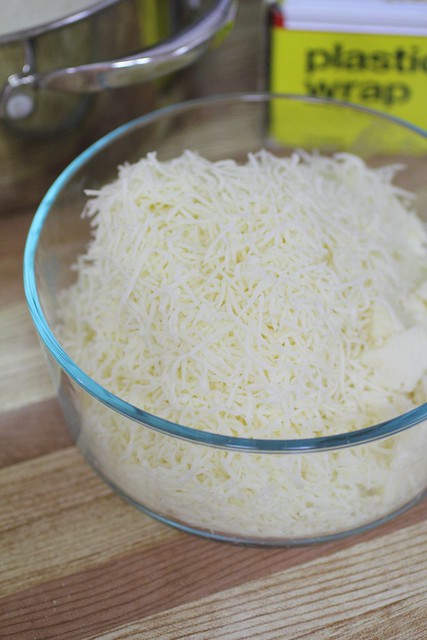
Toppings: Grated mozarella cheese

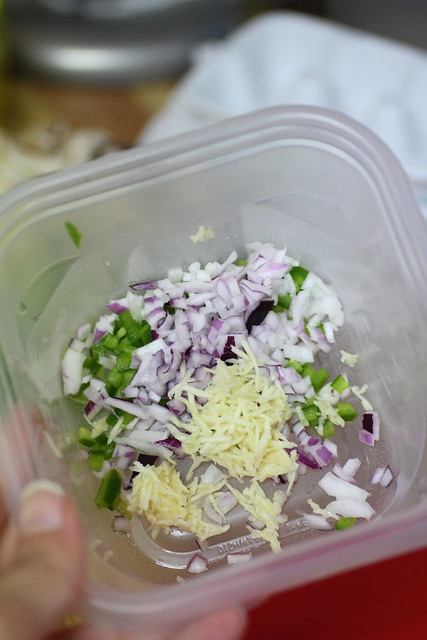
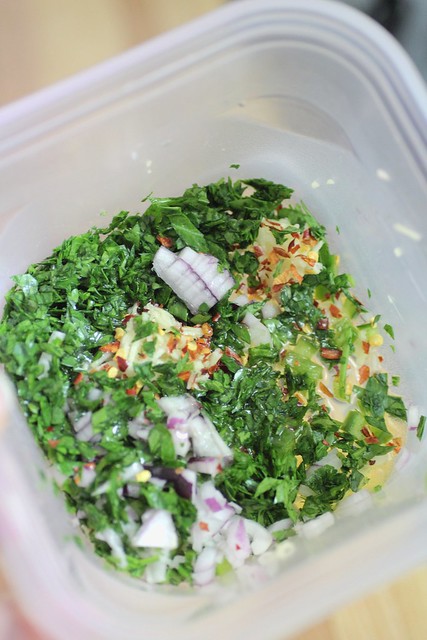
Clam mixture: 
Finely chopped onion, green pepper.
Chopped parsley
Grated garlic
Red pepper flakes
Salt & Pepper
Squeeze of lemon juice
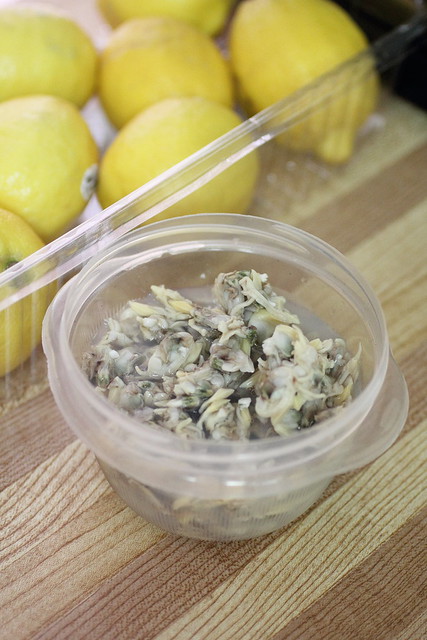
1 can of clams, strained from juices
Olive oil

Extra lemon for garnish and serving


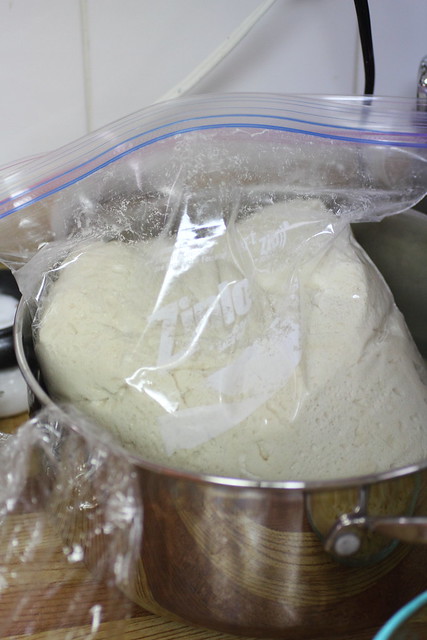
Pizza dough
Cornmeal


Roll out the dough (my homemade pizza dough in this case), coat the crust area with cornmeal (use a little water to make it stick and be careful not to spill too much on the parchment or pan as it will burn so shake the rest off)

Cover the base of the pizza with cheese

Mix the clam ingredients together and spoon over the whole pizza, except the crust area, make it nice and even and bake!

Garnish with lemon wedges and serve.
Enjoy! ;-) 


Thursday, July 21, 2011

More fun from earlier this week..


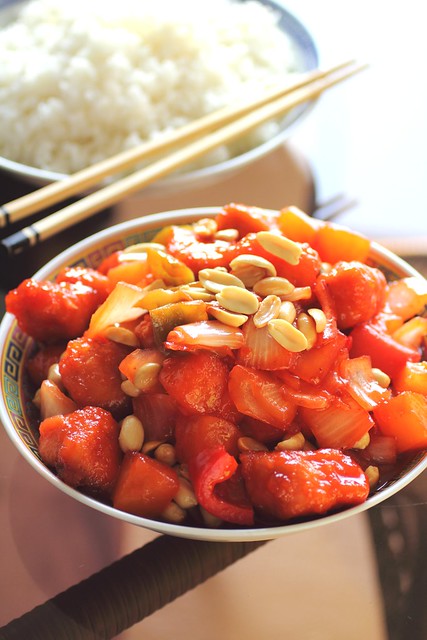
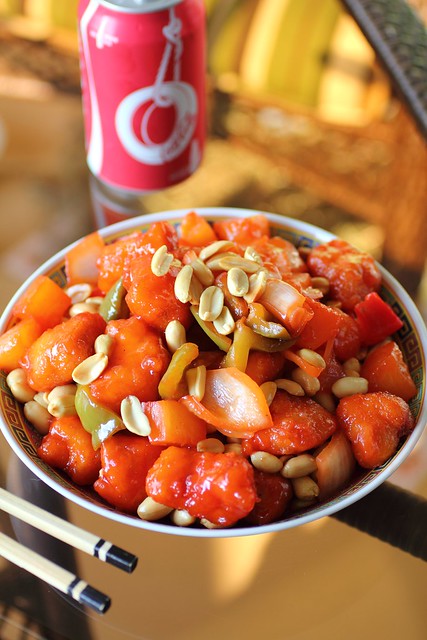
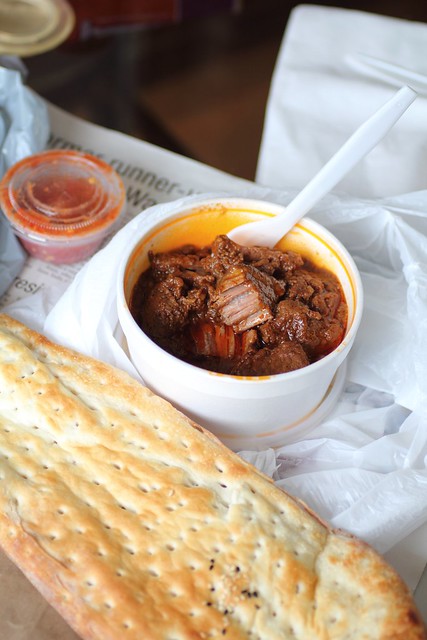
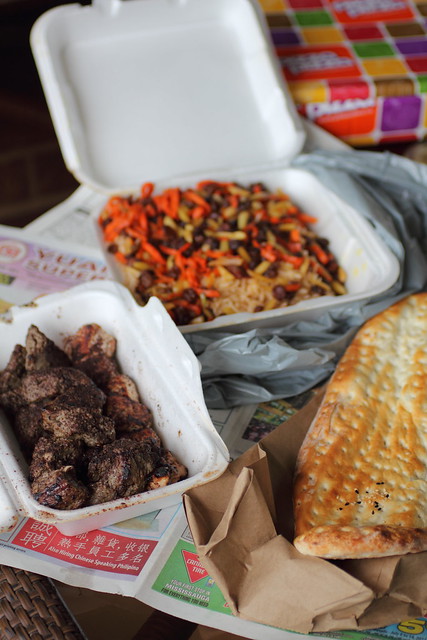
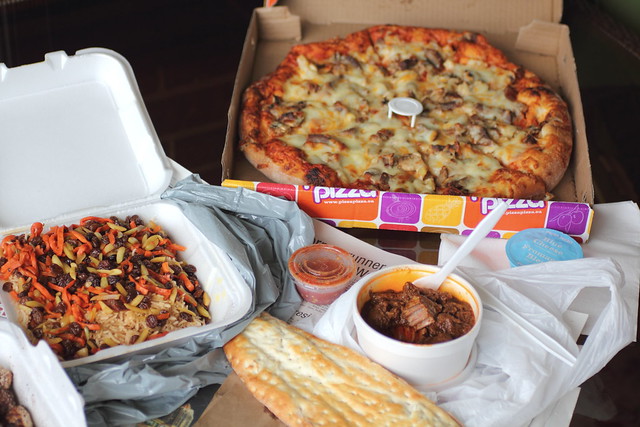
My sister's favourite chicken balls in sweet and sour sauce with peanuts from the same Wokker we visited on Eid.
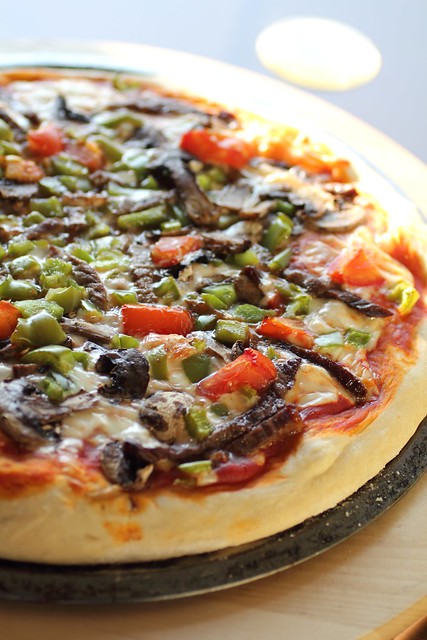
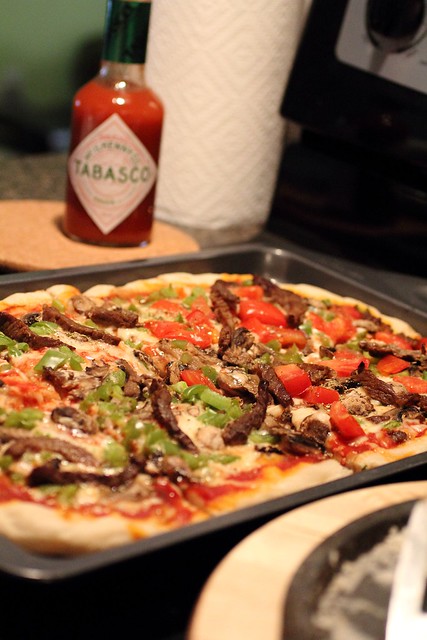
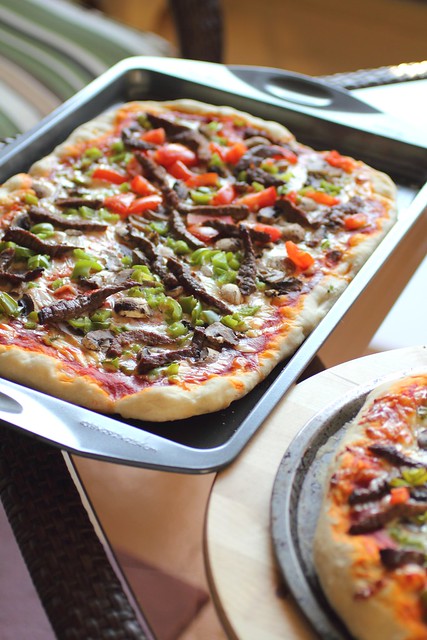
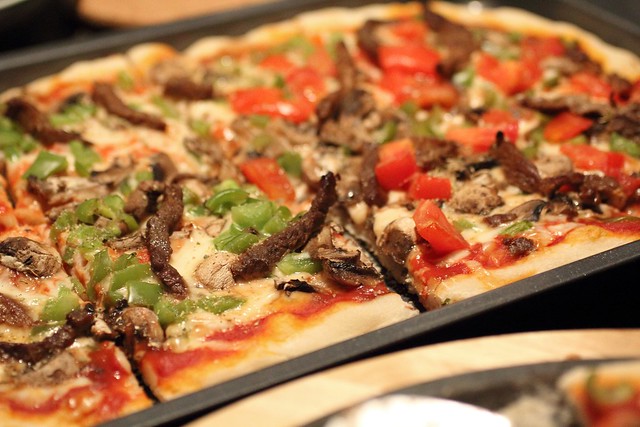
And homemade "steak pizza"
Nomnom


Thursday, July 14, 2011

The after party


Even after Saturday's wedding party our festivities continued well into the next week..





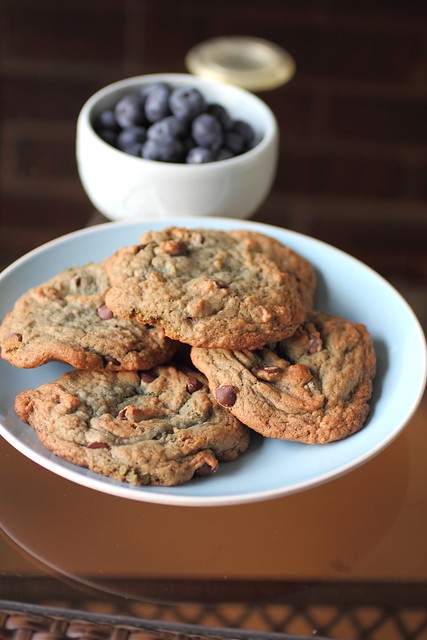
Here is a recipe for the Blueberry Chocolate Chip cookies below.

The variation I did was remove the nuts, and replace the hot water with 1/4 cup blueberry puree which is just fresh blueberries cooked down into a concentrated syrup with sugar and a bit of water. Then it's strained so the peels get left behind and as it cools it turns into a gelatinous mass (maybe from the pectin in the fruit)

Any sugar added into the blueberry puree should be removed from the recipe below so they're not overly sweet.

I mixed this puree with the baking soda and then added it into the cookie batter. The cookies came out blue-ish with a soft middle and crispy chewy edges, really quite good!
Watch them as they bake and don't make them too small or they will burn.
Everyone loved them!

Chocolate Chip cookie recipe

Yields 4 dozen cookies.

Ingredients

  • 1 cup butter, softened
  • 1 cup white sugar
  • 1 cup packed brown sugar
  • 2 eggs
  • 2 teaspoons vanilla extract
  • 3 cups all-purpose flour
  • 1 teaspoon baking soda
  • 2 teaspoons hot water
  • 1/2 teaspoon salt
  • 2 cups semisweet chocolate chips
  • 1 cup chopped walnuts

Directions

  1. Preheat oven to 350 degrees F (175 degrees C).
  2. Cream together the butter, white sugar, and brown sugar until smooth. Beat in the eggs one at a time, then stir in the vanilla. Dissolve baking soda in hot water. Add to batter along with salt. Stir in flour, chocolate chips, and nuts. Drop by large spoonfuls onto ungreased pans.
  3. Bake for about 10 minutes in the preheated oven, or until edges are nicely browned.