Showing posts with label pink cream cake. Show all posts

Monday, September 26, 2011

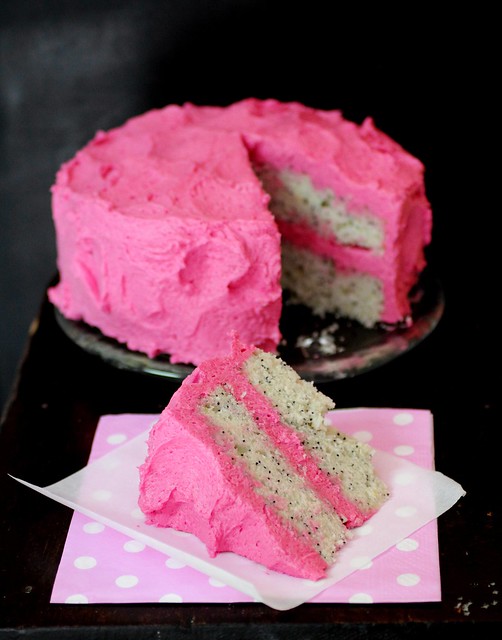
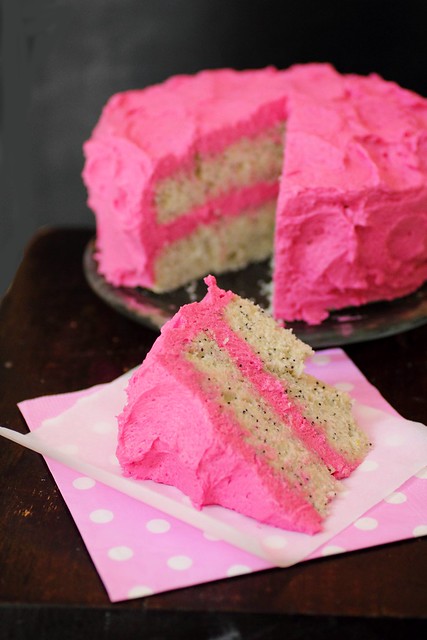
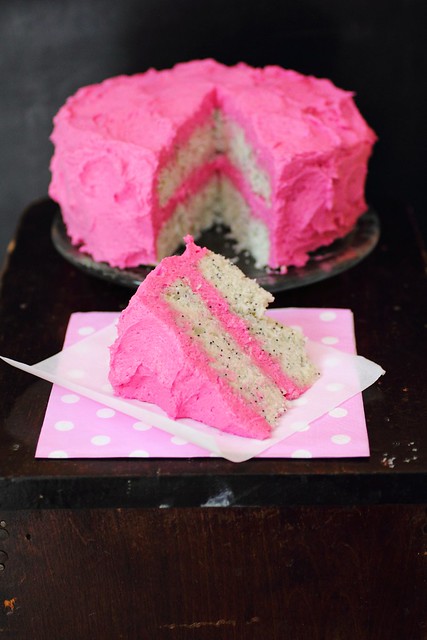
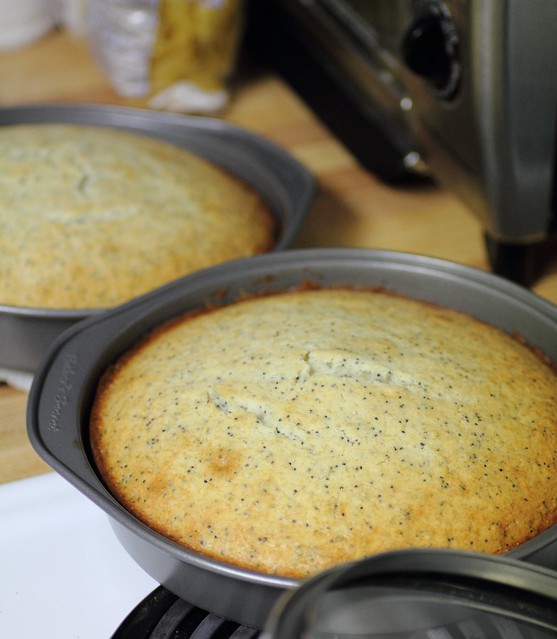
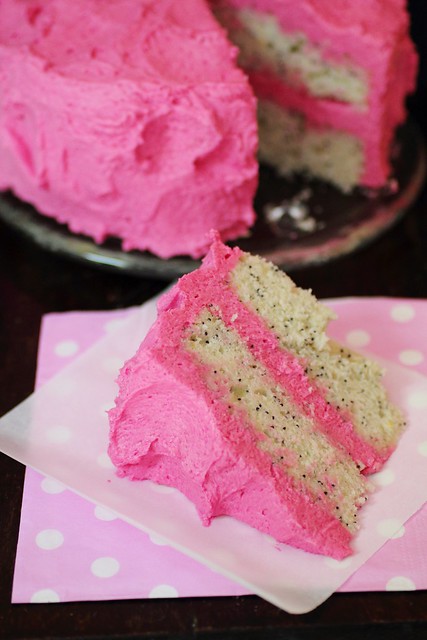
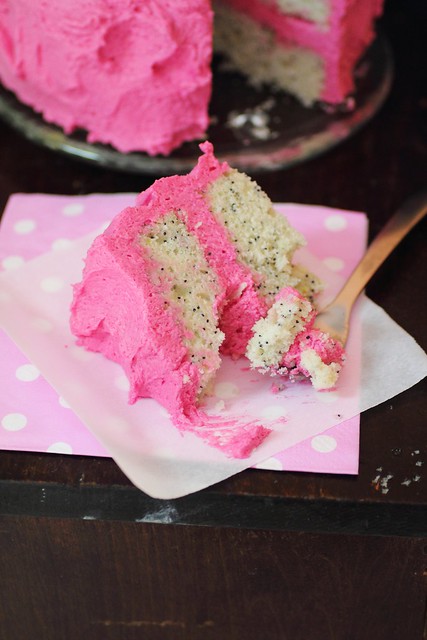
Pink Lemon Poppy seed cake


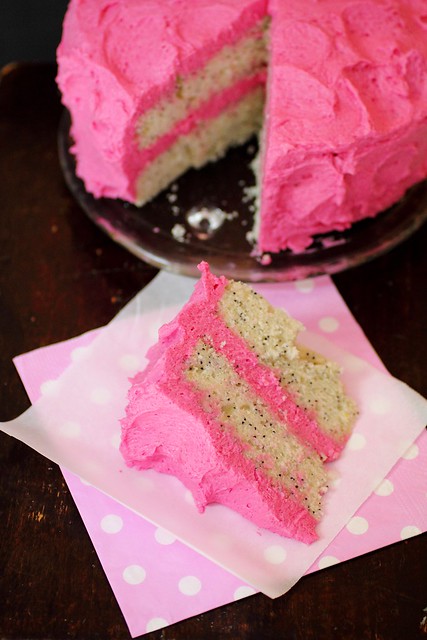
Here's a fun cake!

A little contrast with the frosting made this lemon poppy seed cake POP!

The frosting is a new recipe, normally I make swiss meringue buttercream but not having any egg whites on hand (sometimes a bad thing can turn into a great thing!) I ventured out to try something new.

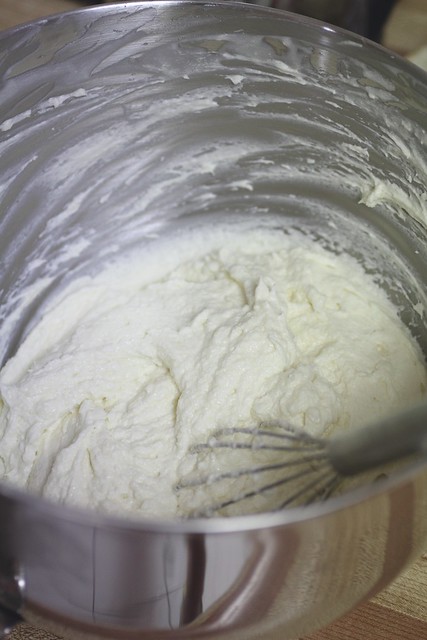
A cooked buttercream recipe, the milk, sugar, heavy cream and a tad bit of flour are cooked into a bachamel type consistency then it's cooled down and whipped while small cubes of room temp butter are added.

It's really amazing!

The recipe is courtesy of Bourbonnatrix without the caramel part, and even so the sugar amount was perfect.

She mentioned having a little trouble with it going soupy and thankfully that did not happy with me, I cooled the creamy mixture down really well and actually made the entire process by hand (I know, totally stupid but my kitchen aid broke down!! Check out the bang up marks on my hand from whisking like mad with my teeny tiny whisk)

It worked! Had to put it in the fridge a few times before it was about to split, and also while adding the food colouring. You could use red food colouring or concentrated beet juice (if I had any I would have gone with it - natural colours are so much healthier than artificial)

Frosting:
Cooked Frosting
Inspired by Baked Explorations recipe

In a medium heavy-bottomed saucepan, whisk:

1 1/2 cups sugar
1/3 cup all-purpose flour

Add:

1 1/3 cups milk (I used 2% honestly)
1/2 cup heavy cream

If using whole milk use 1 1/2 cups and 1/3 heavy cream.

Cook over medium heat, whisking occasionally, until the mixture comes to a boil and has thickened, about 10-15 minutes.

Transfer the mixture to the bowl of a stand mixer, and beat with the paddle attachment until cool. Reduce speed to low, and add:

1 1/2 cups softened butter, cubed
1 tsp pure vanilla

Mix until thoroughly incorporated, the increase speed to medium-high and beat until the frosting is light and fluffy.

If using food colouring add it in at the end or mix it with the creamy milk mixture.


Cake recipe is thanks to Technicolor kitchen

I varied it slightly by using up some extra coconut milk I had instead of the water in the glaze.
Also using sour cream instead of buttermilk and thinning it down to the consistency of buttermilk also using canned coconut milk.

She got 3 cakes out of the batter and I measured 2 and 6 cupcakes. All the syrup was used to drench the two cakes.





Saturday, June 25, 2011

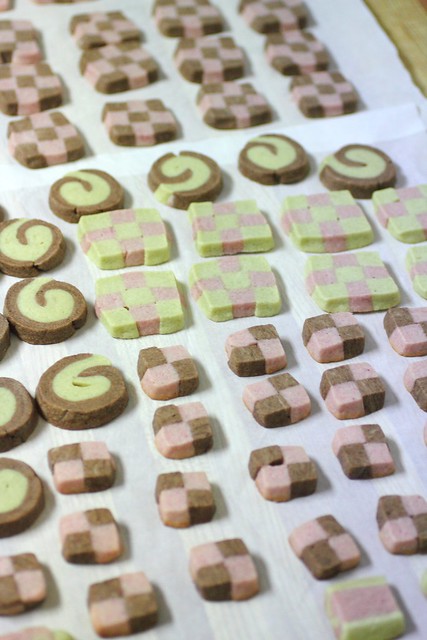
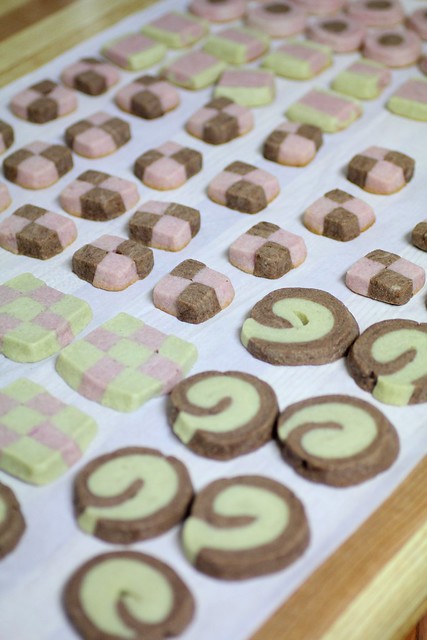
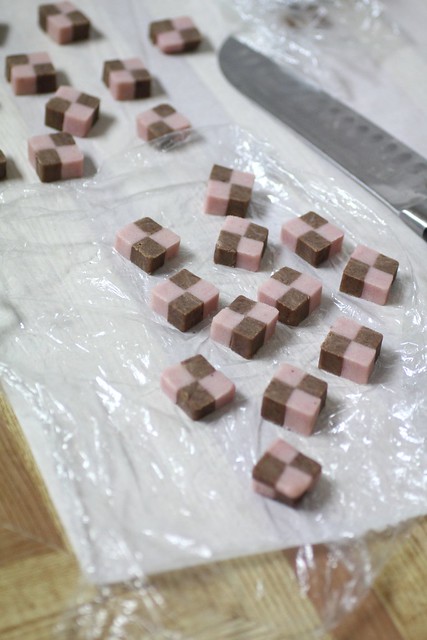
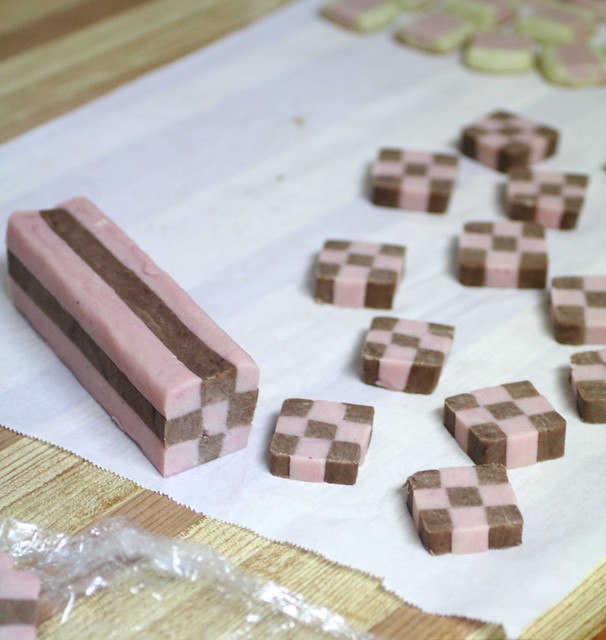
Checkerboard cookies (preparation)


Checkerboard cookies:


5 1/3 cups all-purpose flour
1 tsp baking powder
1 tsp salt
1 lb (2 cups or 4 sticks) unsalted butter, at room temperature
2 cups granulated sugar
1 tbsp pure vanilla extract
2 large eggs, at room temperature

Concentrated strawberry puree
Matcha green tea powder
Cocoa powder

Sift together the flour, baking powder, and salt. Set aside. Cream the butter and sugar together in the bowl of an electric mixer until light and fluffy. Add the eggs one at a time, and then the vanilla extract. Add the flour mixture and mix on low speed to just combine (you might want to cover the mixer with a towel, some flour might come up.) Finish the mixing either with your hands or a wooden spoon, being sure not to overmix. Divide the dough into 3 balls.

Pink Strawberry: Now mix in the strawberry puree until you achive a nice pink dough.
*** I boiled fresh or frozen strawberries with sugar and a some water and let it simmer on low until it was a nice thick syrup, as thick as you can get it because you don't want to introduce too much liquid into the cookie dough but instead lots of strawberry flavour in a concentrated amount.

Green Matcha: Mix 1/2-1 tbsp matcha into the dough and add a little green colouring if desired, I didn't, the matcha was enough.

Chocolate dough: Add cocoa powder for the Chocolate dough, making sure not to add too much so it's not too chocolately and bitter.

At this point I wrap the dough in plastic wrap and refridgerate until I need it.

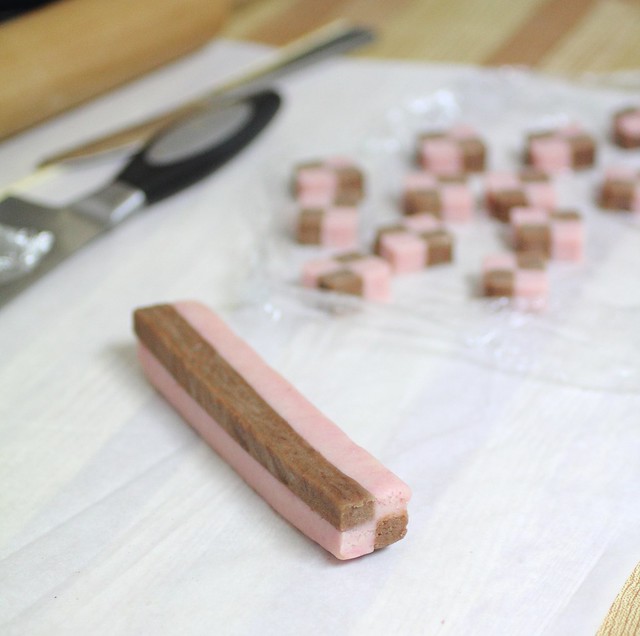
A nice even rectangular shape will help cut the cookie later.

After two hours or the next day when ready to use, let it thaw on the counter for 15 mins.

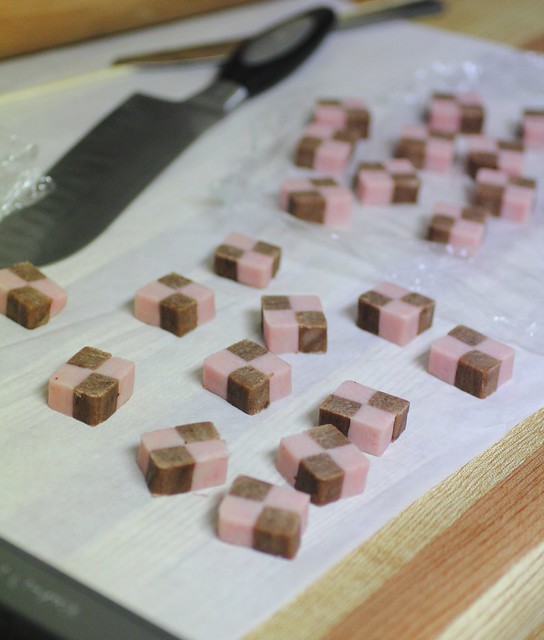
I probably could not explain it better than the Baking Obsession blog so refer to the diagram and instructions. My mother always made these cookies on the Eid holidays so I pretty much knew how to put them together but there are different methods and just keep in mind to make them neat and as even as possible :)

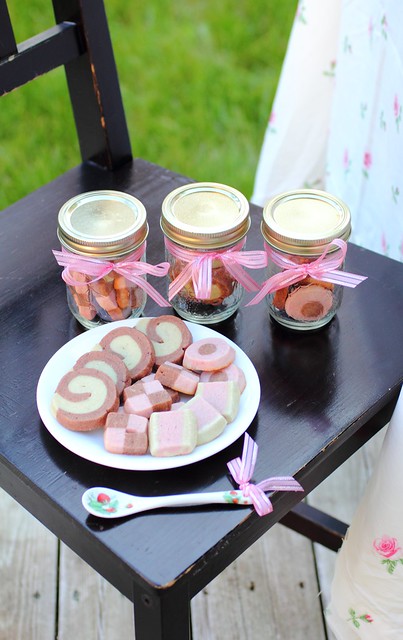
There are endless shapes you can do, and I tried to stray from the checkerboard and do some fun things, hopefully I achieved that.

They made beautiful party favors, I wanted them tiny so they fit in a mason jar and tied them all up with pretty ribbon.

When baking the tiny cookies I adjusted the oven temperature a little lower and kept a very close eye on them as they cook much quicker.
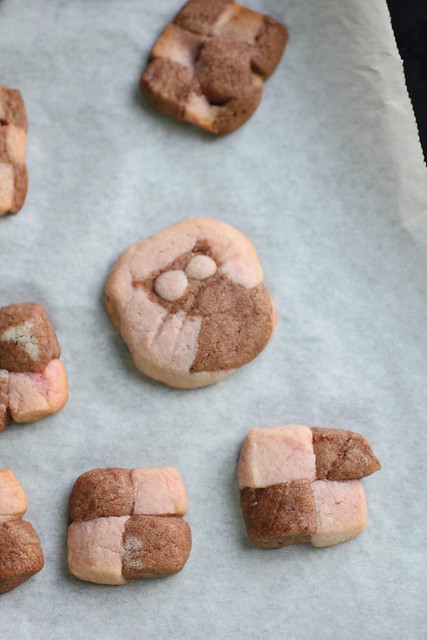
The ends make odd cookies, and one made a funny cat looking cookie so I added some eyes and whiskers and it looked pretty neat. Be sure to bake off all the ends and have a little early snack for yourself! They're all super delicious.


Sunday, June 5, 2011

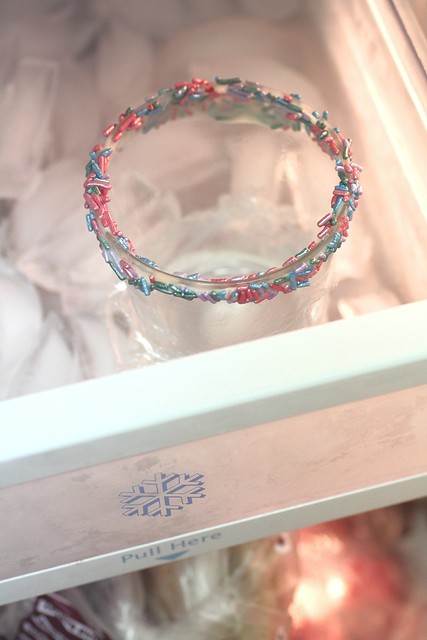
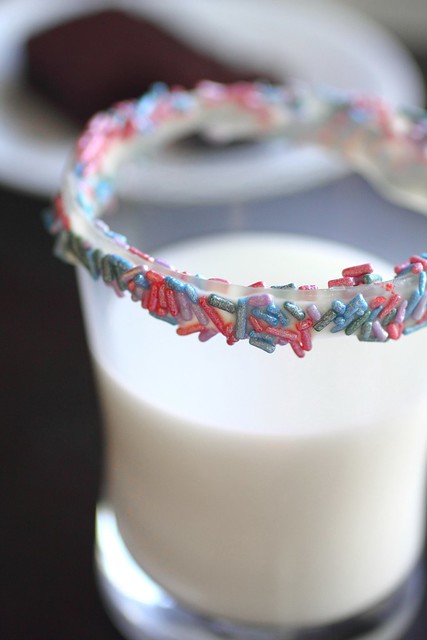
Jewel decked rims


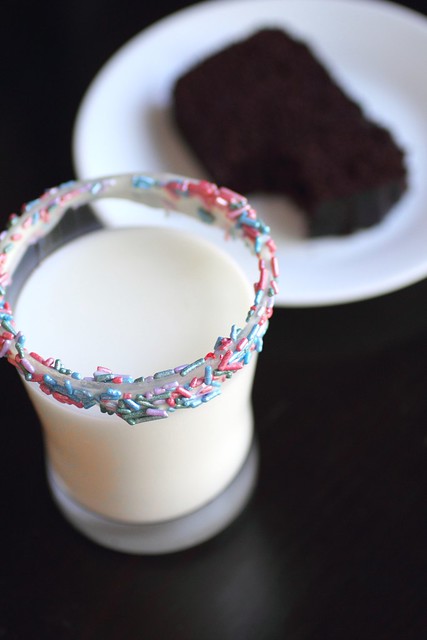
Here's a little fun idea to do for kids or if you're a big kid like myself you may enjoy it!

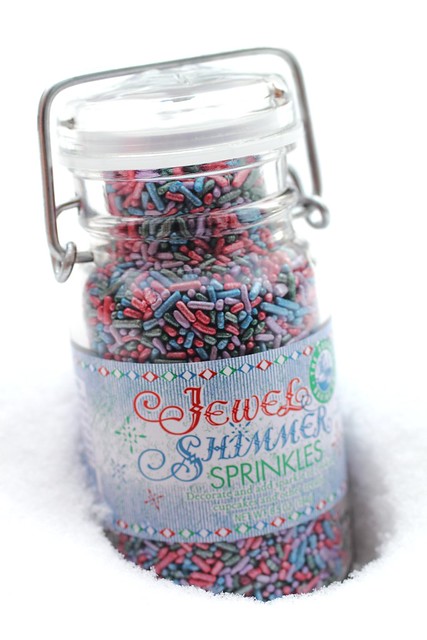
Thanks to the lovely inspiration from la receta d ela felicidad I gave it a whirl using white chocolate and my shimmery sprinkles I picked up from my trip to McEwen's gourmet market in the winter.


Oh and in the backround you see the yummiest moist chocolate cake ever - made from leftover cupcake batter in the loaf pan. So good! ^_^

Tuesday, May 24, 2011

Let Them Eat Cake


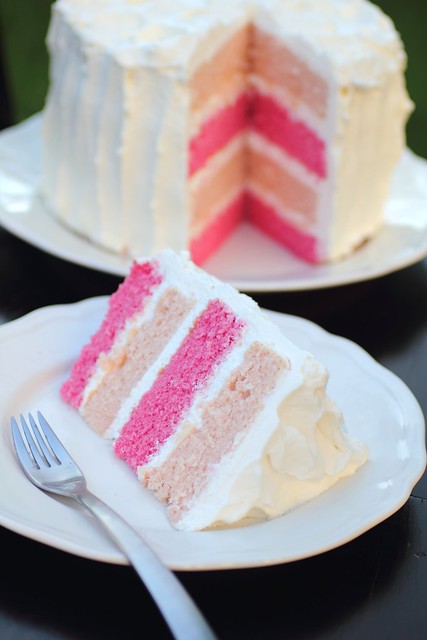
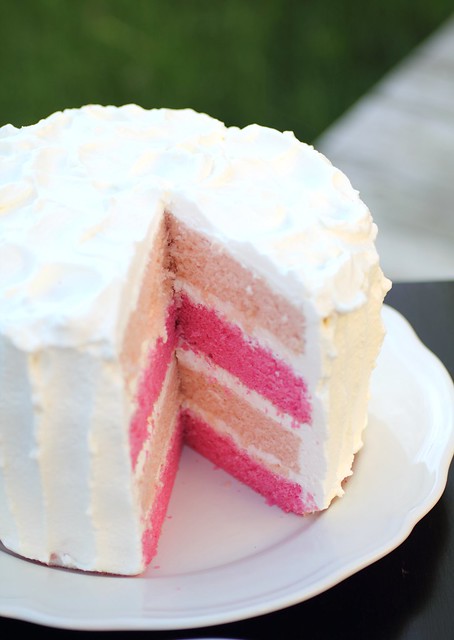
I was in the mood for baking and celebrating, but what was the occasion you ask? ... Nothing specific, maybe the weather warming up or feeling a little better after all these months of avoiding food and photography, but now I wanted to jump right back into it so I whipped up this pretty looking cake to share.

Served with fresh strawberries for the perfect girly indulgence.


CAKE

Ingredients for the cake layers:
1 and 1/4 cups all-purpose flour
6 large eggs
3/4 cup granulated sugar
1/4 unsalted butter, melted

To make the cake:
Preheat oven to 350 degrees. Butter the bottom and sides of two 8" round cake pans. Cut a parchment paper circle to fit onto the bottom of each pan.

Sift the flour three times onto a sheet of parchment or wax paper.

Beat the eggs and sugar in the large bowl of your mixer, using the paddle attachment, for up to 10 minutes, until the volume has increased at least three times. The mixture should look thick, pale yellow, and bubbly.

Take the bowl off of the mixer. Sprinkle in half of the flour, folding it in with a hand-whisk just until combined; repeat with the rest of the flour.

Drizzle in the melted butter and whisk only until combined.

Divide the batter equally between the prepared cake pans.

Bake the layers for 20 to 25 minutes, until the cakes begin to pull away slightly from the sides of the pan. Cool the layers for 10 minutes before removing them from the pans. Peel off the parchment circles and let the layers cool completely before assembling the cake.

** My notes: I used red food colouring to the dye the cake pink, less for the lighter shade and more for the intense shade. Also on the dark pink I used cake flour instead of AP and that yield a cake with more holes, I'd stick with AP it's more dense but richer.   I obviously doubled the recipe above, or made it twice for each the lighter cakes and the darker ones. 


Frost with your favourite buttercream or whipped cream.