Showing posts with label baklava. Show all posts

Saturday, October 1, 2016

Pistachio & Walnut (Gluten and dairy free Cookie)


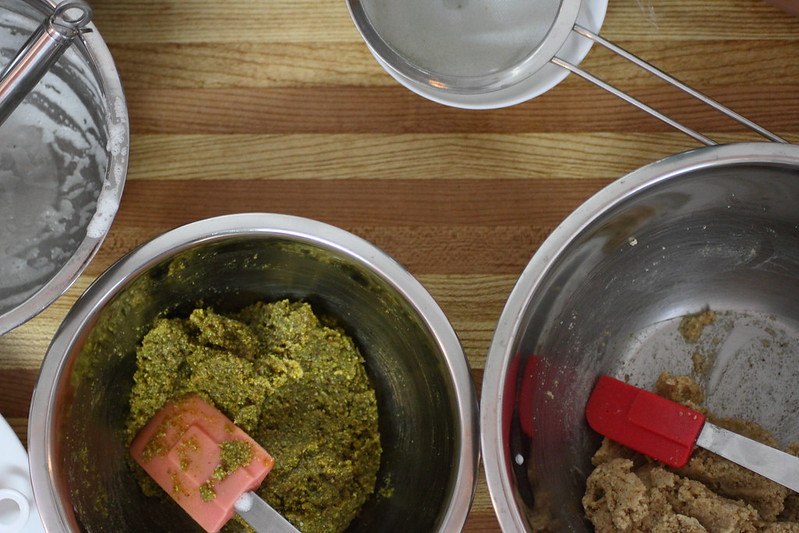
Today I'm sharing a Gluten and dairy free cookie Recipe! These were covered in the Christmas baking back in 2012 but I'm doing a bit of a switch up. These are almost like the filling inside baklava but without the dough! Super yummy and a nice healthy treat!

I can imagine you could make endless variations using other nuts like hazelnuts or pecans, think about the nut you're using and choose the right sweetener for the job that complements it. My recipe says honey for the pistachio but I wanted to do a walnut too so even though honey goes with walnut I switched it up using pure maple syrup. Adding a dash of fleur de sel to the batter of each brings out the sweetness and flavour so I highly recommend that!

Add a splash of rose water or orange blossom water if you wish. Or almond extract to bring out the flavour of the almond and give more of a marzipan flavour.

These taste better and better as they sit so this makes for an easy and quick make ahead recipe for your guests!


PISTACHIO COOKIE (GLUTEN FREE) 

INGREDIENTS:
1 CUP ALMOND MEAL
1½ CUPS FRESHLY GROUND PISTACHIO FLOUR
¼ CUP UNPASTEURIZED HONEY
2 EGG WHITES
Pinch of fleur de sel of Sea Salt
1/2 tsp of orange blossom water (optional)

1-2 CUPS CHOPPED & HULLED PISTACHIOS (for texture)
================= 

DIRECTIONS:
Preheat oven to 325 degrees. Combine almond and pistachio flours with the egg whites and mix well.
Gently warm honey and stir into the almond pistachio mixture. If the mixture is too wet, add more pistachio or almond flour, 1/4 cup or less at a time. It should remain fairly moist. Balance it out with more flour and another egg white, if needed. On parchment paper, spread out 1-2 cups of chopped pistachios or another nut preference. Using a spoon, scoop out 1-2 inch balls and dip the tops into the chopped pistachio. Flatten the balls slightly with a fork and bake for 12-15 minutes. Allow the cookies to bake longer they are soft to the touch.

Note: Watch the bottoms, mine almost browned a little too much.  Always stay close to the stove when baking.
Add a splash of rose water or orange blossom water if you wish. Or almond extract to bring out the flavour of the almond and give more of a marzipan flavour.


Walnut cookie (GLUTEN FREE) 

INGREDIENTS:
1 CUP ALMOND MEAL
1½ CUPS FRESHLY GROUND walnuts 
¼  CUP UNPASTEURIZED HONEY (or maple syrup)  (add more to taste as walnuts can be bitter)
1-2 cups chopped walnuts or whole walnut halves for decor 
2 EGG WHITES
A pinch of fleur de sel or Sea salt

================= 

DIRECTIONS:
Preheat oven to 325 degrees. Combine almond and walnut flours with the egg whites and mix well.
Gently warm honey (or maple syrup) and stir into the almond walnut mixture. If the mixture is too wet, add more walnut or almond flour, 1/4 cup or less at a time. It should remain fairly moist. Balance it out with more flour and another egg white, if needed. In a plate spread out 1-2 cups of chopped walnuts or another nut preference. Using a spoon, scoop out 1-2 inch balls and dip the top part of the ball into the walnut pieces then place on tray (it's better to avoid having the chopped nuts underneath or they burn)
Alternately roll balls and simple place on tray then add a half walnut to the top of each pressing in gently. I sprinkled a little sugar on top too.  Flatten the balls slightly with a fork and bake for 12-15 minutes. Allow the cookies to bake longer if they are soft to the touch.

Note: Watch the bottoms, mine almost browned a little too much.  Always stay close to the stove when baking.


Saturday, July 16, 2016

Eid!!!


Mum's Basbousa (Egyptian Syrup Semolina Cake)

2/3 cup ghee (not melted)
1 cup sugar
1 cup yogurt
1/3 cup milk

2 cups semolina (fine or coarse)
1 tsp baking powder

Almonds for decor

Syrup:
1 1/2 cups sugar
1 3/4 cup water
1 tbsp lemon juice
(orange blossom water if desired - 1 tsp)

Prep syrup by adding the water to a pot then the sugar into the middle of the water in the pot, DO NOT MIX. Bring it to a boil and it will bubble and sugar will dissolve ...continue cooking on medium high then simmer for 2-3 minutes. Remove from burner and set aside.

Preheat oven to 350 degrees F.

BATTER: Mix sugar, yogurt and milk, and ghee in one bowl. Mix semolina, baking powder in another bowl. Cream all together

Grease a pan 7x13 with ghee or butter. Pour batter mixture into pan..garnish with almonds and bake 40 to 45 minutes on highest rack.

After the 40-45 minutes set oven to Broil (2 minutes on low broiler) STAY IN THE KITCHEN AND KEEP CHECKING THAT IT DOESN'T BURN. ALMONDS CAN BURN EASILY.

Remove from oven and turn oven/broiler off.

Pour syrup over the basbousa cake using a spoon or ladel to evenly distribute. Place basbousa back into the warm oven (turned off!!) for 10 mins. This will help the syrup absorb.


Let cool then serve, perfect to make the day ahead. Cover and seal cooled basbousa using foil until the next day, plastic wrap unfortunately clings to the top and may remove a layer or some of the almonds.

Double the recipe for large pan
For baklava recipe refer to previous post here 


Tuesday, July 15, 2014

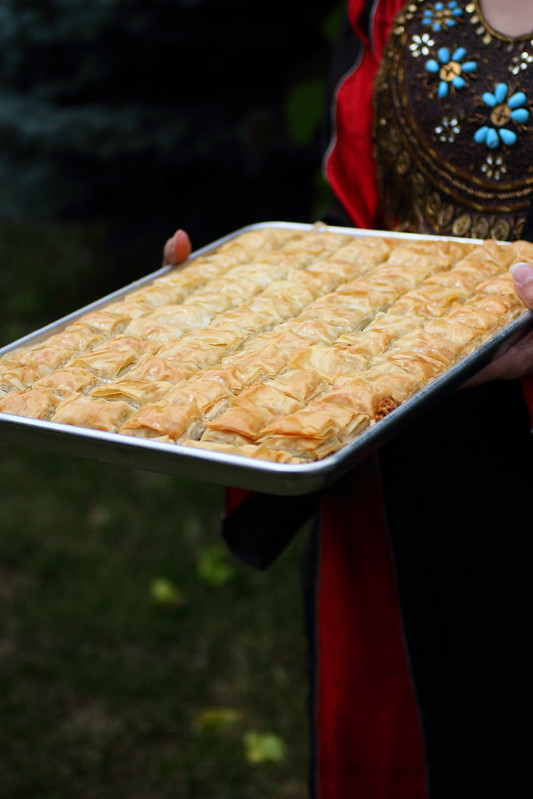
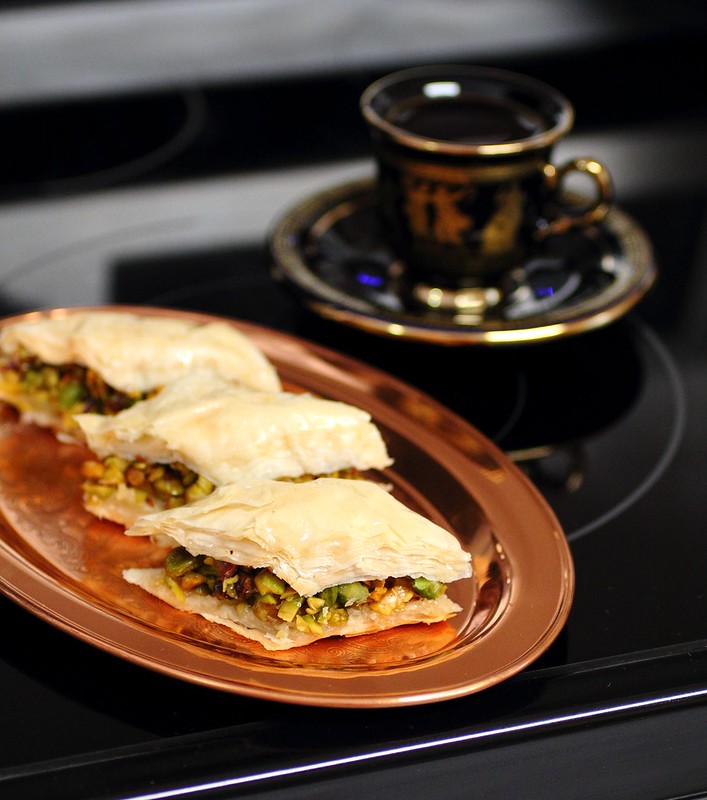
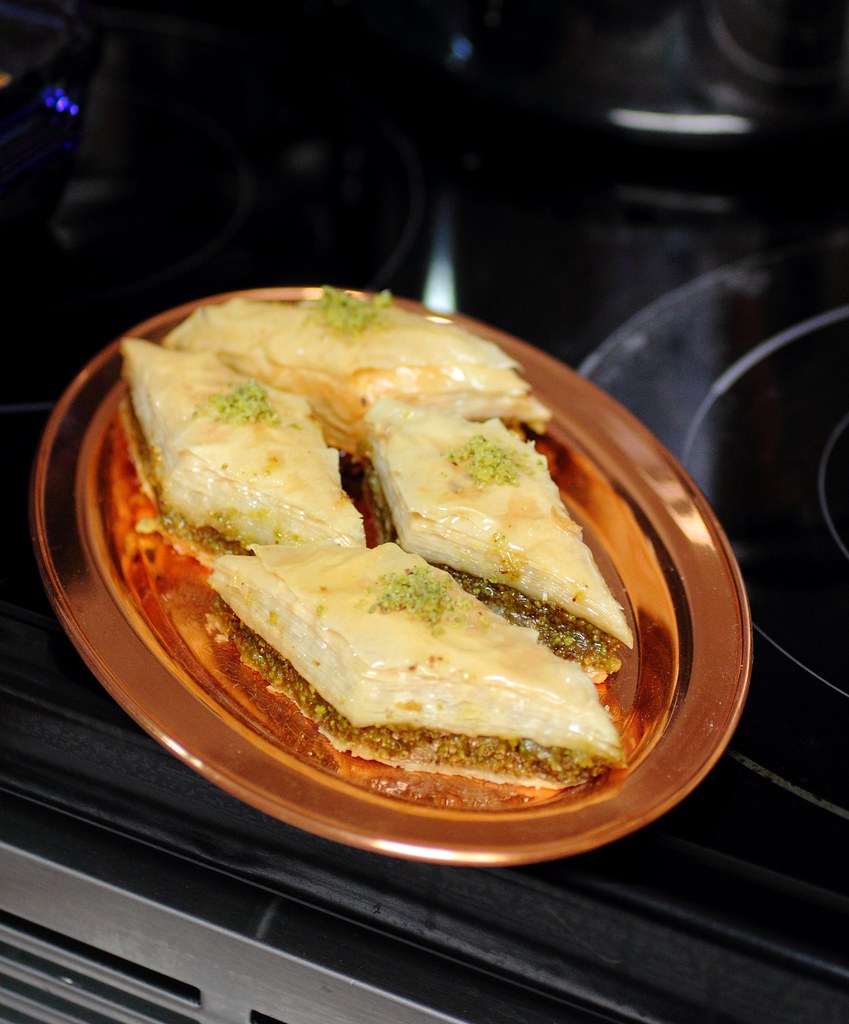
Baklawa or Baklava, whichever way you say it, it's delicious!


BAKLAWA is here!! The long overdue recipe. I promised to post it last Ramadan and then Eid came and I planned to make it on the big Eid when we just had too many sweets that I dropped it from the baking list.

Now that we're in Ramadan again I hope you guys will enjoy this recipe either during the fasting month or for the upcoming Eid festivals at the end of the month !

Baklawa (or Baklava) may look intimidating but it's really VERY easy to do.

It requires three parts to the recipe so once you have all these parts ready it's just assembly.

PART 1: Clarified butter - If you choose to use something like desi ghee which is already purchased in a jar then that cuts down this step. Just need to melt it into a liquid state and let it cool slightly and it's ready to use.  If you're using butter then simply melt down an entire  pound of unsalted butter in a small saucepan and let it boil on medium high until it foams, remove the foamy part and keep cooking until crispy white bits form on the top, keep skimming all of the white bits off and make sure they don't brown so you can set the temperature lower if you need to.  The objective is to remove all the milk solids until all you're left with is a golden fat.  Cool it and have a pastry brush on hand to use.

PART 2: Syrup - It's super simple, in a saucepan add 2 cups white sugar and 1 cup water, bring to a boil until all the sugar dissolves and boil on medium high for 10 minutes, add 1 tbsp lemon juice and boil for another minute. Remove from heat and add 1 tsp orange blossom water. Set aside.

Part 3: NUTS or filling - The classic fillings are pistachio and walnut.

Pistachio - Soak raw pistachios (removed from shells, better to buy them this way already) in water for an hour - At this point you can rub them between your hands to remove the skins. I hope you have better luck with this step because it took me an hour to seperate the skins and then actually fish out the pistachio between the skins in the bowl of soaking water, the nuts nor the skins really float so if there is a better way to do this I'd love to hear it!  If you prefer to keep the skins on your pistachios I understand and you can just skip this step entirely.
Once you removed skins dry them well with a paper towel and then bake them on 300 F for 10-15 minutes without actually toasting them, just let them dry out.

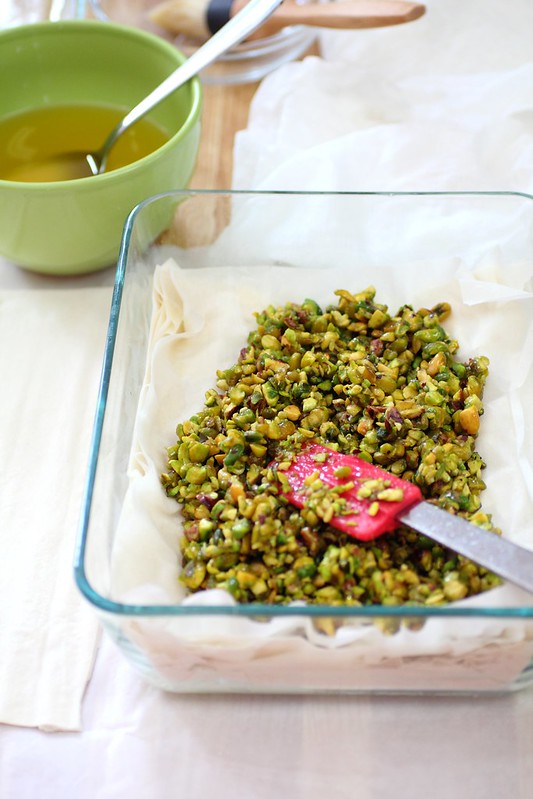
Pistachio filling can either be ground down into a paste or used in a chunky form so you do what you like, I chopped them coarsely here in the blender on "pulse" but you're better off cutting them with a knife by hand if you're unsure how reliable your blender/food processor is. If you want a paste just grind it down.

In either case add 2 tbsp of the premade sugar syrup and 3/4 tbsp of the clarified butter to the nuts and mix well.

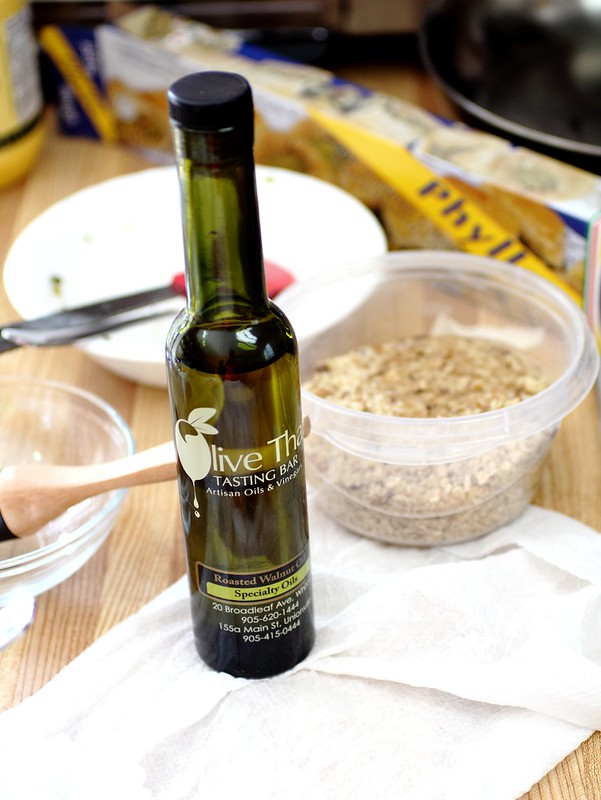
WALNUTS: This is a much easier filling, and my absolute favourite! Chop or pulse the walnuts into small bits (like the size of toffee bits) and then mix 2 tbsp sugar syrup and 3/4 tbsp clarified butter. (in my case instead of the clarified butter I used a roasted walnut oil that I had in my pantry from Olive That!)

With both pistachio and walnut I started out with about 1 3/4 - 2 cups of nuts and then chopped or pulsed them down.


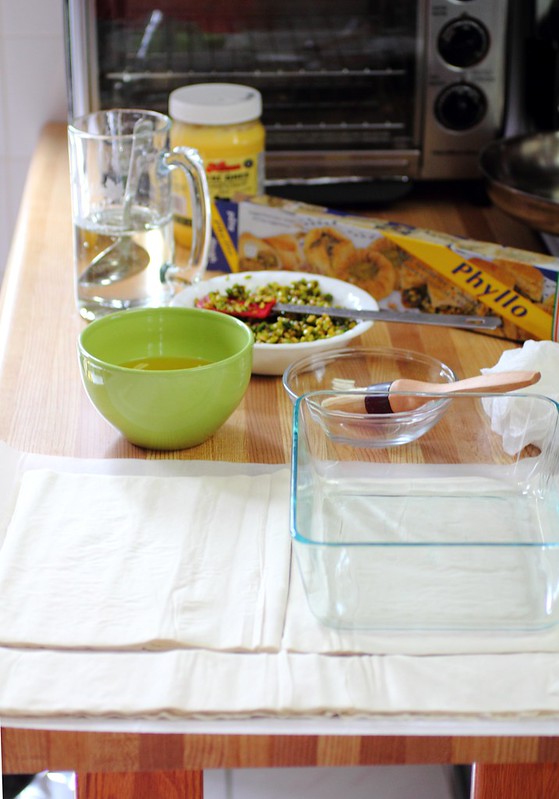
The final ingredient is your phyllo, you can purchase this from your local supermarket in the freezer section or it's easily found at Middle eastern, Arabic, Turkish or Greek stores.  Thaw in the fridge the night before.

From this point on it's very simple. I advise you to follow the photos here on Taste of Beirut's website so you don't get confused.
Simply cut the phyllo pieces into the size of the pan by laying the pan over and cutting to size.  Keep the phyllo under a damp (not soaked!) towel or paper towel to prevent drying out, this is important!

Butter the bottom of the pan and lay 2 sheets down, then drizzle a bit more clarified butter and brush it evenly with a pastry brush. another 2, repeat the process until 10 sheets are done.

Now I crumple up a couple of pieces that I had cut away from the phyllo (the excess) and lay them on top of the buttered sheet, drizzling lightly with more clarified butter and laying one more sheet overtop. 

Now add your nuts and really spread them out nice, dense and evenly inside the pan. 

Begin layering more sheets and clarified butter... 2 sheets phyllo, clarified butter, another 2 sheets, clarified butter, another 2 sheets... etc. about 10 minimum or go up to 16.

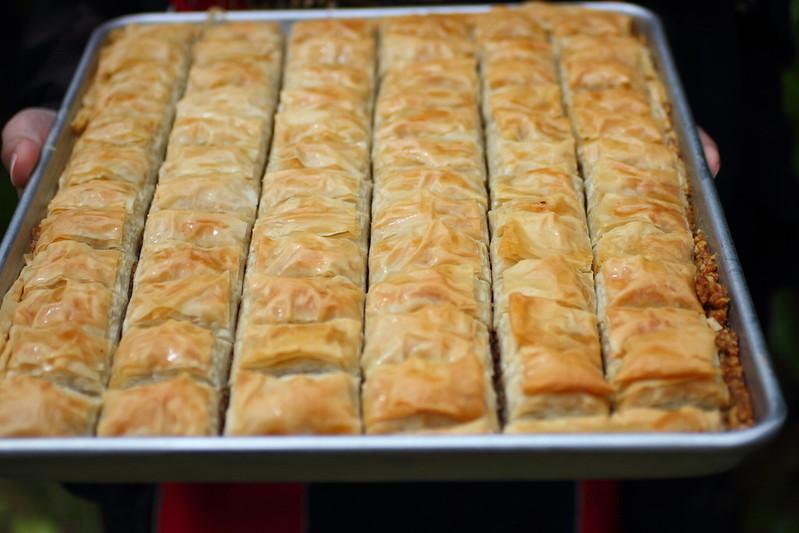
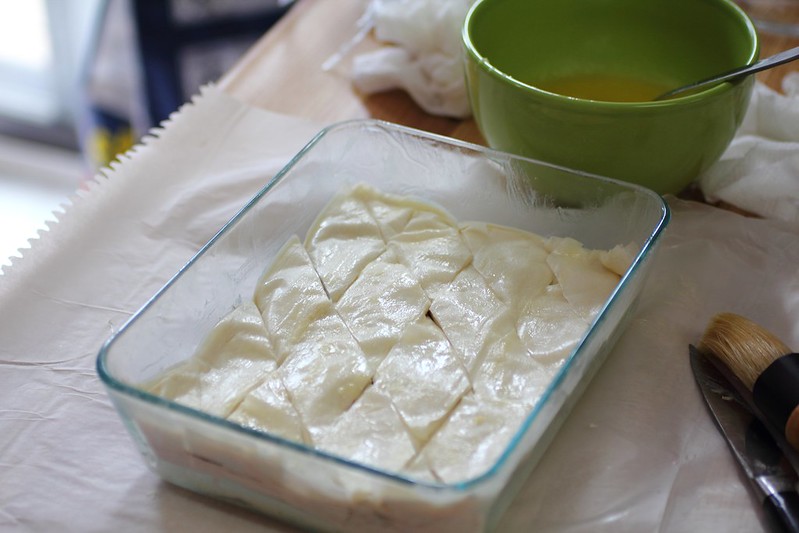
Finally a layer of butter and tuck the edges in lightly if needed. Score the whole pan by cutting through straight to the bottom in a desired pattern with a very sharp knife. This part is tricky so do it very carefully as not to mess up the layers. It may be easier if you had a pizza roller or a bench scraper with a sharp edge to simply chop down in one go. I have to experiment with this further to see what really works.

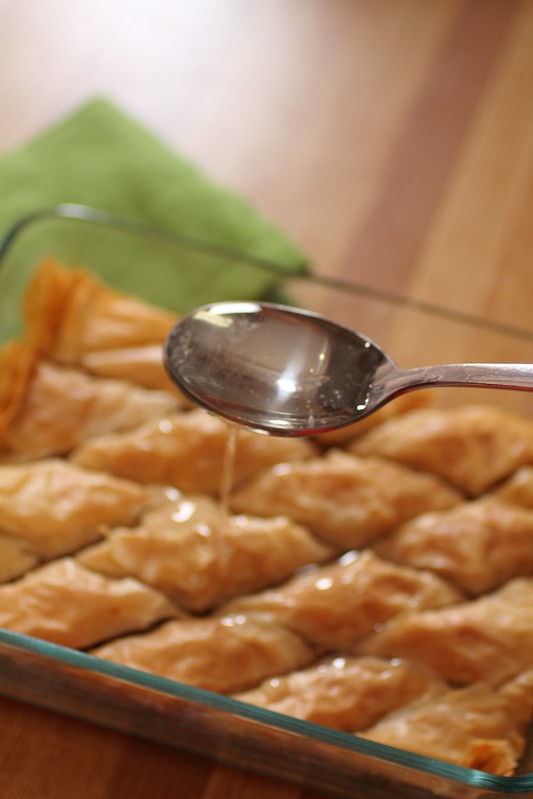
Bake in a 350 F preheated oven for 45 minutes then remove from the oven and drizzle with about 3/4 to 1 cup of the premade sugar syrup.  It may be easier if you resliced it again with a sharp knife then spread the syrup over to get it really absorbed into the cracks.

Let it cool down and store in an air tight container for up to 3 weeks! 


Friday, July 12, 2013

Ramadan Iftar Time


Ramadan Mubarak Everyone!!

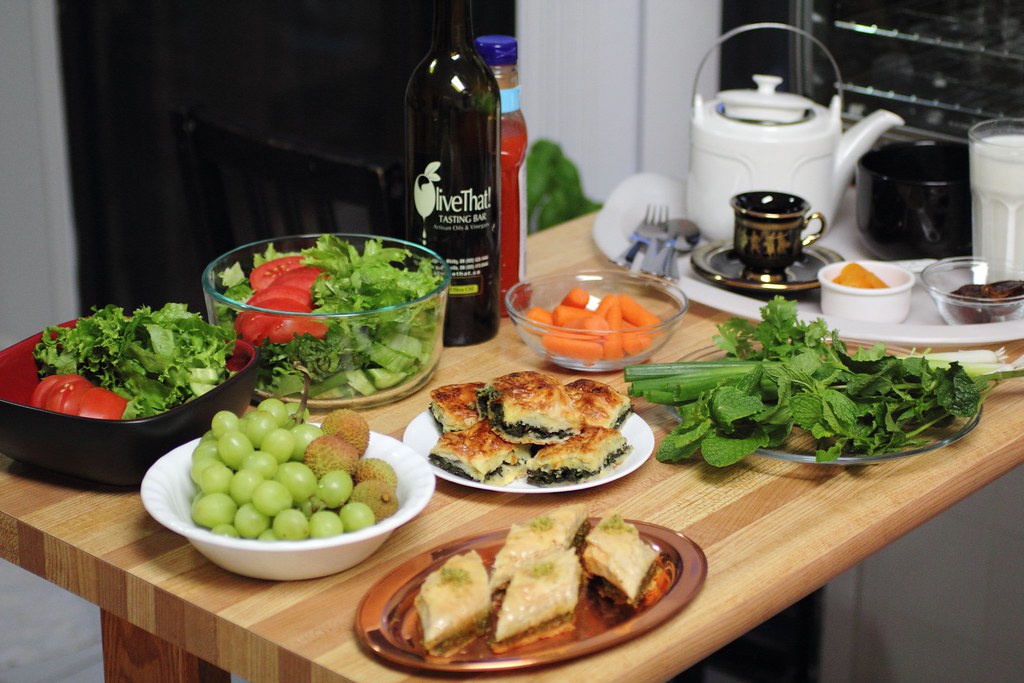
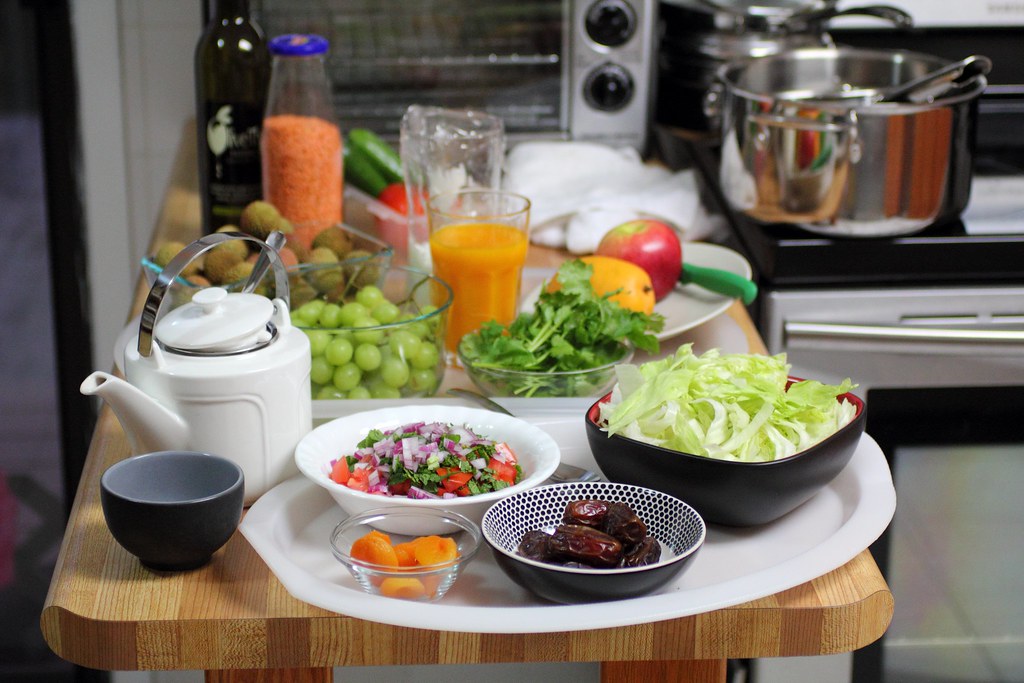
Here are just a few glimpses of what I've been up to these first two days of the fasting month.  These shots are of Iftar (breaking fast/dinner) prep in the kitchen.

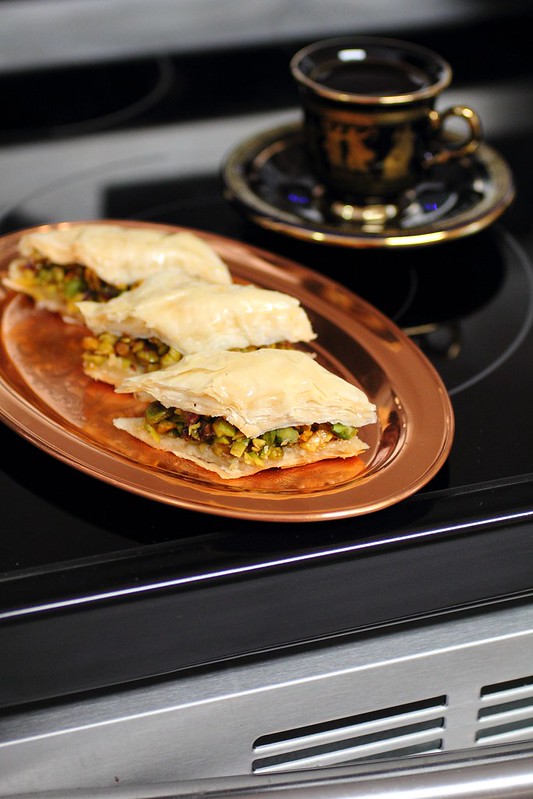
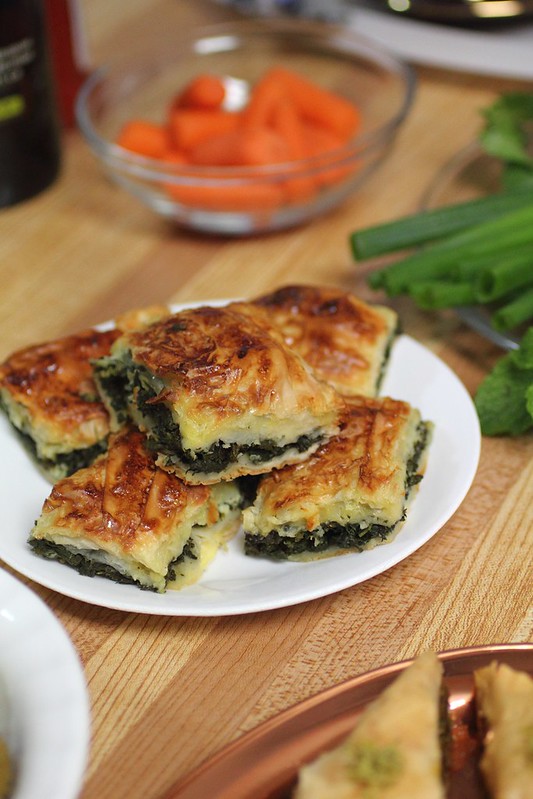
I've attempted Baklawa on my own for the first time and am pretty pleased with the results!! (Recipe coming soon since we're planning on a bigger batch closer to Eid)

 With the leftover phyllo from the savoury burek pies I could only make a small batch of Baklawa.

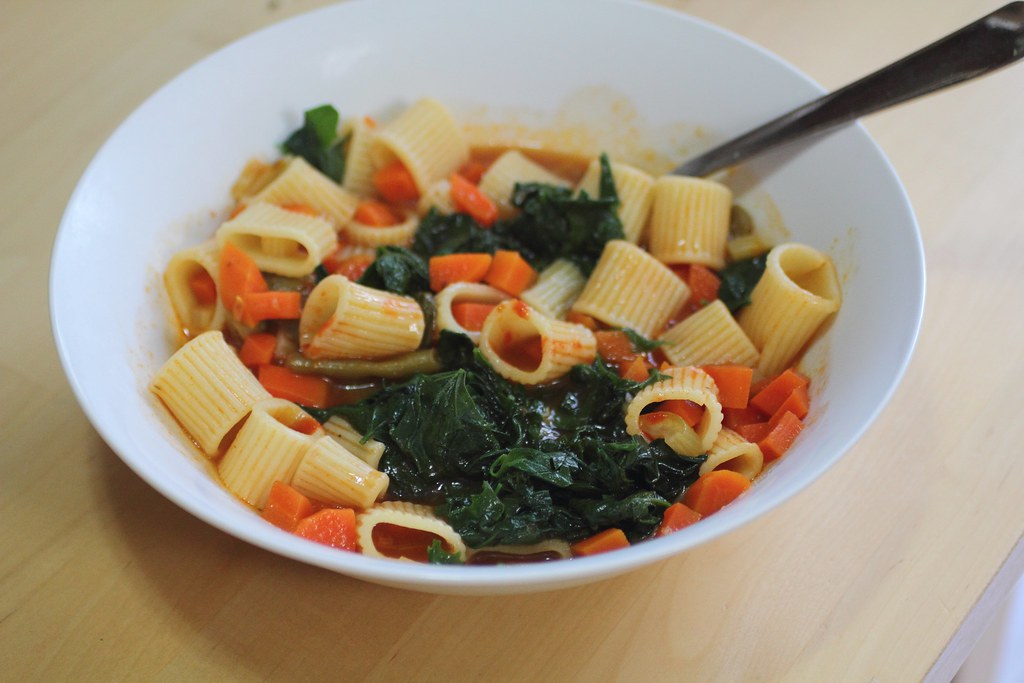
... and speaking of my burek .. which I stuffed with .... of all things LAMBSQUARTERS!)  Yep, that's my foraged weed/goods from the other day, blanched in salted water and finely minced.  It was excellent but I liked it more thrown into minestrone like spinach.

Hope you're all having a blessed month of Ramadan!