Showing posts with label sweets. Show all posts

Wednesday, June 29, 2016

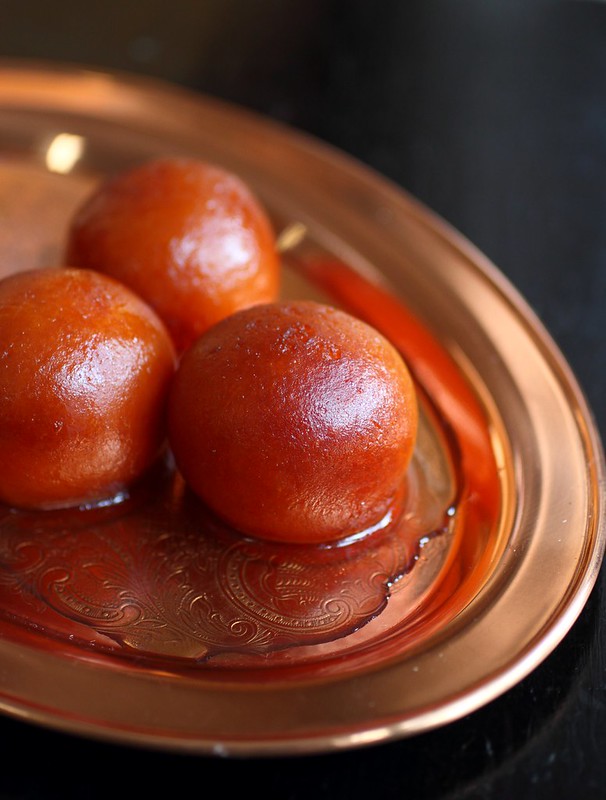
Gulab Jamun & Father's Day


Today we've got a special recipe for you because it's one that I vowed I'd never make...

My introduction to the Gulab Jamun goes way back to my days in kindergarten when I witnessed a classmate of mine pull this little golden brown morsel out of her backback and devour it at the lunch table.  This must have intrigued me because - as kids do - I went home that day to tell my mother all about it. After that we set out to find out what it was and I think from what I recall I managed to point it out among the hundreds of variations of from the other sweets at a place called Shirin Mahal back in Peshawar.  I was never much of a sweet person, things that were overly sweet or drenched in syrup made my tummy hurt but my mother became obsessed with them, to the point that I remember my father bringing home boxes of them because they were all she craved while she was pregnant with my younger sister. The gulab jamun was a big hit and later on from time to time my mother tells the story of how she tried to make them at home, and unfortuntely it resulted in utter failure so we came to the conclusion that it's "much better to just buy them anyway".

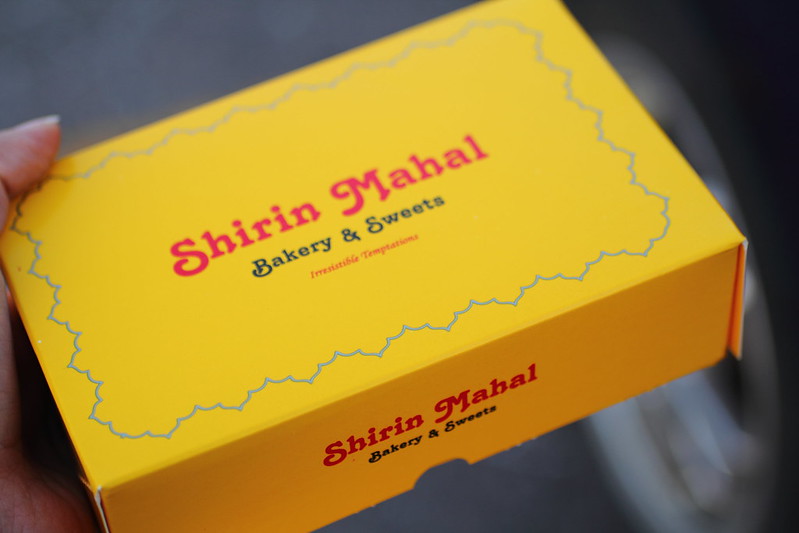
Years later I introduced them to my husband, ironically at a place called Shirin Mahal, which seems to be a chain throughout the general Toronto Area and with him having a sweet tooth it's no surprise that he instantly fell in love with them too.

As you all know I enjoy cooking and baking so the joke around here is whenever I ask my husband if he has any requests he says "Make me some Gulab Jamun" knowing that it's the one thing that I refuse to attempt after my mother's tale on how complicated they are to perfect.

I guess the moral of the story is "never say never" because this Ramadan I had a pot of oil sitting on the stove from frying some Luqumat which is a very special treat since I hardly ever deep fry and so I figured why not look up a recipe and surprise my husband for his very first father's day!

I picked up a bag of milk powder from the supermarket and when my husband noticed it in the kitchen he wondered what it was for because it's not something we ever buy. I jokingly told him it was for the baby to which he was more puzzled why we'd be feeding him powdered cow's milk when he's perfectly happy nursing... then I caved and told him I wanted to attempt to whip up a batch of Gulab Jamun. You can imagine how happy he was but if only it was as simple as it sounded.

I started making my first batch friday evening and couldn't believe how easy it was to whip up the dough because it's only 2 or so major ingredients! By time we started frying them we realized our mistake but proceeded to see how it would go ... then we realized our mistake, while they looked beautifully dark brown on the outside they were no where near cooked inside but we still continued to  put them in the sugar syrup... and ... they were not absorbing anything. The next batch failed too ... and then another...

Three days later and 5 attempts and we finally had a result that was actually absorbing. Some mistakes I made was browning them too fast in hot oil, and also kneading the ingredients too much, or not adding enough moisture so it was a dry dough with cracks. We tried saving a few batches too by boiling them in syrup with extra water added and while they looked like they were  puffing up eventually they would shrivel back to these tough gummy little nuggets. 


I'd say the final batch was a success because we worked together and did a lot of research beforehand. Some of the things we learned was to make a light dough and my husband rolled the balls gently between greased palms while I fried them on a lower oil temperature (160ish, hard ball on the candy thermometer) very slowly until puffy and golden all around.

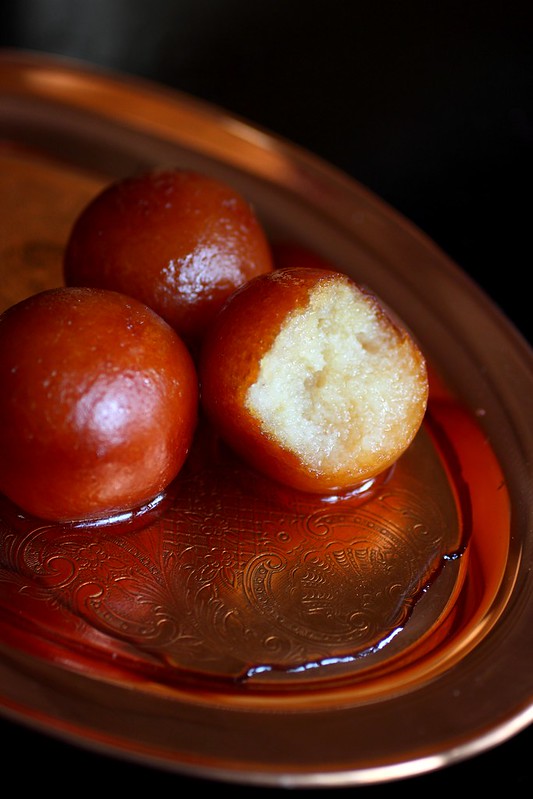
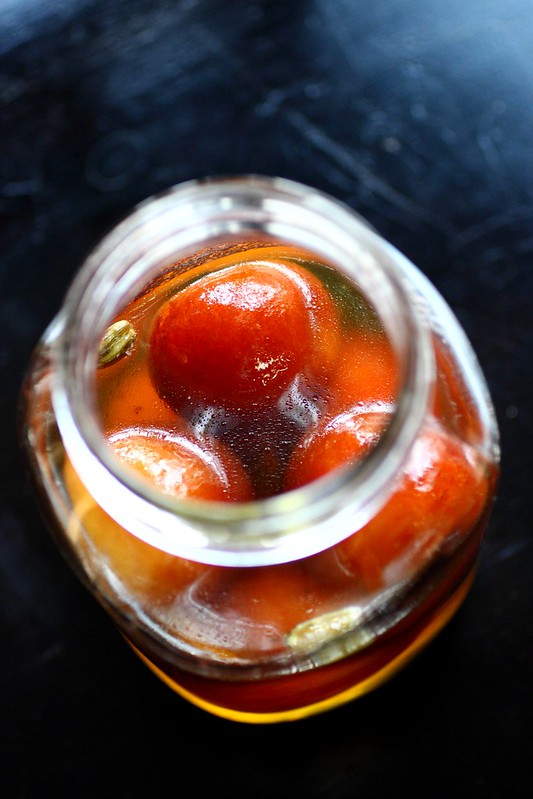
We put them in warm syrup and this time they absorbed all the way through and that's how we stored them as well, submerged. 

I think once taken out of the syrup they can dry out a little bit to the desired texture but overall I'm very happy with how they turned out and we have one sitting out to check it's texture this evening. It was a very interesting learning experience. It's amazing how the simplest recipes are the hardest to perfect. 
I can't wait to make an authentic - from scratch - version someday, that requires using whole milk and heating the milk down to a curd which is used instead of the more modern substitution of milk powder.


Ingredients (measuring cup used, 1 cup = 250 ml)
Recipe Source VegRecipesofIndia 

Sugar syrup:
2 cups water
1.5 cups sugar
3-4 green cardamoms, husked & crushed or powdered 

Saffron or Rose water optional. 

Mix the syrup ingredients and bring to a boil, cook for about 5-10 minutes on medium high until it's syrupy, but still light. Not thick like maple syrup or honey. If using rose water stir in at the end.  Set aside, it's better if you have it warm or on a low flame and ready for the gulab jamun's which you would make immediately after.


Gulab Jamun:

1 cup milk powder
¼ cup all purpose flour
1 tsp oil or ½ tsp ghee
a pinch of salt 
a pinch of baking soda
2 tbsp yogurt

Mix the dry ingredients and add the yogurt at the end, 1 tbsp at a time and see if it needs the full two tablespoons. It should not be a cracking dry dough, but moist enough and not sticking to your hands, mine was a little on the sticky side and we used oils palms to gently (VERY GENTLY) roll balls and set aside. All our other attempts yielded very dry balls. 

Fry on low as mentioned above and keep tossing and turning them in the oil so they cook inside and outside. They will almost be fluffy like a cake donut tim bit (donut hole) and you can cut one open to test it if you need to. 

Upon removing from the oil after they've browned put them into the syrup. We let them sit 2 hours and then transfered to a jar in the fridge, submerged in syrup. We allowed them to dry up a bit from the syrup by removing them and placing on a plate to drain before eating, even if the top is dry of syrup it is good as the syrup should absorb all throughout. 

Saturday, January 16, 2016

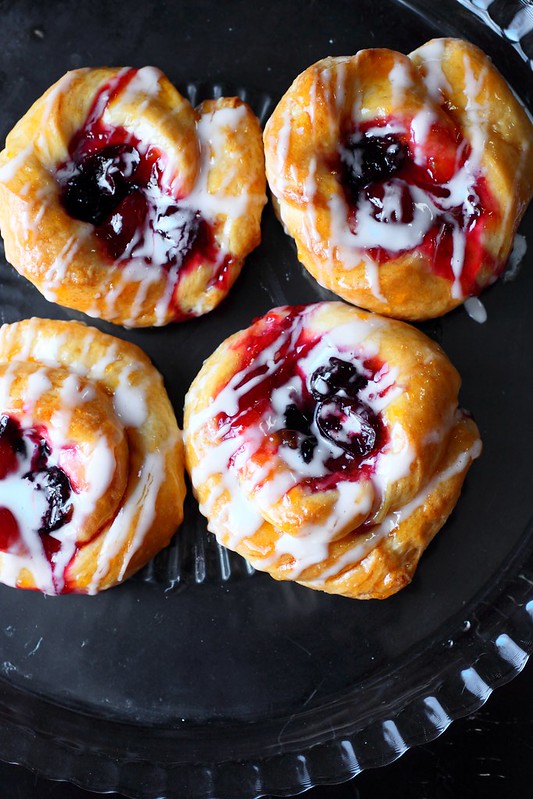
Cherry Danish Pastries


Cherry Danish Pastries
Recipe by Anna Olson


Stir together in the mixer bowl:

1 1/2 c water, about 115 f

1 tbsp yeast

1 c flour 


Add: 

1 1/2 c flour

1 1/4 cake flour

1/4 c sugar

1 tsp salt

add 1/4 c butter, cold and cubed 

Combine in mixer with dough hook


... once mixing add the rest of the butter
1 c butter cold butter in small cubes


Cover and let proof 30 minutes on counter

Transfer to finish rising in fridge for 2 more hours

 - Roll out dough on counter into a long rectangle and book fold, wrap in cling wrap and transfer back in fridge for 1 hour
long rectangle 3 fold 1 hr

- Remove from wrap and roll into long rectangle, fold in 3rds and cover in cling wrap and transfer back into fridge for 1 hour

- One more time: Remove from wrap and roll into long rectangle, fold in 3rds and cover in cling wrap and transfer back into fridge for 1 hour

At this point you can cut dough in half and use half the recipe to make 12 danishes and the other half for another recipe. 


Roll one piece into long rectangle and cut long strips, about 12 strips, twist the strips then curl up into rounds

Let rise 90 mins on a tray (1 1/2 hr) covered as not to dry out. 

Brush with egg wash, 1 egg + a splash of cool water

For filling mix thawed frozen cherries, squeeze out excess juice with cherry jam, about equal parts of each until it's a nice sticky consistency. Fill the middle of your danishes by first creating a little nest using your fingers or the back of a spoon pressed into the centre of the risen dough danishes. 

Bake for 30 mins on 375 F

Cool for 15 minutes then glaze with a mix of apricot jam watered down a bit, cook it briefly in a small saucepan then using a brush glaze the danishes and they're ready to serve! 

If you want to add a white glaze like I did wait until everything is completely cooled then mix powder sugar and milk, about 1/2 cup sugar and 1 tsp- tbsp milk and a dash of almond extract (I like the taste of almond with cherry)  then glaze the  danishes by drizzling in a zigzag motion with a spoon from high up over the danishes. 

Enjoy! 


For the cinnamon raisin swirl danish simple roll out the other half of the dough and butter with room temperature butter then sprinkle with cinnamon sugar and raisins, roll it up and slice as if making cinnamon rolls. Allow to rise for 1 and a half hour or 90 minutes on the tray, egg wash and bake for 20 minutes then cool for 15 and glaze with the same apricot jam glaze.

Wednesday, October 19, 2011

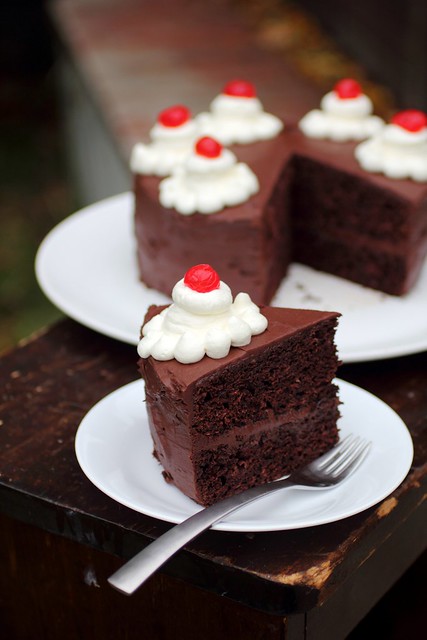
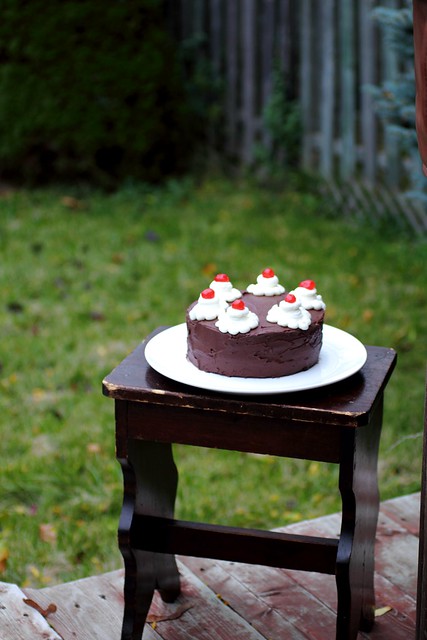
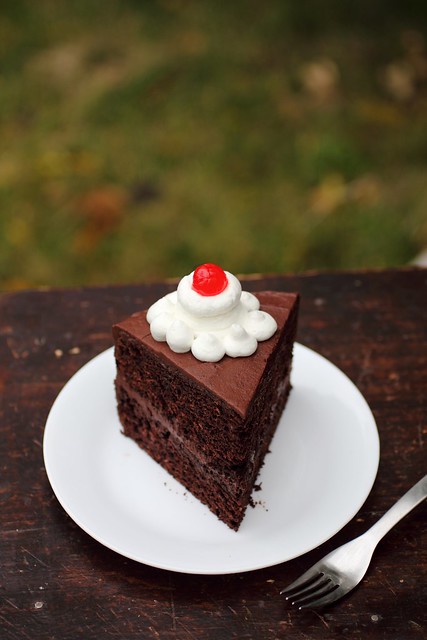
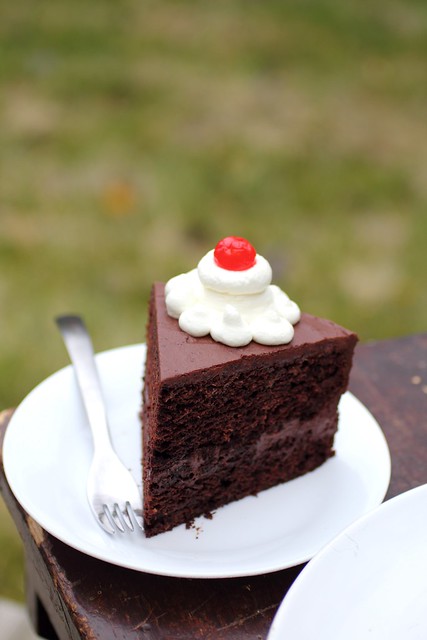
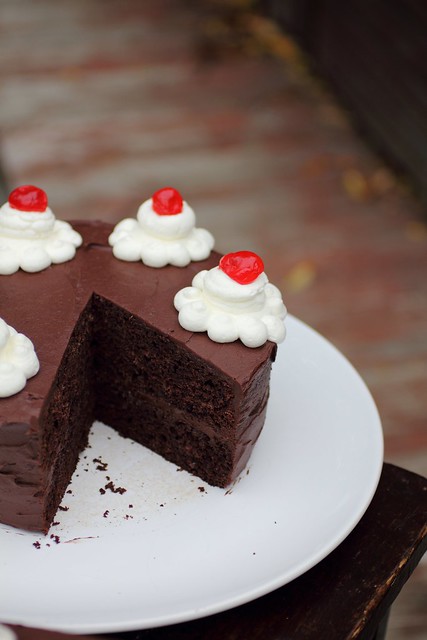
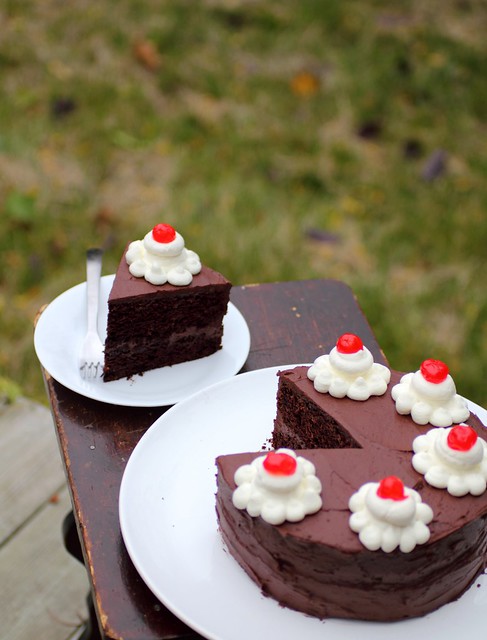
Root Beer float Cake


Here's a cake recipe I had bookmarked for over a year. Tracking down the IBC Root beer was a bit of a challenge but thanks to the Soda Pop Central in whitby Ontario, where I found the root beer brand and discovered a whole lot of other unique sodas and goodies!


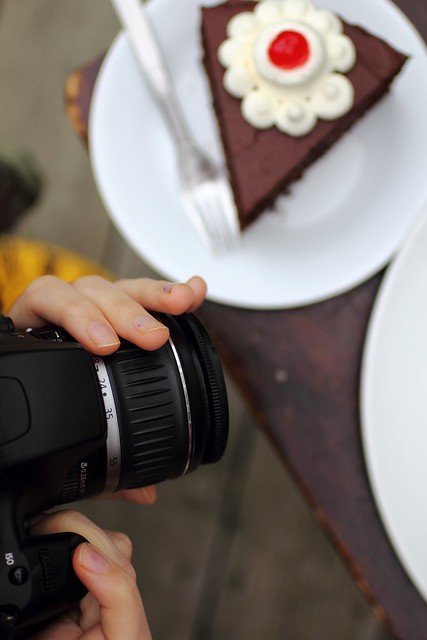
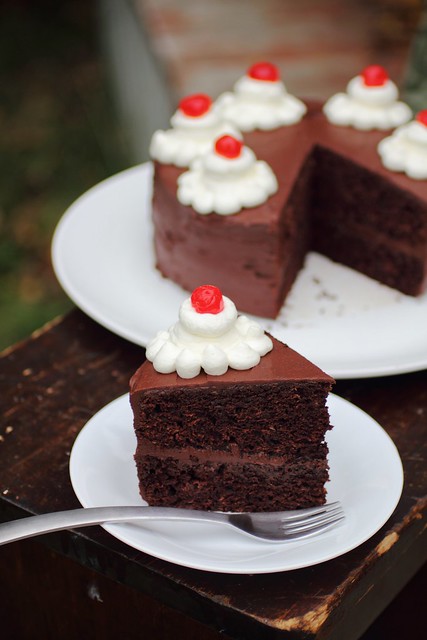
This cake is not only easy but it's super fudgy and chocolatey however to be very honest I did not taste any of the root beer. Everyone loved it though and I would make it again.

The only changes I did was soaking the cake in root beer too before frosting it to add more root beer-y flavour but the taste still didn't come through, the cake however was moist and tastes even better a few days after being left in the fridge to really meld together.


Root Beer Float Cake

From Baked, New Frontiers in Baking

2 cups root beer (don’t use diet)

1 cup dark unsweetened cocoa powder

1/2 cup unsalted butter, cut into 1/2 inch cubes

1 1/4 cup granulated sugar

1/2 cup dark brown sugar

2 cups all-purpose flour

1 1/4 teaspoons baking soda

1 teaspoon salt

2 large eggs

Preheat even to 325 degrees F. Spray the inside of a 10-inch Bundt pan (or 2 round cake pans) with nonstick cooking spray, or butter generously and dust with flour, knocking out the excess.

In a small saucepan, heat the root beer, cocoa powder and butter over medium heat until butter is melted. Add sugars and whisk until dissolved. Remove from heat and let cool.

In a large bowl, whisk together the flour, baking soda and salt.

In a small bowl whisk the eggs until just beaten. Then whisk into the cocoa mixture until combined. Gently fold the flour mixture into the cocoa mixture. The batter will be slightly lumpy. You can give it a quick whisk if you like, but don’t over beat the batter or it could cause the cake to be tough. Don’t worry, the batter is very loose.

Pour the batter into prepared pan and cook for 35-45 minutes (or 25-30 minutes for 2 cake pans), rotating the pan halfway through baking until a sharp knife inserted in the center comes out clean. Transfer to a wire rack to cool completely then loosen edges with a butter knife and turn out onto a cake plate.

Chocolate Root Beer Frosting

2 ounces 60% cocoa, melted

1 stick unsalted butter, softened

1 teaspoon salt (you may want to use less… maybe just 1/2 teaspoon)

1/4 cup root beer

2/3 cup unsweetened cocoa powder

2 1/2 cups powdered sugar

In the bowl of a stand mixer, or using an electric hand mixer, beat softened butter and cocoa powder. Once combined add the melted chocolate, salt, powdered sugar and root beer. Beat together until smooth. Spread on top of cooled cake. Slice and serve with vanilla ice cream.

Sunday, July 24, 2011

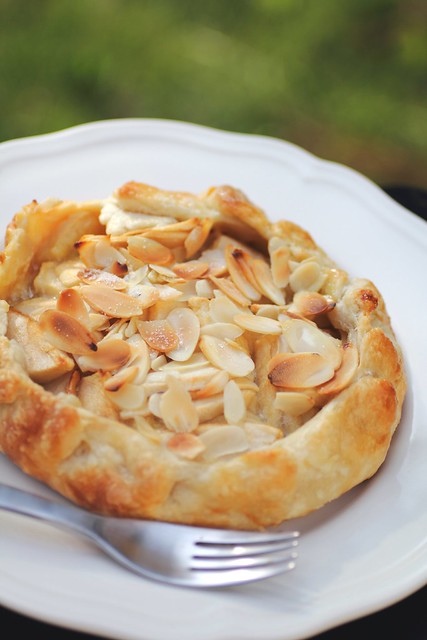
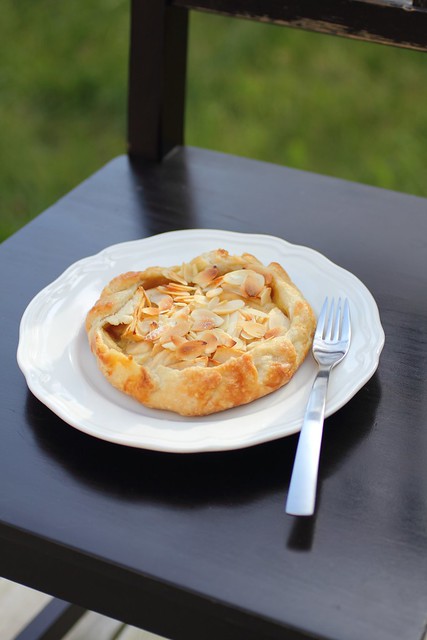
Apple Almond Galette (with Marzipan)


It all begins with a good crust ..

So check out Martha Stewart's recipe here for Pate Brisee

The recipe makes quite a bit of crust so I divided in half and froze one part and divided the remaining half into two disks and then chilled.

Now slice your apples thinly and toss with a bit of sugar (not too much since there is a lot of sugar going on with the marzipan)

Take a small ball of marzipan dough and flatten into a disk (the size of the base of your galette)

Place the marzipan on your rolled out chilled dough and top with all the sliced apples. Fold the edges over pinching to create pleats to keep all the filling in.

Top with sliced almonds and brush the crust with beaten egg.


Bake at 400 for 30 mins. the almonds may get too brown so ten minutes into it I laid a piece of foil on top of them and the rest baked beautifully.


Enjoy!


Wednesday, October 27, 2010

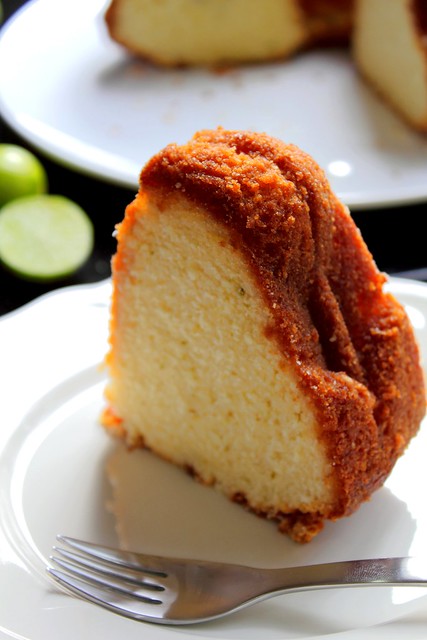
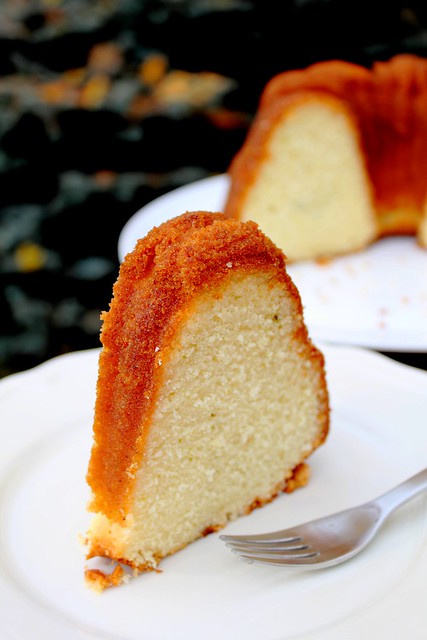
Key Lime Bundt Cake


I'm all about seasonal freshness and local food, if I see vine tomatoes but the sign says product of usa or mexico and I'd much rather go for the hothouse tomatoes grown locally.

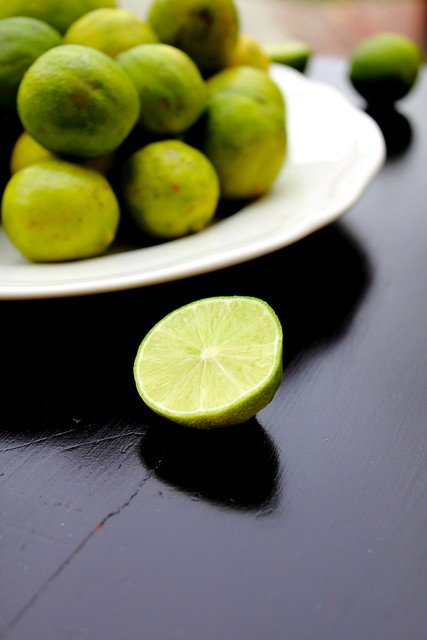
I'm also a bargain hunter so today I saw key limes, tons of them on the clearance rack, two little sacks choved onto a tray and wrapped up with plastic and a sign that says 1.49. I figured I'd give them a try since they looked pretty ok and I've been eyeing them over the summer but their price is usually close to $4.


The key lime always confused me, I've never tasted them before and I hear they are used for pie - the fameous key lime pie - but I don't have much of a sweet tooth and pie isn't my thing really, especially a citrus pie with meringue .. not my thing at all (please don't kill me lol)

When I was younger in pakistan my mother used to give us a lime type of fruit that was very sweet, and delicious but this isn't the same thing at all. I've not yet located any of those in the west yet, but my search over those sugary limes is not over yet!

Wiki says key limes are loomi amani, which is a dry lime that is brown in color used in arabic food, to flavour stews and rice, and all sorts of dishes, very popular in southern iraqi cuisine, as well as all over the gulf and parts of the middle east as well as persia where it's called leemo. Being of middle eastern backround I can work with this.

If I can dry the rest of these babies successfully (unlike the baby cherry peppers I hung from my window which resulted in a scary moldy interior -ewe! ) then all should be well and I'll have a huge stock of some dry lime for my cooking.

Not a fan of the pie as I said so a cake sounded just right. I LOVE CAKES! Especially plain sort of cakes.


Here's a good time to use the kitchen aid mixer or a hand mixer because you'll have to trust me on this, after zesting and squeezing the juice out of all those little limes the last thing I wanted to do was use a whisk.

Took me a bit to figure out what the breadcrumbs were for, I've debated whether to use panko or ordinary ones and it's a good thing I didn't season my homemade breadcrumbs with salt, pepper or anything like that because I was thinking of it last week.

Upon some searching online I found a blog which mentioned not to use panko, and instead a fine regular sort of breadcrumb so I went for that instead and seems it is a trick used for bundt pans to prevent sticking I guess. Learning something new everyday!

Moving on to the recipe. I've zested close to 10 key limes even though the recipe calls for three, why not I say - go big or go home - and their juice made EXACTLY 1/2 cup for the syrup. Yay!

Upon tasting the batter I found it to be just right, tasted like a green fruit loop to be honest, so I'm glad I went for more zest.

Next time I'll use coconut milk instead of regular, and see how that turns out!
My cake baked for exactly 1 hour, so keep an eye on it, Also I've placed another tray under the bundt to prevent any browning because my oven is hotter than the norm.

Recipe for Key Lime Bundt Cake

Best made the day before. Helpful to have one of those microplane graters for lime zest. I think I use a bit more zest than the recipe calls for. Enjoy!

Fine dry bread crumbs & softened butter (for coating pan)
3 cups sifted all-purpose flour
2 tsps baking powder
1/2 tsp salt
8 oz unsalted butter, at room temp.
2 cups sugar
4 extra large or jumbo eggs (I often use 5 large eggs)
1 cup milk
Finely grated zest of 3 limes, preferably key limes

Glaze:
1/2 cup fresh key lime juice or 1/4 cup each lime & lemon juice
3/4 cup sugar

Oven 350 degrees
Butter 10 inch tube pan (I use my Bundt pan) and sprinkle w/ bread crumbs (coat - use a lot of butter)

Sift together flour, baking powder, salt and set aside.
Beat butter till soft, gradually add sugar, beat 'till light & fluffy. Beat in eggs one at a time, scraping down bowl after each addition.
On lowest speed, alternately add dry ingredients & milk, scraping bowl as nec. and beating just to mix each addition.
Stir in lime zest by hand.
Pour half the batter on one side of pan, half in other. Level top by briskly rotating pan back and forth.

Bake until cake tester comes out clean, about 1 1/4 hours. Let cool slightly on wire rack - 10-15 mins.

Stir lime juice and sugar together just to mix.

Place cake rack on tube pan and invert and place rack over foil. Using pastry brush, brush glaze all over warm cake until completely absorbed. Brush on any glaze that drips onto foil.

Let cake cool completely & transfer to cake platter. Let stand loosely covered for several hours or preferably over night. When ready, outside of cake will be completely dry.

Thanks to MMRuth, a chowhound member for this recipe. It is a delicious cake and I'll be making it again and again!!!

Monday, October 11, 2010

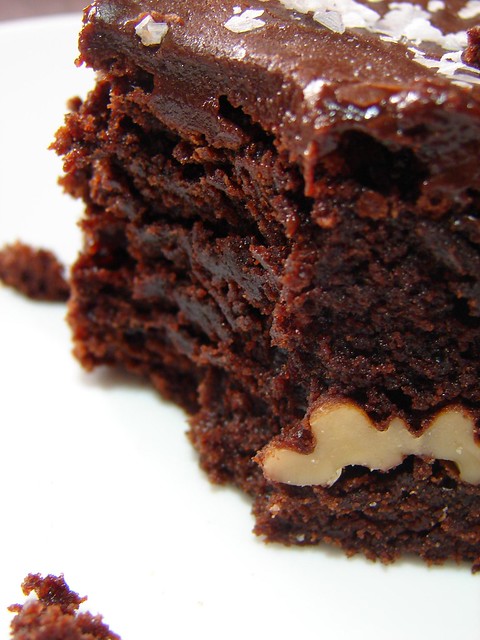
Favourite brownie recipe ever!


My favourite brownie recipe

3/4 cup vegetable oil (or sunflower)
1 1/2 cup white sugar
1 1/2 tsp vanilla extract
3 eggs
3/4 cup all purpose flour

1/3 cup cocoa plus 3 tbsp
1/4 tsp baking powder plus 1/8 tsp
1/4 tsp salt plus 1/8 tsp salt

3/4 cups chopped walnuts (optional)


1. Preheat oven to 350 degrees F (175 degrees C). If using a glass pan put oven on 325 F.

(Grease a 8x8 inch baking pan.)

2. In a medium bowl, mix together the oil, sugar, and vanilla. Beat in eggs. Combine flour, cocoa, baking powder, and salt; gradually stir into the egg mixture until well blended. Stir in walnuts, if desired. Spread the batter evenly into the prepared pan.
3. Bake for 30-40 minutes (this is just approximate time so keep an eye out!) or until the brownie begins to pull away from edges of pan.

Let cool on a wire rack before cutting into squares or frosting/glazing it.

A nice ganache topping with a sprinkling of salt makes this brownie just a bit more special!

(recipe adapted from Allrecipes.com Mmm-Mmm Better brownies)