Showing posts with label christmas. Show all posts

Tuesday, December 25, 2012

Holiday 2012


This year we had no snow so we made it snow indoors!

How you may ask?

The secret is..................


Marshmallows!! Whether they're big or small, and even if they're a bit stale just thread them onto a fine cotton thread with a needle and hang them up one thread at a time, the more you've got the better it looks.  Keep the marshmallows at different heights and you got to do a double loupe around the marshmallow to keep it in place.

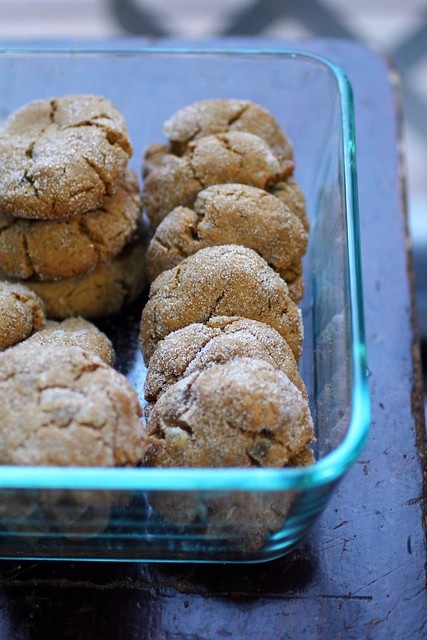
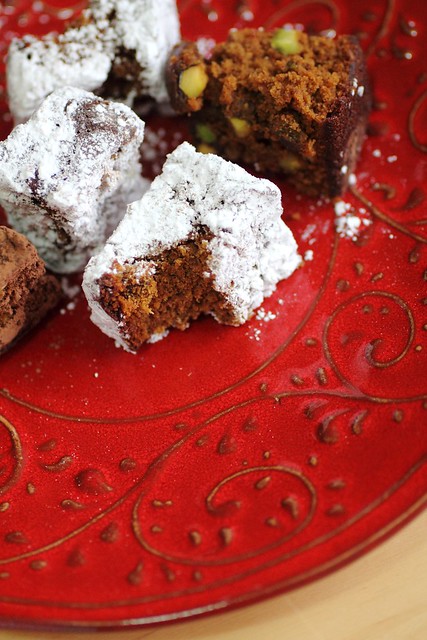
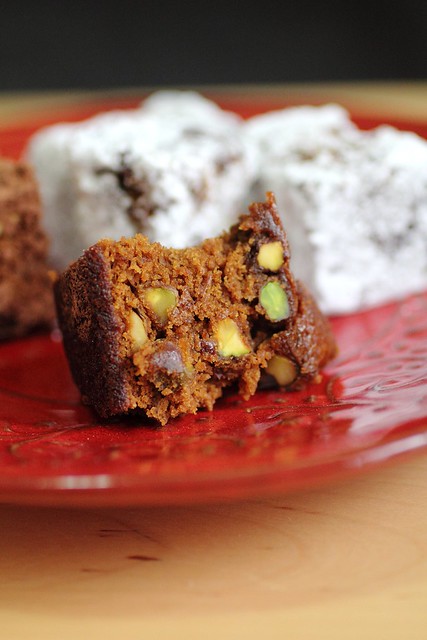
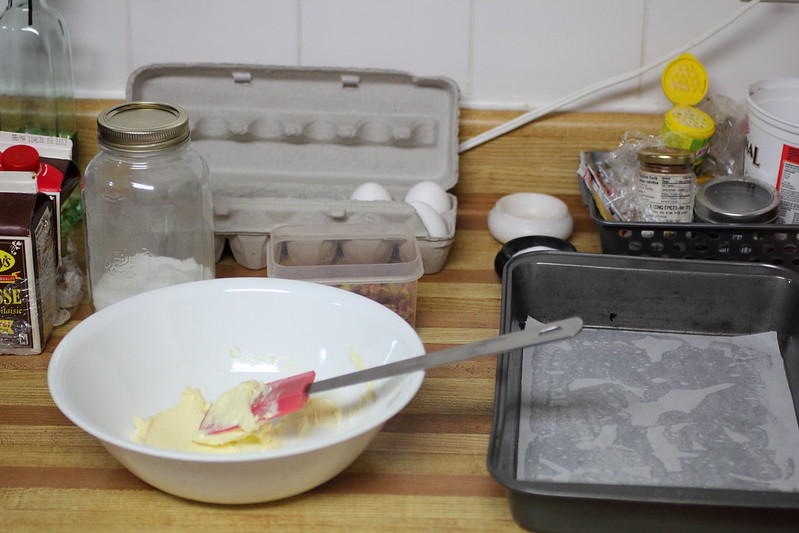
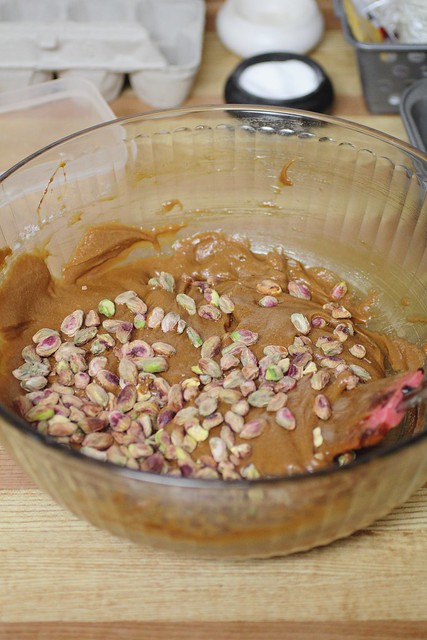
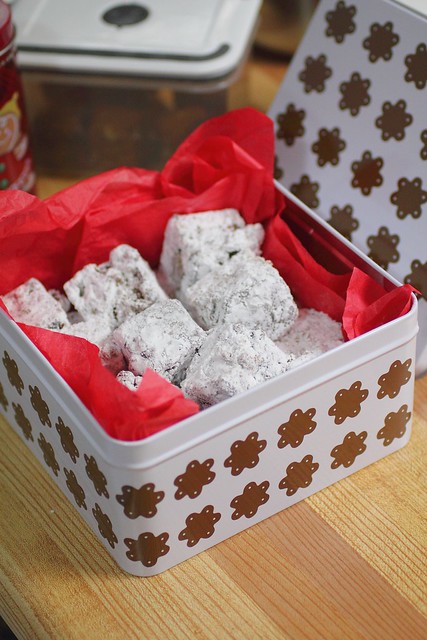
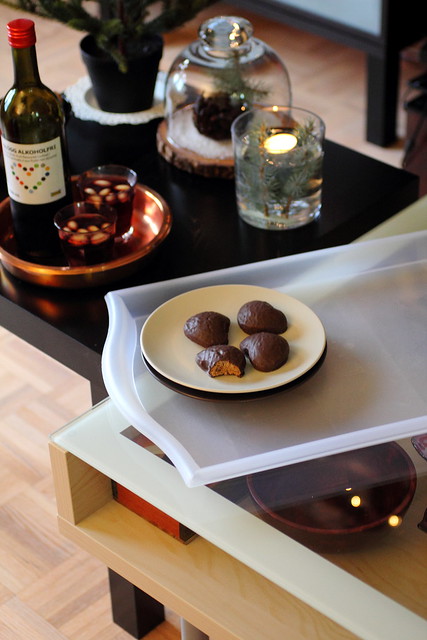
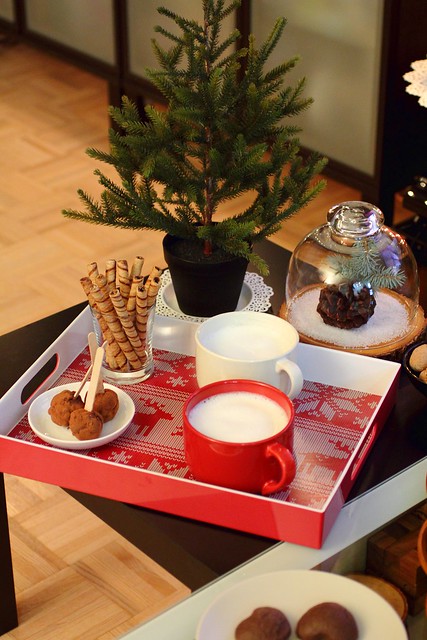
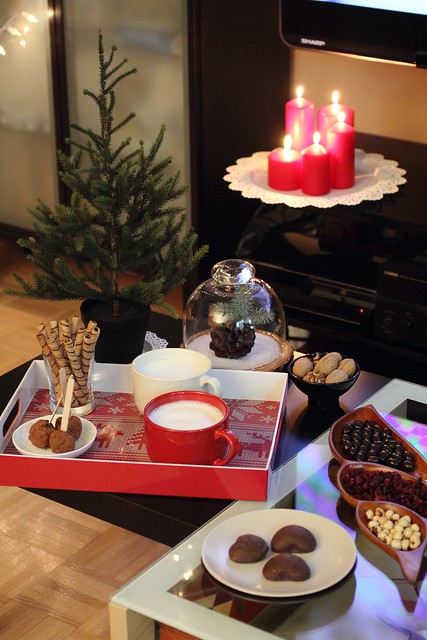
I also finally got around to using my hot cocoa nuggets, you can find the recipe here.  It really is SO Delicious especially when you sweeten with sweetened condensed milk! 


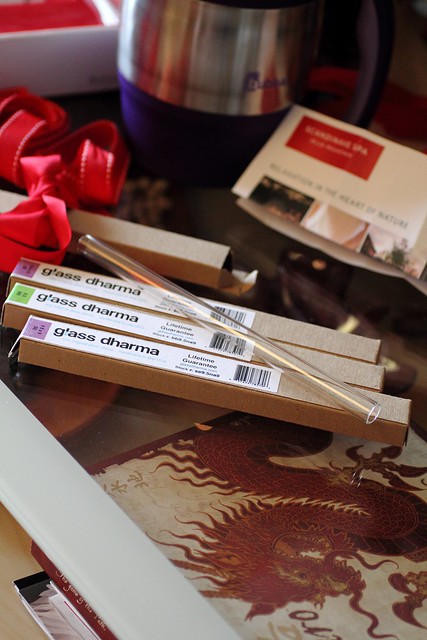
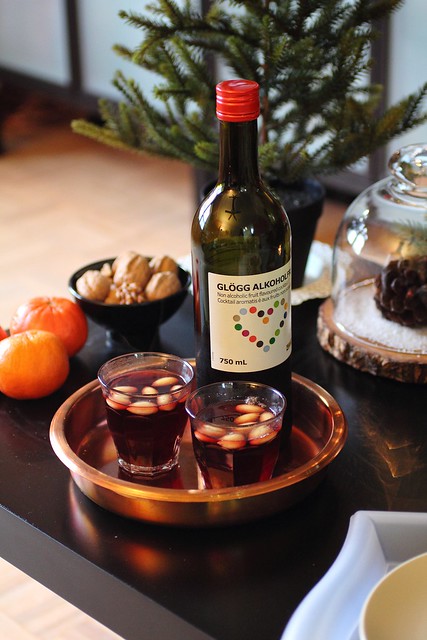
I also would like to say that these glass straws are totally amazing! This one you see is the bubble tea straw, it's very wide and great for slurpees too.  I got an Iced tea (bent) straw and 4 standard style glass straws for entertaining.   Can't wait to try them out (and will be featuring them soon - maybe New year's? )

So far we tried out the bubble tea straw and it's really great, perfect for smoothies too, not too wide and I think it's fun for kids too.


And last but not least meet our new "Christmas Cats" Two lovely girls (sisters) that we just adore! We've only had them for a little over a week but they are little treasures and we're enjoying every moment of their company!

Happy Holidays everyone!


Thursday, December 20, 2012

Gingerbread with Lemon Glaze


Gingerbread Tree with Lemon Icing
Great recipe Thanks to Sweet Sugar Bean Blog 

2 1/2 cups all purpose flour (spooned and leveled) plus a bit more for rolling
1 tsp baking soda
2 tsp ground ginger
1/2 tsp ground cloves
1 tsp ground cinnamon
1 tsp coarse salt
1 cup unsalted butter, at room temp
3/4 cup granulated sugar
1 large egg
1/4 cup molasses

2 tbsp fresh lemon juice
1 1/3 cup icing sugar
coarse sugar, optional

In a medium bowl, whisk flour with rest of dry ingredients.  In a large bowl of a mixer, cream the butter and granulated sugar on medium high until creamy, about 3 minutes.  Add egg and molasses and beat to combine, scraping down bowl as you need to. With  mixer on low, gradually add flour mixture and beat until combined.  Wrap dough in plastic and refrigerate until firm, about 1 hour or up to 3 days.
Preheat oven to 350*F, with racks in upper and lower thirds.
On a lightly floured work surface, roll out dough to a 1/4 inch thickness, and with cookie cutters, cut into your favourite shapes.  My Mom still uses the cutters from when we were kids and I love the pig!  Or you can use a sharp knife and cut into triangles.  Arrange cookies on parchment lined baking sheets, and bake until firm and golden, around 8 min for chewy, 10 min for snappy.  Let cool completely on sheets on wire racks.  Store in airtight containers for up to one week, or freeze.
To make the lemon icing, combine lemon juice, icing sugar with a small whisk.  It takes a little while for it to come together.  Add more lemon if too thick.  I just put the icing in a small Ziploc bag and cut one corner to make a tip.  Drizzle onto cooled cookies and sprinkle with sugar.

The cookies freeze well for up to one month.  Makes about 50-60 cookies.  Adapted from Everyday Food, December 2010.

For the complete cookie list this year check out the list for 2012 here

Ultimate Ginger Cookie by Ina Garten 


Sunday, December 16, 2012

DIY


A little DIY with my IKEA LUNS chalkboard/magntic board, it was originally spruce and I was just getting so tired of it.  It seems it did come in a white frame and a lot of people online painted the frames in different colours but I had my heart set on black and haven't seen any examples of it on the net as of yet.  It looks pretty good, if I do say so myself! 


 What you would do is sand the frame down lightly and then prime and paint with a black paint (either latex matte finish or even an oil depending on your taste, I like all things MATTE and I'm pretty stubborn about that) 

Make sure to tape the handles at the bottom if you decide to keep them (many people just don't bother to install them) Also tape off and cover the chalkboard area and remove the little metal tray inserts before painting.

The little white trees in the photo standing in front of the chalkboard (to disguise the hooks it's balancing on) are also a DIY project.  I collected the white cardboard stuff that comes in the reed incense boxes from the body shop and then cut little trees and two of them fit into each other since one is sliced half way up the bottom and the other half way down the top.  They're just so fun and that's why I keep all pieces of good cardboard because it comes in handy : )


Monday, November 26, 2012

Chewy Pistachio Gingerbread Bites

Inspired by Snixy Kitchen Blog and Martha Stewart I decided to make this recipe instead of my traditional gingerbread recipe that I make every winter.

Now the recipe looks so simple, I figured I'd whip it up in between commercials while watching my favourite show on sunday nights.. little did I know it was a disaster (not the recipe, more like the experience) so I spent my evening making it twice.  The first time I used old molasses, the stuff I had laying around from last year. I knew the texture was off but I ignored my gut (as usual) and went ahead and made it.  Also I baked it in a 9 X 13 instead of the 9X9 in the recipe (there is a huge distance between my living room (computer) and kitchen, I often make this mistake of writing down or remembering the recipe wrong  (I know I know, really should be looking up the recipes on my phone or PRINTING them out, yikes)

Think I learned my lesson.   My only regret was the half cup of pistachios that went into the recipe, they're pretty expensive :( 
Good thing I had just enough pistachios to make another batch, this time I used my glass 8X8 square and baked it at 325 (usually with glass you take 25 degrees off because it heats up more than a typical pan) 
This time I used the good new carton of molasses (just fancy molasses, not even sure what unsulphured molasses is which the recipe asked for)  also 1 tsp - tbsp of oil went into the second batch because I had to coat the measuring cup with it to get the molasses to slip out easily.  

My review on the recipe is that it's still not quite there, I would like to try to experiment and see what I can come up with because it's still a bit dry, and not as chewy as I expected.  
I baked it at the 45 mins and the middle was still runny but I had to turn off the oven because the sides were drying out. I thought I'd saved it in time but the sides ended up having to be sliced off. 

At the end I served them coated in powder sugar (confectioners sugar) and some in cocoa powder (if the bite was a bit sweeter this chocolate combo would really work!)

I'm definitely going to experiment and see what I can come up with to improve this recipe and get it to what I'm looking for.