Whenever I buy a can of okra I would rather just eat the okras right out of the can than actually cook with them. They are so delicious and because they add a tomato in there (for freshness, preservation? I don't know) but it adds that note of acidity and I just absolutely love it!
Later browsing through a foodie forum I frequent someone mentioned pickled okra, I was like "WAIT! Pickled Okra?" I've never heard of it but if it was going to be anything like those canned okras I'm in!
Middle Easterners love okra, the kids, the adults.. everyone, we all love it, it's a regular dish on all our tables especially stewed with tomatoes and beef eaten over rice (or couscous) It is the perfect okra recipe in my opinion.
Recently I tried an indian okra recipe, and I liked that too very much, in fact I'm going to make some with the leftovers that wouldn't fit in the jar :)
So here it is, I've added a few twists of my own and we'll see how it tastes in 10 days!
Pickled Okra
- 1 mason jar
- 1 pound young, small or tender okra pods
- 2 cloves of garlic
- 1 small tomato (makes sure it's small enough to fit through the top of the jar)
- 1/2 tsp pepper corns
- 2 tbsp kosher or pickling salt
- 1 cup water
- 1 cup vinegar
Run your jars through the dishwasher or clean and dry them well by hand. Set aside.
Wash your okras well and dry. Prepare all your other ingredients.
In a small saucepan bring these ingredients to a boil:
1 cup water
1 cup vinegar
2 tbsp kosher or pickling salt
In the jar:
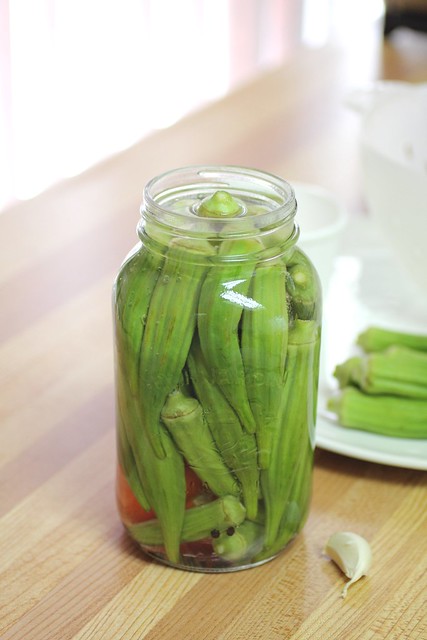
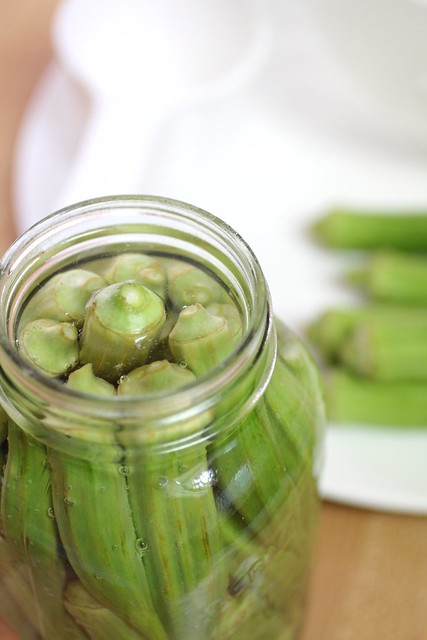
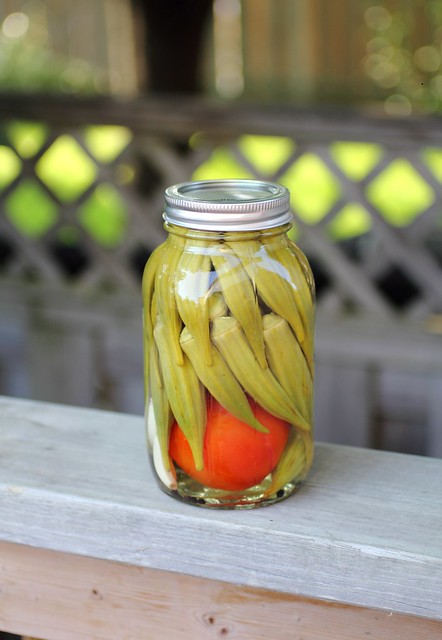
Add your tomato, garlic cloves, peppercorns and begin to arrange the okras inside. Once they are all packed in and your mixture above has come to a roaring boil then slowly pour it over the okra in the jar.
Tap the sides so all the bubbles can be released and then once you don't see any more top it off with any extra liquid. Close and set aside until it cools down to room temperature.
Put the jar in the fridge at this point for 10 days! They should last in the fridge for 1 month for you to enjoy!
*Feel free to change the recipe around if you want to add more garlic or other pickling spices or dill. I wanted it very simple and inspired by my canned okras.
Thanks to A couple cooks for the inspiration and guidelines for the recipe.
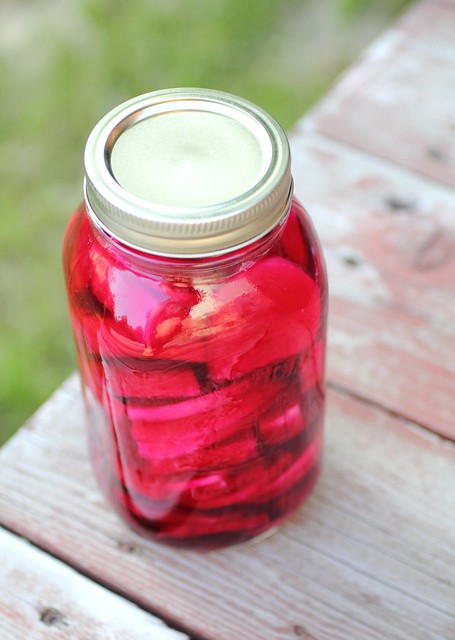
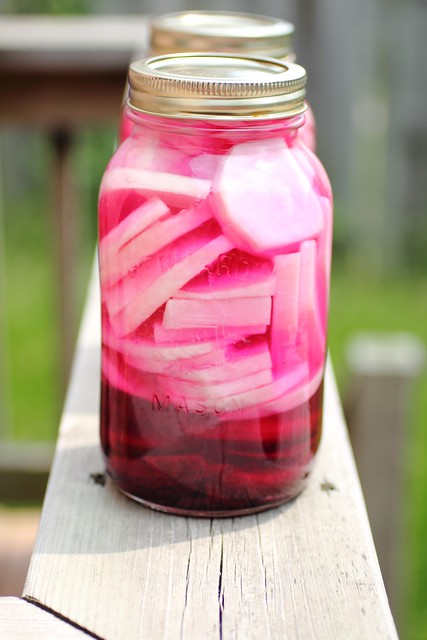
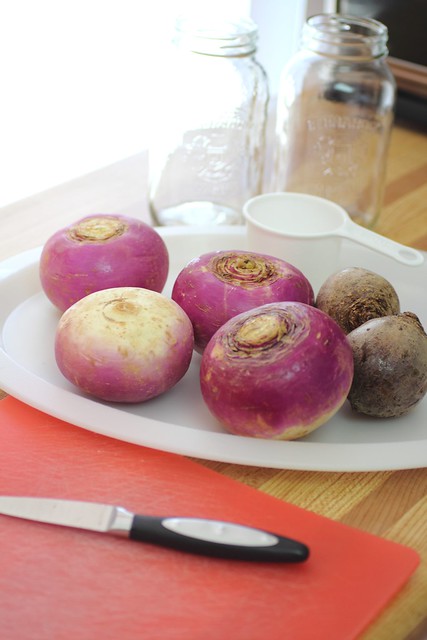
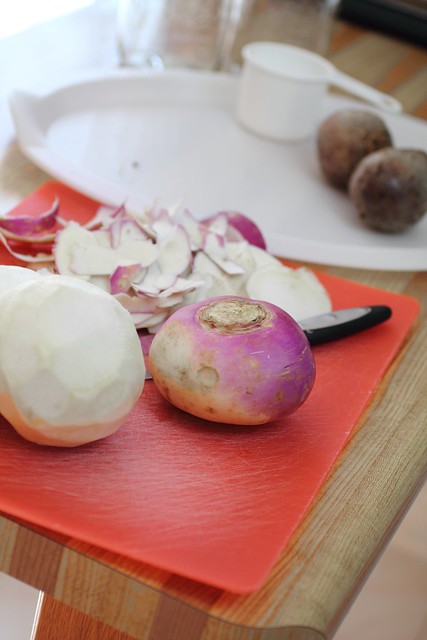
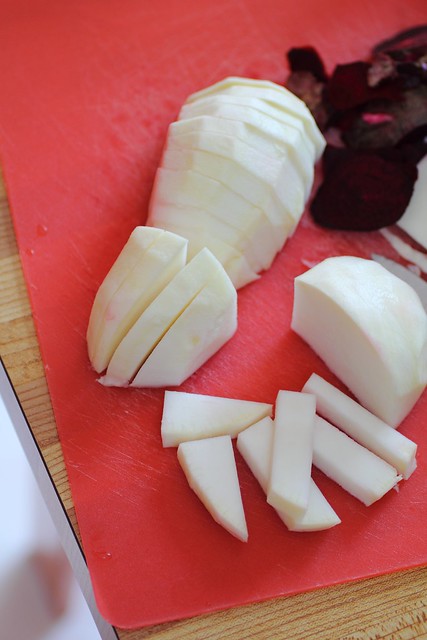
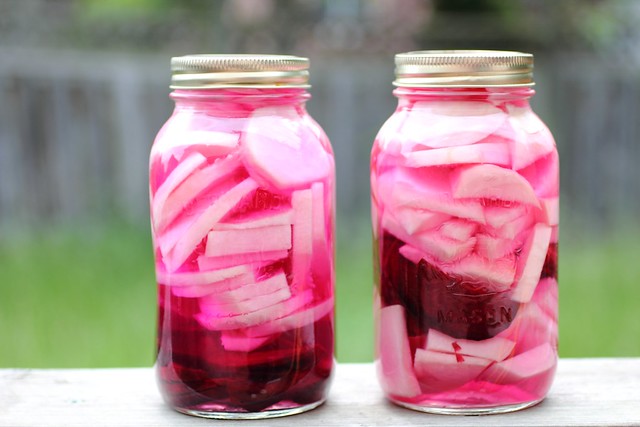
 Below you'll also see an update on my turnip pickles (recipe!), it's been 10 days and the colour is amazing! I think my jar is darker than the one I made for my sisters. I left the lid slightly loose so the gases could escape and now when I go to check on it I'd say it smells just about right, the way I remember it. In 4 days it'll go into the fridge too and probably be ready to enjoy shortly after that. :)