Saturday, June 16, 2012

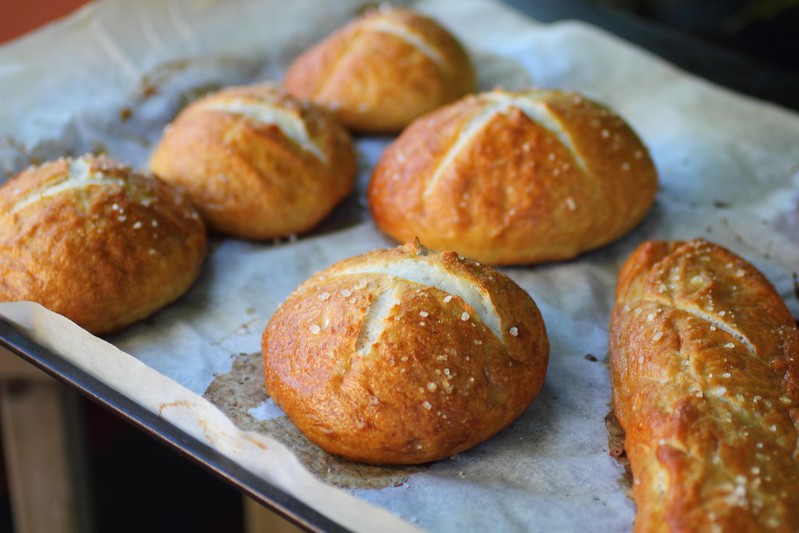
Pretzel buns (burgers-sliders and hotdogs)


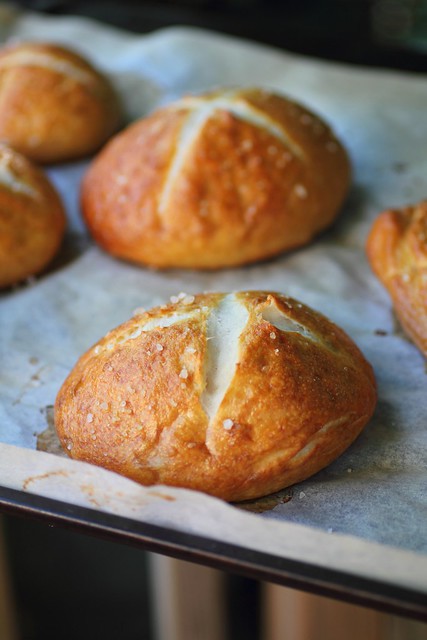
Salted Pretzel Rolls

Yield: 8 large rollsPrep Time: 20 minutes (plus 1 1/2 hours rise time)Cook Time: 15-20 minutes
Make the rolls smaller if you just want to use them as small dinner rolls.

ingredients:
1 ½ cup warm water (110°F)
2 1/4 tsp active dry yeast (not instant rise yeast)
2 teaspoons sugar
4-½ cups unbleached all-purpose Flour
2 teaspoons Kosher salt
4 tablespoons unsalted Butter, melted
¼ cups baking soda
1 whole egg, lightly beaten
Pretzel Salt, for sprinkling

directions:
In the bowl of your stand mixer (fitted with the dough hook attachment), add the water, yeast, and sugar. Stir and let rest 5-10 minutes until foamy (mine didn't look all that foamy but still turned out).

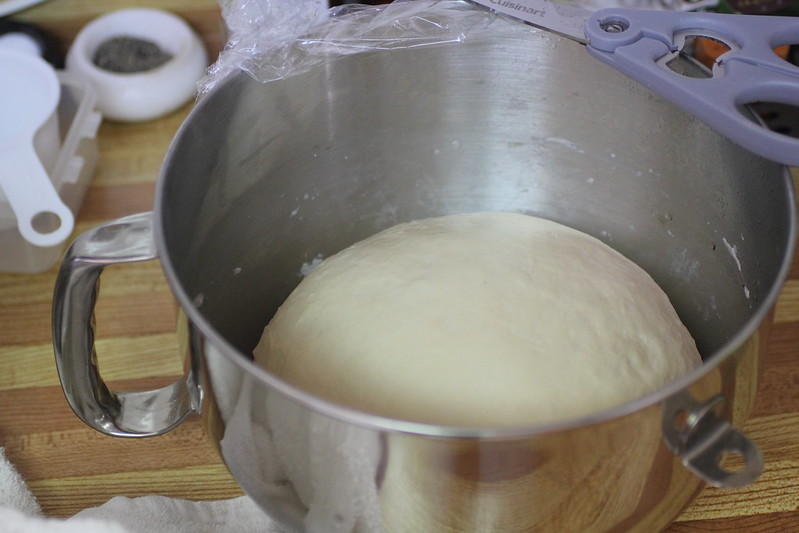
Add the flour, salt, and melted butter and mix using the dough hook until combined well. Cover with a plastic wrap (or a towel) and allow to rise in a warm place for 1 hour or until doubled in bulk (again, mine didn't look like it rose all that much, but turned out amazingly). Punch the dough down and turn it onto a lightly floured clean surface.

Line 1 large sheet pan with parchment paper and set aside. Cut the dough into 8 pieces (4 1/2 - 5 ounces each). To shape the dough "take a piece of dough and start forming a round, smooth ball by pulling the sides to the center and pinching to seal. Place, pinched side down, on a counter and lightly cupping your hand around the dough ball, rotate your hand in small circles lightly rolling the ball around the palm of your hand."

Place the ball on the prepared baking sheet pinched seam side down, with at least 1” between each roll. I like to stagger mine: 2 rolls side by side, then one down one row but between the two in the top row... Then 2 more side by side, followed by one down a row but between the 2 in the top row... etc (this will fit all 8 on one cookie sheet). Cover with a towel and allow to rest in a warm place for 30 minutes until they rise & double (mine didn't rise a whole lot).

Preheat oven to 425°F and place oven rack in the middle position. In a large saucepan, bring 2 quarts of water to a low boil. Remove from heat and slowly add the baking soda (I dumped mine in and it boiled up and overflowed all over my stove - lesson learned! hah) place back on heat and lower to a simmer.

Place 2-3 of the rolls at a time into the poaching liquid, seam side down. Poach for 30 seconds and then carefully turn the roll over and poach for another 30 seconds. Remove with a slotted spoon to the same prepared sheet pan, seam side down. Repeat with the remaining rolls.

Using a pastry brush, brush each roll with the beaten egg, making sure to coat all sides completely & then prinkle each roll with a little pretzel salt. Using a sharp straight edged knife, cut a slash (or 2) -or- an “X” shape in the top of each roll. Bake the rolls in the preheated oven for 15-20 minutes. Serve hot!

Source 



Brined Roasted Chicken with Celeriac Mash


If you asked me what my favourite thing to cook is the answer would probably be chicken, not exactly sure why because I used to be a vegetarian most of my life but I think it's the fact that I find it a challenging ingredient (dry, I'm a fan of the leg anyway) and pride myself at cooking it to ensure it's juiciness.

My go to ingredient when it comes to chicken is always LEMON, the acidity really works it's tenderizing magic on any part of the chicken, and I also like to do indian recipes with a yogurt marinade to achieve similarly tender results. 

Today I'm going to talk about brining my first chicken, don't know what took so long to do this since I cook chicken all the time and have used this method for our organic-free range turkey last October, you can see it here 

The whole process is very simple, I took the thawed or fresh chicken and put it in a big stainless steel pot/bowl, add cold water over top and dump in:

- Handfuls of sea salt
- A tbsp of raw sugar (just had it on the counter)
-1 whole head of garlic (sliced horizontally to keep it in tact)
-1 large onion with skin and all sliced in two halves keeping the root in tact,
- a handful of black peppercorns
- some lemon juice (or vinegar..) not sure if this is a traditional brine ingredient but I like my acidity.

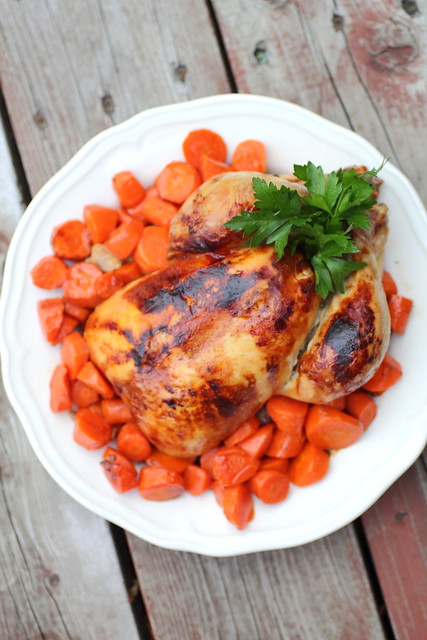
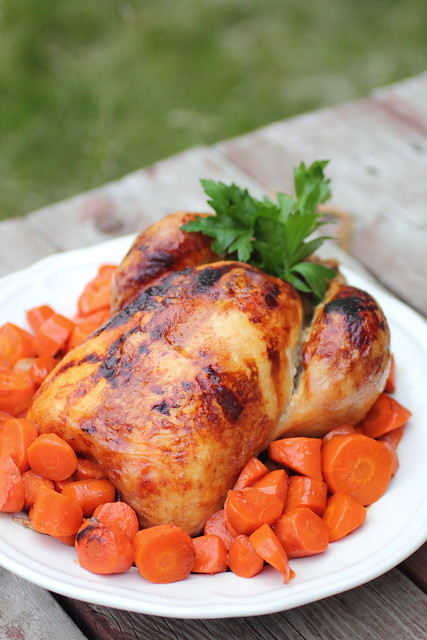
I left it in the fridge for 8 hours or so, then removed the chicken gently (it's wet and you don't want to get chicken water all over the place) gently laying it in a baking casserole or pan.   Allow it to come to room temperature and drizzle the top with some olive oil (I had no butter at home! but if you do use it!) and Worcestershire sauce then preheat the oven to 450, bake for 30 minutes and reduce the temperature to 425 and continue cooking, if the skin gets too dark too quick reduce to 400 and cook until the juices run clear when you pull the leg away from the body or use a meat thermometer to ensure safe internal temperatures.

I just set mine on a bed of carrots and threw in a bit of chicken stock in the bottom of the pan, at some point I propped up the chicken a bit and added a tiny drop of hot boiled water to the bottom so pan juices don't burn. 

Now for the side dish, a vegetable I don't think I've ever purchased before but thanks to Stefano Faita (it's a CBC cooking show here in Canada) convincing me that it is going to taste just like mashed potatoes so I thought I'd give it a go! Why not?

It's a bit of a weird root and the first time I decided to try the recipe I bought the wrong vegetable, haha.  I grabbed a wax coated Rhutabaga which took quite a bit to cook. It was actually still good! 

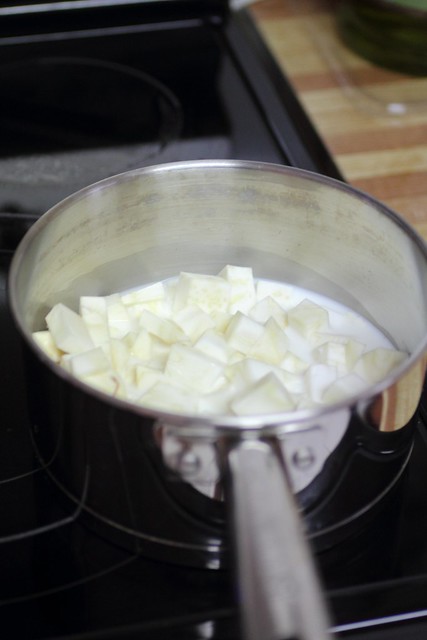
The celery root on the other hand smells just like a delicate celery and so I peeled it and removed the rooted parts in the bottom, chopped in in small dices and then set it in a pan with some milk (or try half and half?) and let it simmer away, keeping an eye on it because milk overflows.   Seasoned it delicately with salt and a dash of pepper because I wanted to really see how this veg tastes.  

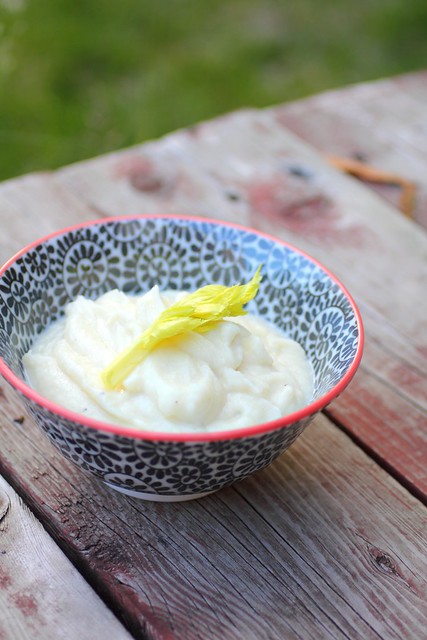
Once it's tender I pureed it.    

I'm telling you it's delicious!  I was scooping it out of the blender as not to waste any because it was that good!!!!

I love trying new things and so glad I did, I'm sure it has to be healthier than eating mashed potatoes, I ate the whole batch myself and it didn't make me feel full and weighed down the way a starch would. 
Give it a try, I think kids would like it too. 

Here's Stefano's recipe.  I cooked mine in the milk and added no butter.  It was so good that I would keep making it.

I can see myself experimenting with this ingredient again and again, maybe adding some cheese, the combination of cheese and celery is one that I enjoy very much so it could work.

Hope you enjoyed these recipes :)


Friday, June 15, 2012

Dates with Eggs تمر بالبيض


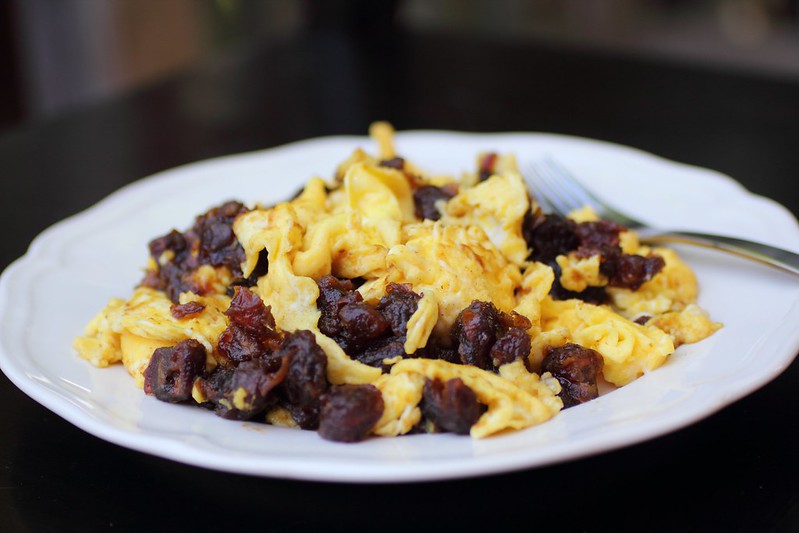
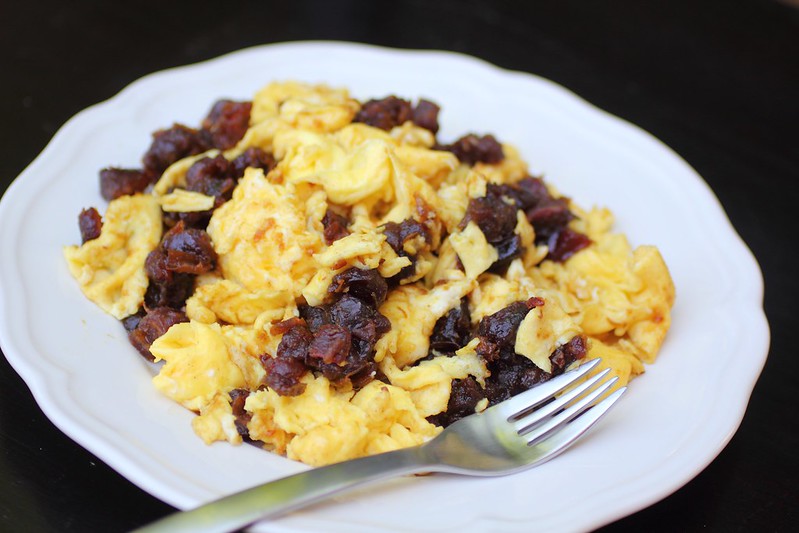
Have you ever had maple syrup with your eggs?  Well I know this looks and probably sounds unsual but it's really good and quite the same, the molasses-y taste of the dates goes beautifully with the eggs and makes a nice breakfast, brunch or light dinner eaten with bread, it popular in many parts of the middle east.   I

This is a simple recipe, it's really just two ingredients and you can alter it to your taste but here's how I do it: 

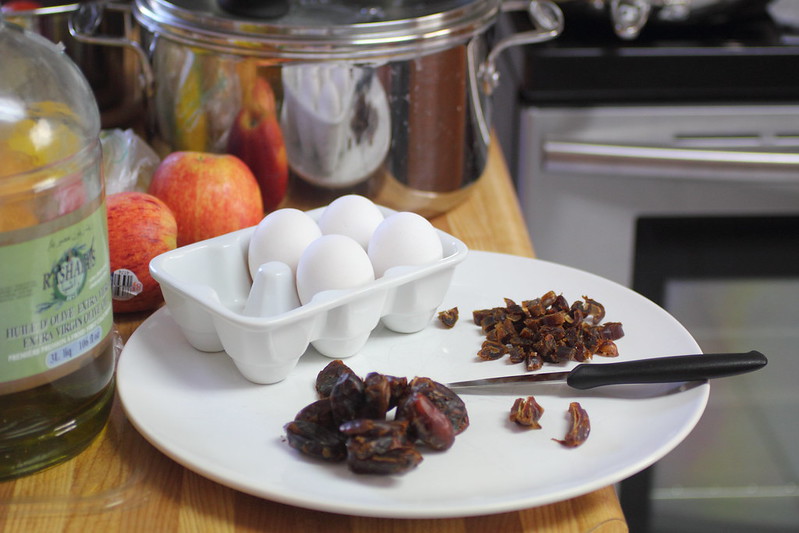
- 4 eggs
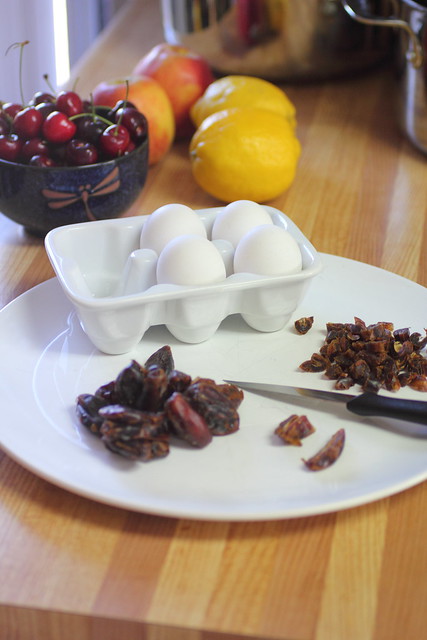
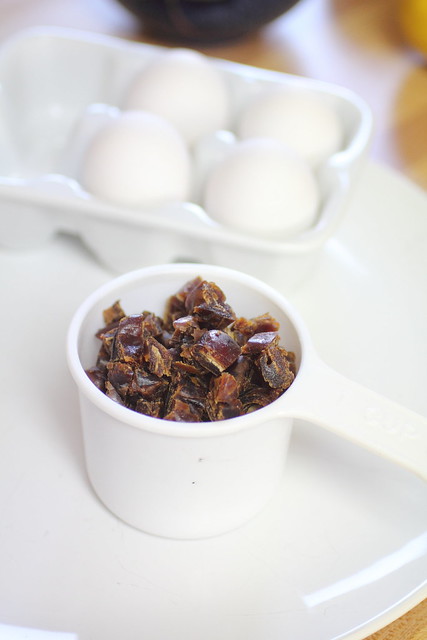
- 1 loose cup of whole dried dates chopped into small pieces (you cold leave them whole or buy already chopped pieces)
- Salt
- Olive oil or butter

Chop dates, set aside.

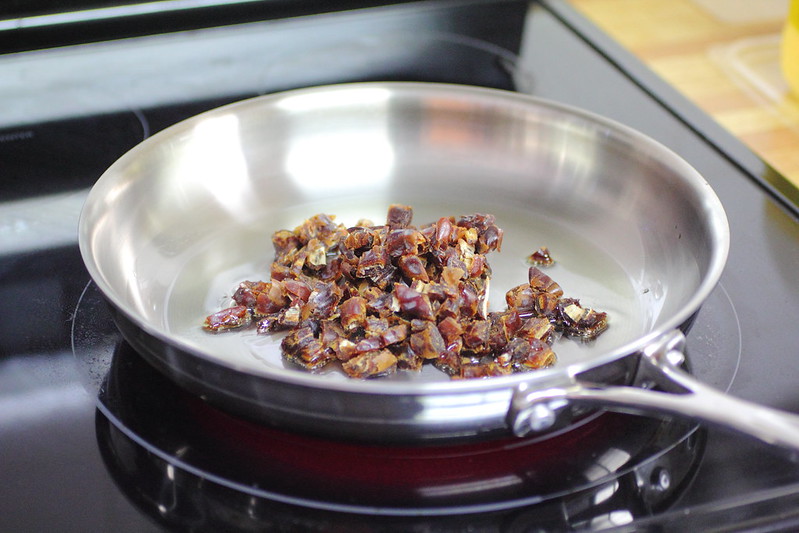
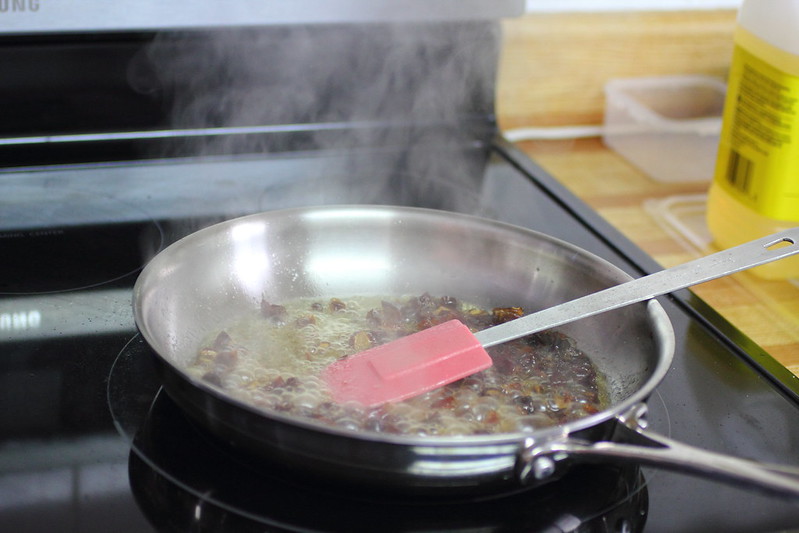
Heat pan, add some olive oil and sautee the dates on medium low, they are sugary so they can burn, keep an eye on them and this point here is just to soften them up a bit, I add a bit of water from the kettle (remove from heat, cool down and then pour water as not to burn yourself)  
Let them soften a bit until all the water evaporated and then remove and set aside. If you like that sweet/salty thing in your desserts and snacks then add a tiny sprinkling of salt to your dates like I do.

In another pan or the same one rinsed and wiped dry add some more olive oil or butter and scramble eggs very gently on medium low, seasoning with salt, just a sprinkling and adding the dates in towards the end of cooking (if you add them too early they can turn your eggs very grey - will taste fine- but this is why I use this method to keep the dish looking pretty)

Serve warm with fresh arabic style flat bread as a breakfast, brunch of part of a delicious middle eastern spread.  
This dish has that bread pudding eggy sweet souffle flavour and dates are super healthy so I think you'll like it ;-) 
 
Enjoy! 


Wednesday, June 13, 2012

Asian Pear Turnovers and more..


I had a pack of puff pastry and some time the other day, and this is how I spent my afternoon.

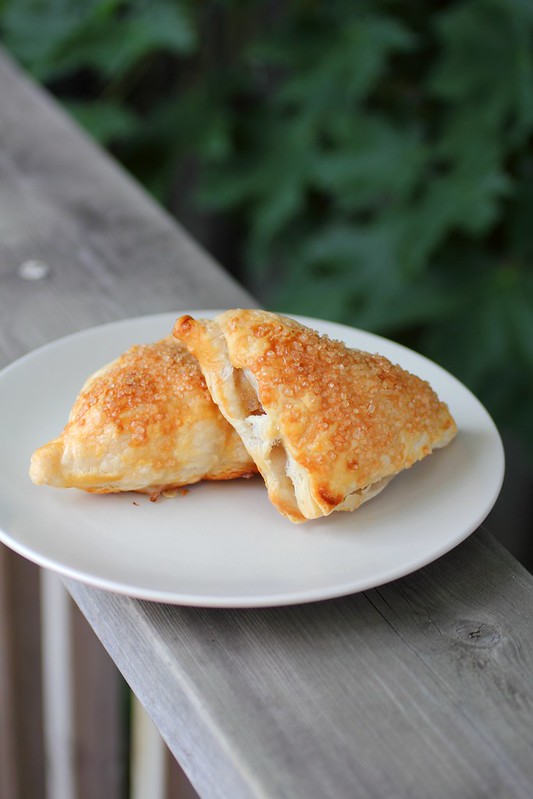
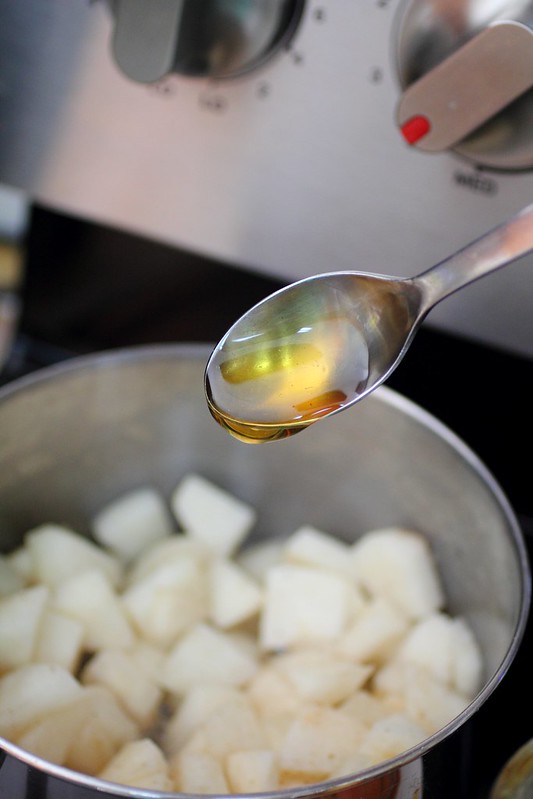
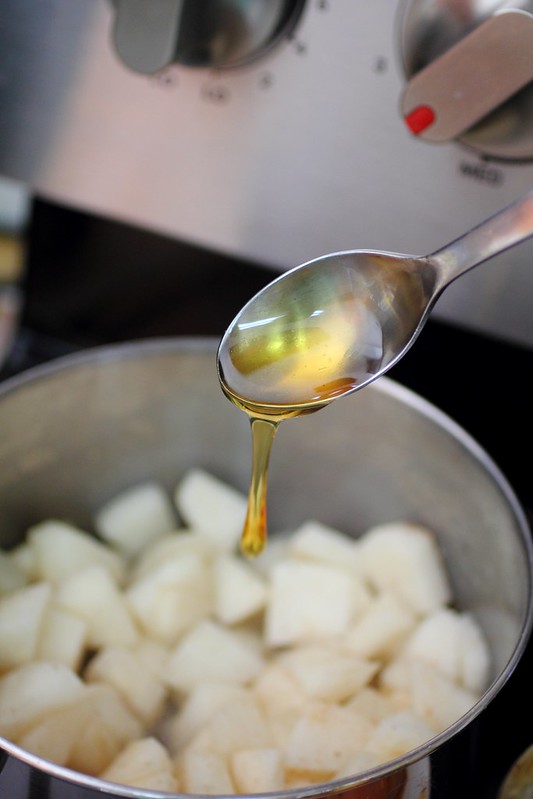
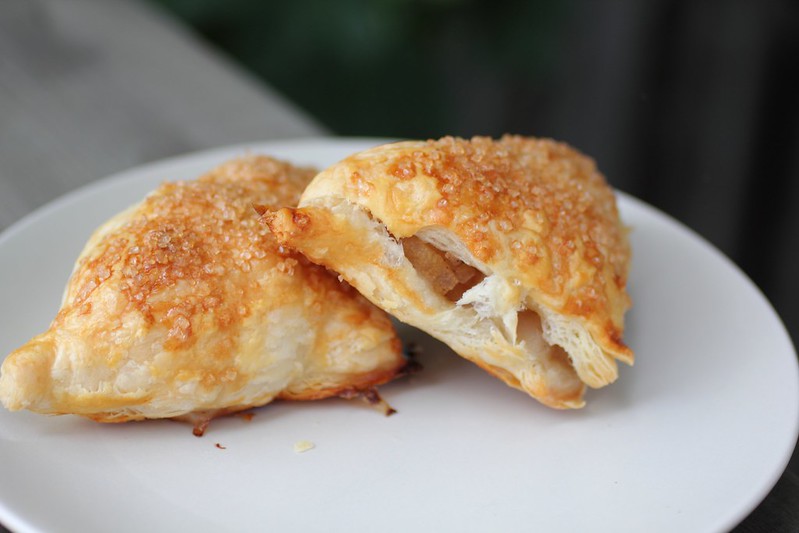
Store bought puff pastry is so versatile, so here you'll see me whip up some apple turnovers, and since I only had a bit of apple filling I reached for the asian pear and decided to give it a try.  I peeled and diced it, sprinkled with a dash of cinnamon (use a star anise if you have one, I think it'll work)  and then drizzled with some honey, the results were interesting as it did not soften up like apple does and goes into an apple sauce mush but it stayed firm and took quite a bit to cook through and reach the "clear" stage, then I cooled it and it remained like small pieces of firm yet sweet and plumb morsels of fruit, quite a nice texture. 

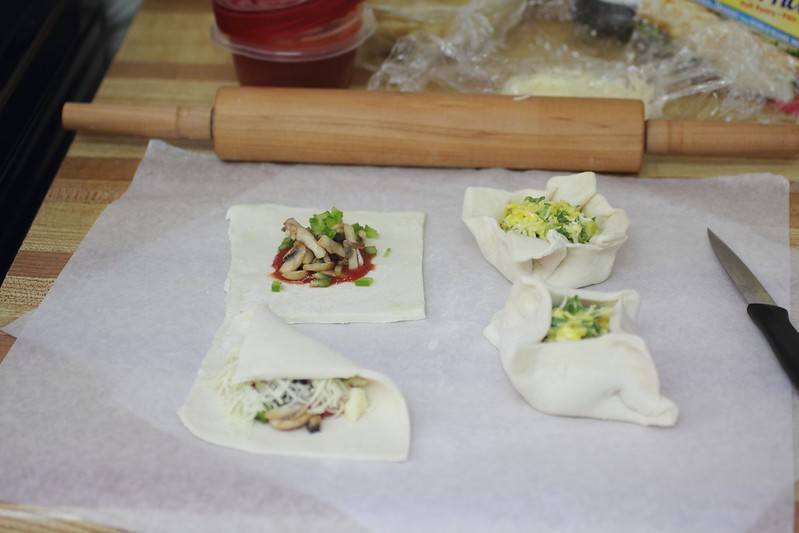
The whole process is easy, simply roll out the dough (making sure to do this quickly so it stays chilled) and then top with filling, fold over, pinch the sides, poke a few holes in the top and egg wash, sprinkle with coarse sugar and bake until golden and layers begin to separate into buttery flake-y goodness. 

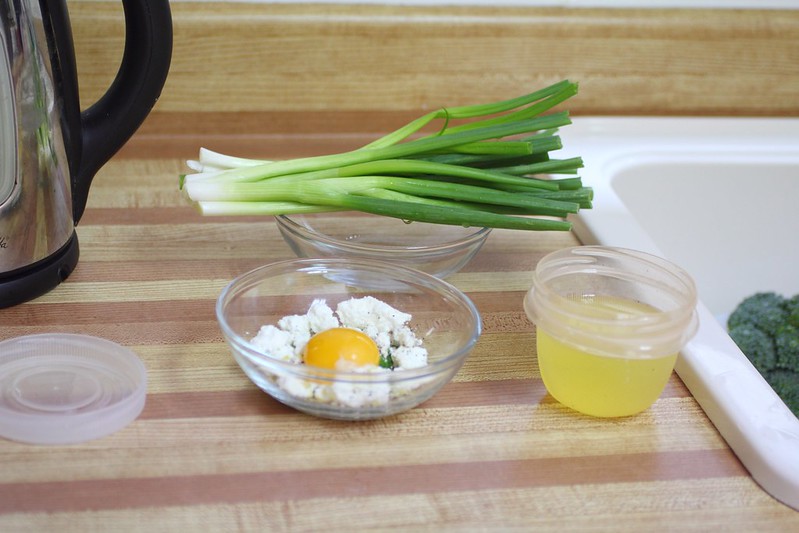
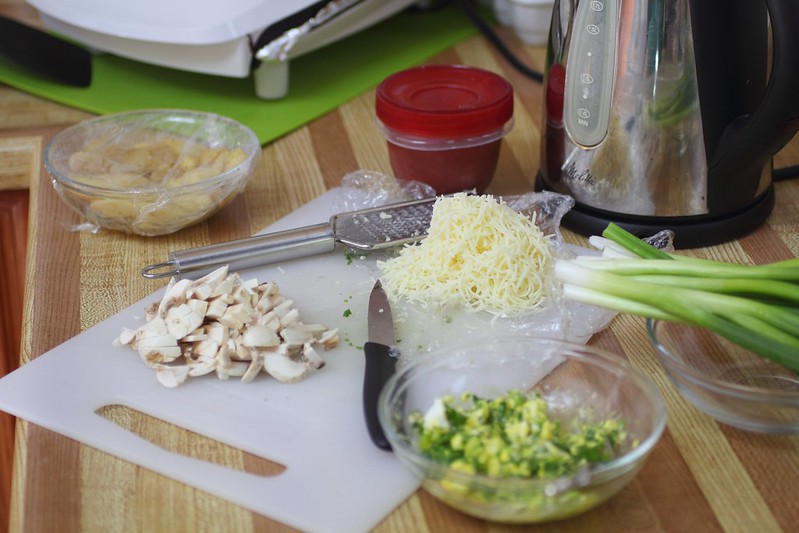
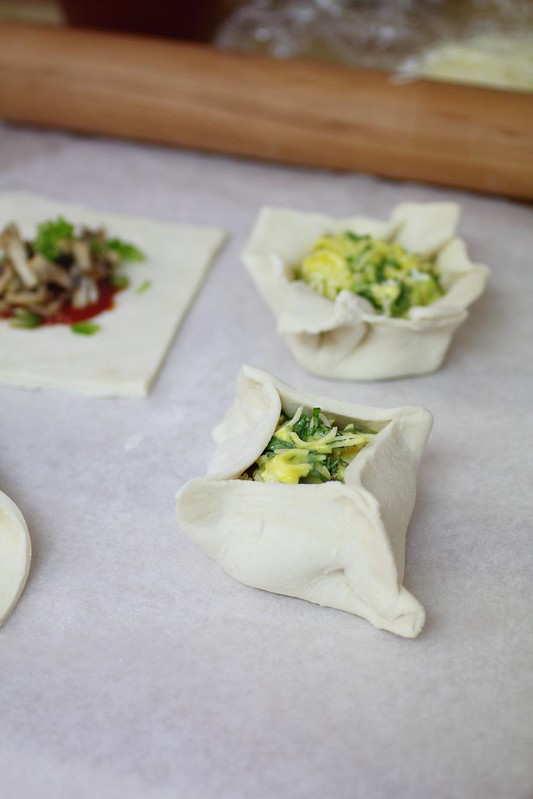
With the leftover I made a goat cheese quiche type thing and some pizza ones (sauce, sautéed mushrooms, finely diced green pepper and topped with shredded cheese)

My goat cheese tart was so delicious I hardly managed to get a shot of it.  I mixed goat cheese with some shredded mozarella, lemon zest, black pepper, finely chopped green onion, italian parsley, fresh mint and an egg yolk.