

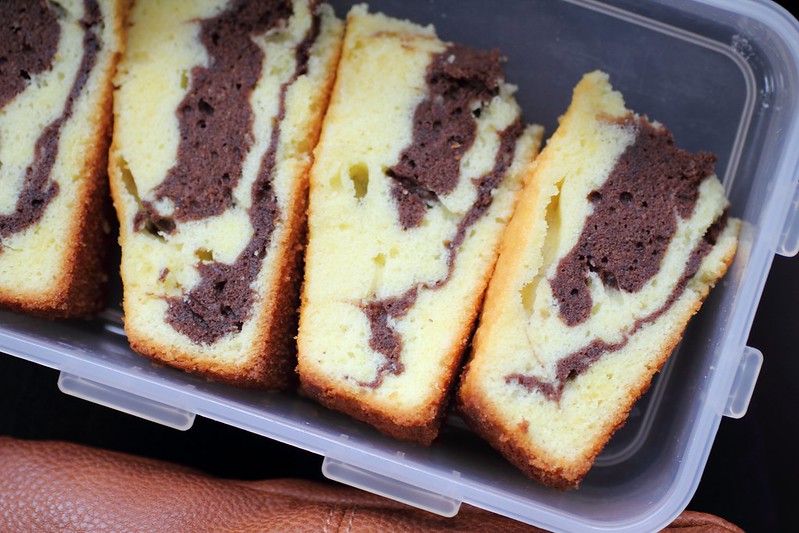
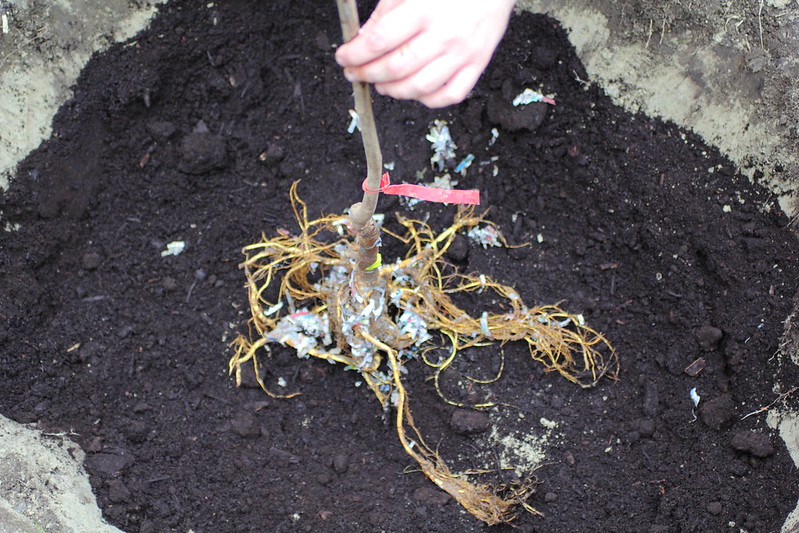
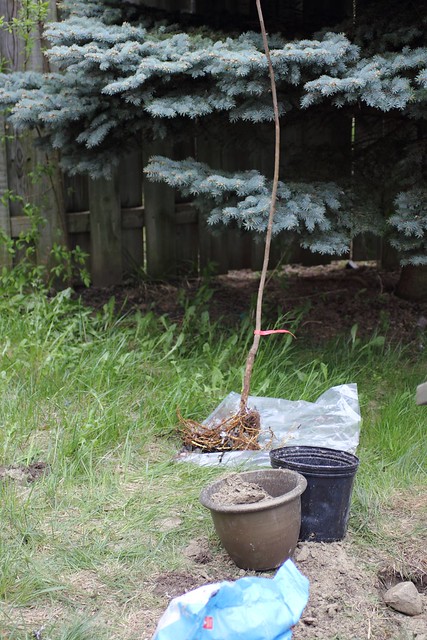
Photos of yesterday's road trip to pickup my Illinois Everbearing Mulberry tree ... it involved homemade marble butter cake for the road, a little thrifting in guelph where I found some fun items including a severly tarnished footed silver tray, and other little kitchen items.
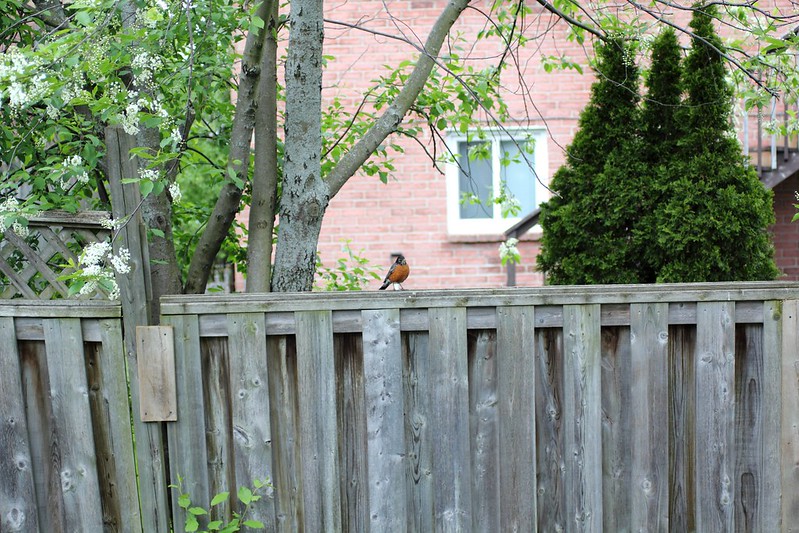
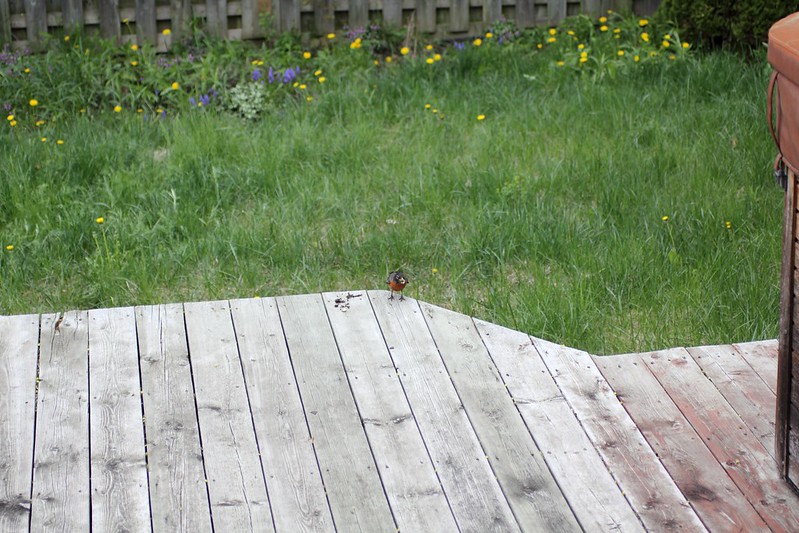
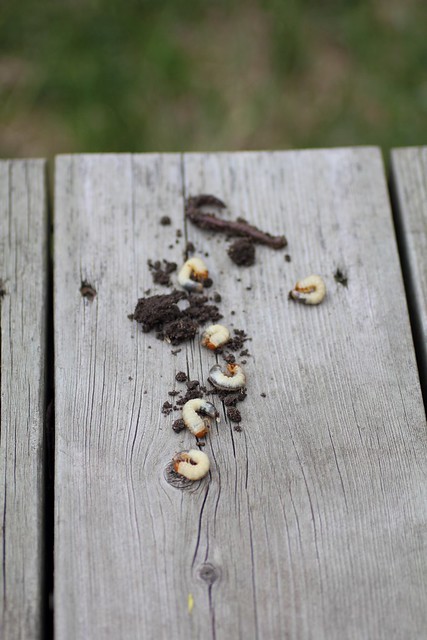
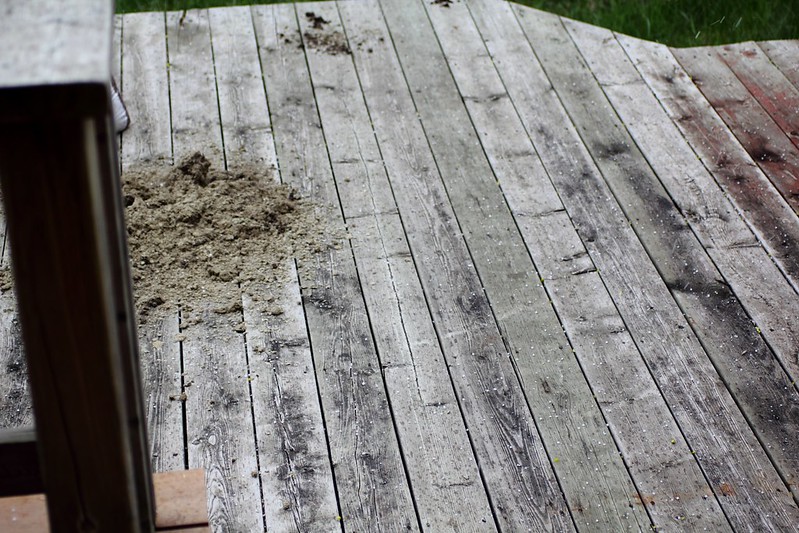
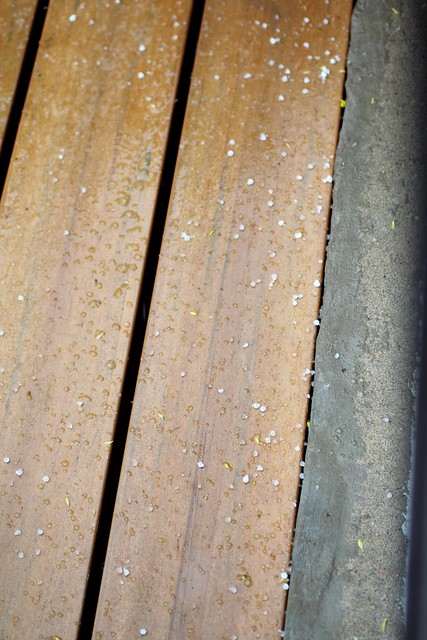
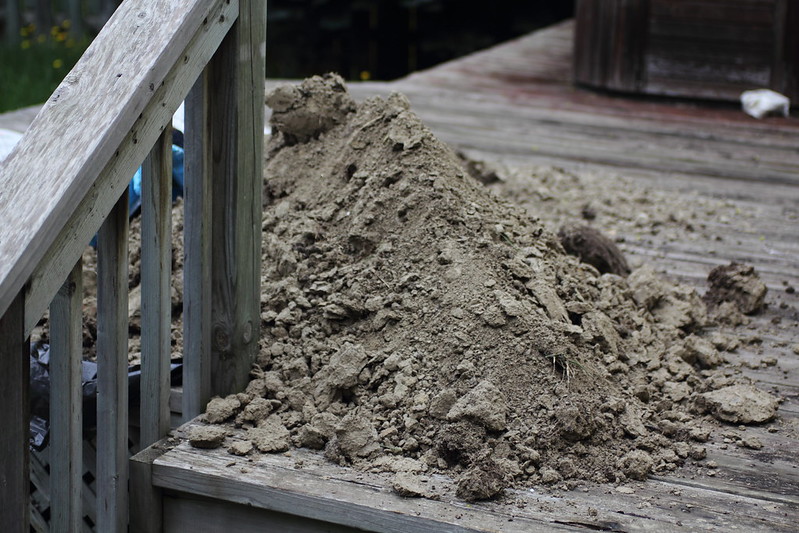
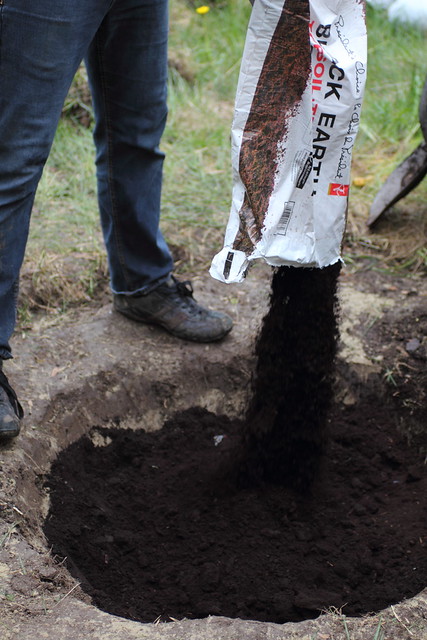
Through today's strong winds, rain and hail we put the tree in the ground. It was a lot of work but also a lot of fun, this little robin perched up on the fence of tree watching the entire time, I think he was excited seeing the earth being turned upside down with all the yummy june beetle grubs so I collected them for him on the deck and sure enough he was courageous enough to come down and fill up his beak taking them back to his little ones in a nearby tree.
I'm SO excited about this fruiting mulberry, been trying to track this variety down for a while now and happy to have found it at the Green Barn Nursery in Elora, Ontario which is just north of St.Jacob's and Elmira which we frequented quite a bit already this year for farmer's market trips and the maple syrup festival. These guys at the nursery have a fabulous variety of fruit trees as well as tropical ornamental indoor fruit trees which I was tempted to buy but perhaps in the future!
So here's a cake recipe for you!
Marble Butter Cake
Courtesy of Miss Tam Chiak
Yield 1 8-inch round 3-inch high cake in this preparation
Cooking time 1 hour Prep time 30 minutes
Ingredients:
8 large eggs, separated
250g castor sugar
340g unsalted butter (3/4 lb or 1 1/2 cups butter)
250g all purpose flour
1 1/2teaspoons baking powder
1 teaspoons vanilla extract
2 tablespoons good quality cocoa powder
1/4 teaspoon salt
2 teaspoon lemon juice
Method:
1. Preheat oven at 160°C (325 F) with a wire rack in the middle. Use a spring form pan, do NOT butter or flour it though.
Sift flour, baking powder and salt in a bowl. Set aside.
2. Cream butter in the bowl till light and fluffy. In a separate bowl, whisk the egg yolks with the 100g sugar till light. Gradually add this into the butter and beat on medium speed till just incorporated. Add in all purpose flour into the mixture in 3-4 batches.
3. Whisk the egg whites until foamy. Gradually add in lemon juice and the remaining 150g of sugar until stiff peaks form. With a spatula, fold in the meringue into the egg yolk mixture in 3-4 batches. Add in vanilla extract until incorporated.
4. Divide the batter into two, 3/4 in one batch and the rest in another bowl. Sieve cocoa powder over the lesser batch and fold to mix well. Pour batter into tin, alternating between the two mixtures, starting with the yellow batter. Rap pan on counter several times to eliminate air bubbles. With a long skewer, swirl around the batter to create the marble effect. Bake for 40-55 minutes or until a tester inserted into the middle of the cake come out clean.
5. Cool on wire rack completely before serving. Cake keeps at room temperature up to three days and can be frozen up to 3 months.
NOTE: PLEASE don't be foolish (like me!!) and use a kitchen aid/kitchen blender/mixer, it's not worth doing it all by hand :((((
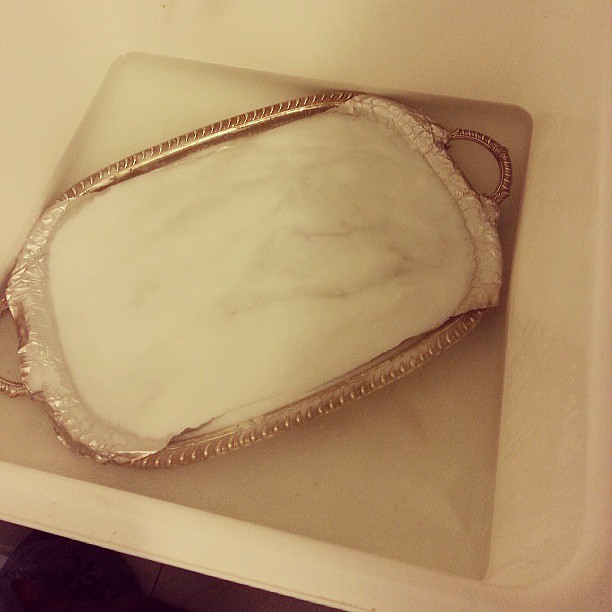
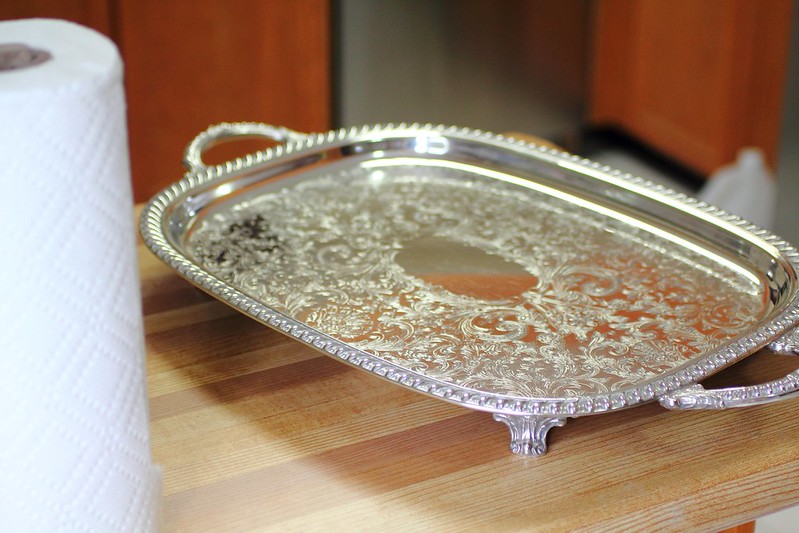
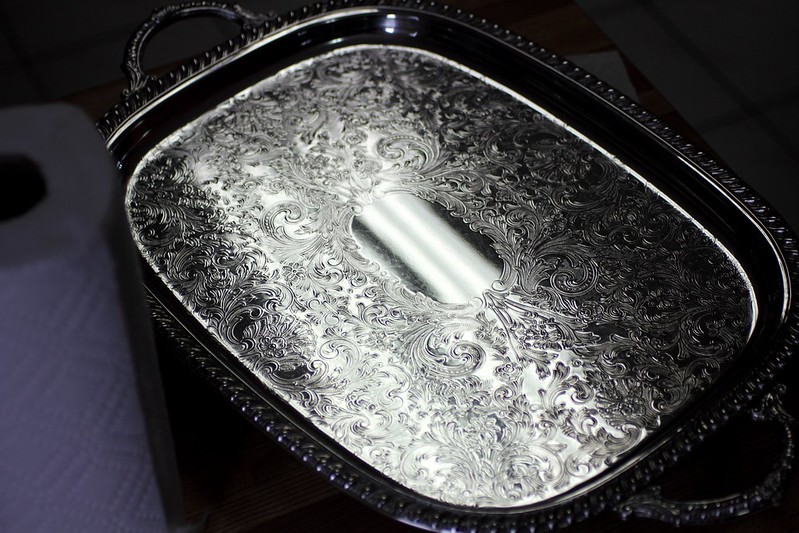
... and finally here's a fun silver cleaning technique.
Wrap your piece of silver/silver plated loosely in foil and set it in a bucket big enough to hold it. Sprinkle with baking soda (1 cup baking soda per every gallon water) and pour hot boiling water overtop. Eventually the tarnish will begin to gravitate to the foil and it will turn black... after soaking remove the silver from the water and polish with a paper towel or soft cloth, as the cloth gets black use another corner or another clean piece of paper towel and eventually you'll have some pretty shiny silver! I had to do this 2 times with the foil/boiling method and polished with silvo the following day. It's getting there...


No comments:
Post a Comment